Steam Mop Repair
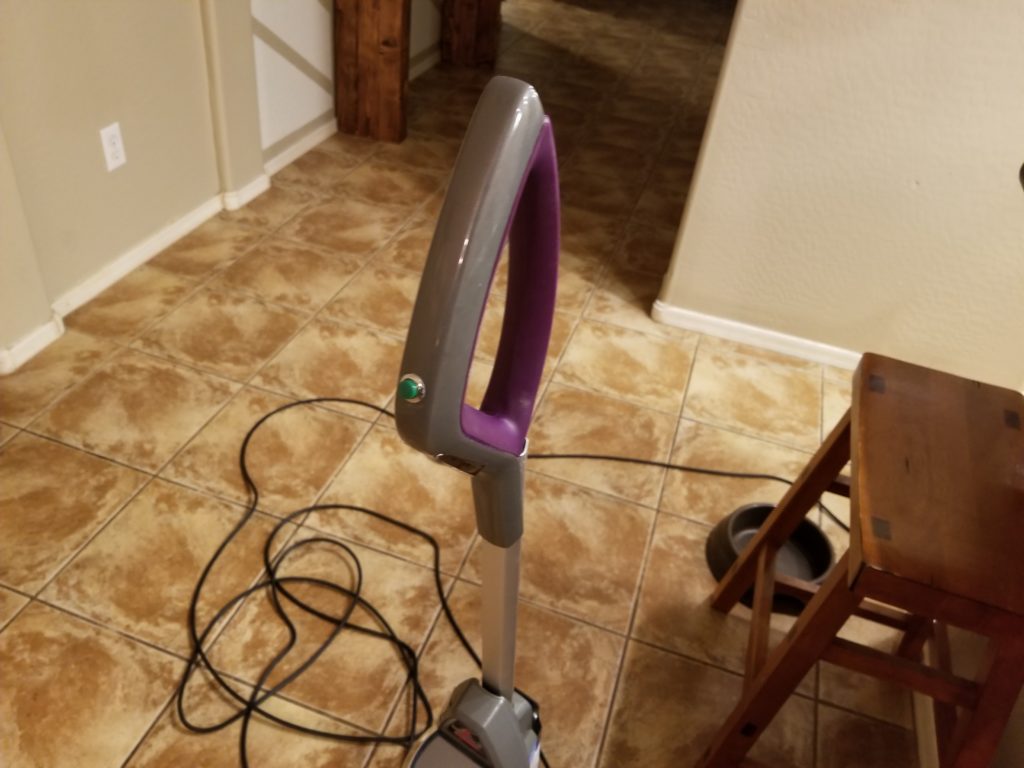
A few years ago my wife requested a steam mop for mother’s day. This was her first mother’s day as a mom. To me this seemed perfectly logical, she didn’t like the manual Swiffer for cleaning the floors because we would go through too many pads cleaning the tile in the house. We tried an actual mop, but it was messy and a pain to clean up afterwards. My mother seemed very surprised when my wife opened her first mother’s day present and it was a home cleaning implement. My mom did not know that my wife specifically asked for this mop. Thinking about it from her perspective it did seem pretty insensitive of a gift if my wife hadn’t asked for it. “Congratulations on popping my son out a month ago, now clean the floor. Its filthy this should help.” She was really excited about the steam mop and no it was not one of my garage sale finds, it was brand new. It has broken twice in the last two years. The vacuum part still works and the heater turns on for creating the steam, but the lever to let the steam out stops working. The first time it broke I ordered the couple dollar replacement piece of plastic that fits in the handle. The second time I decided the piece of plastic was obviously not up to the task of actuating a tiny push button.
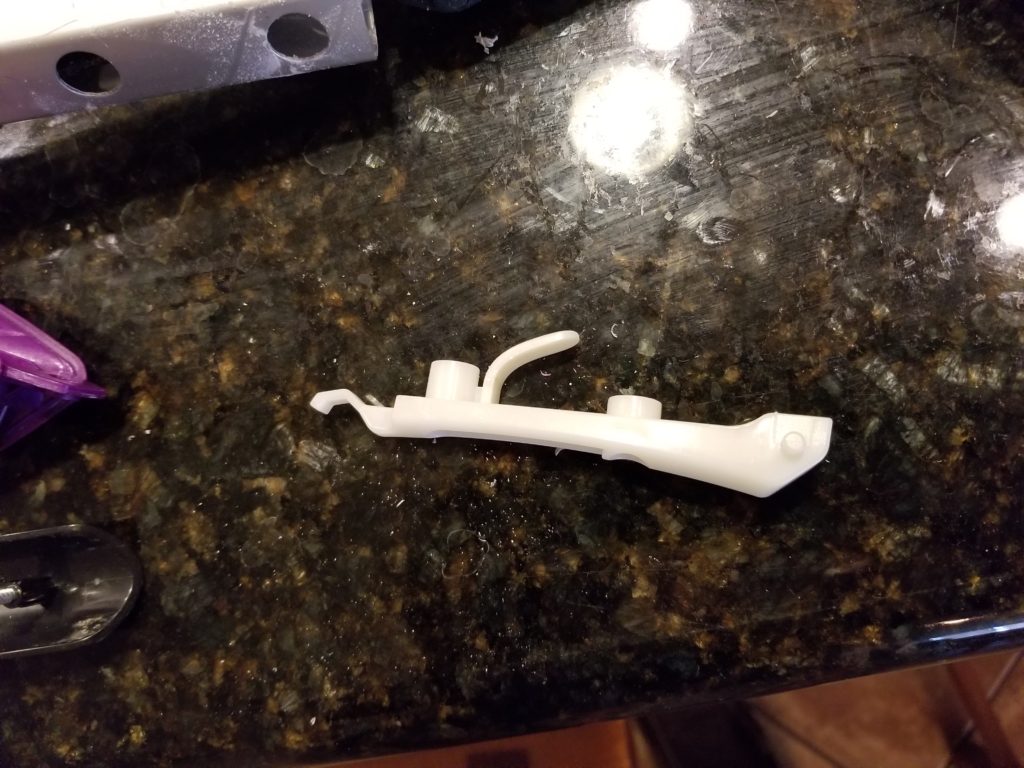
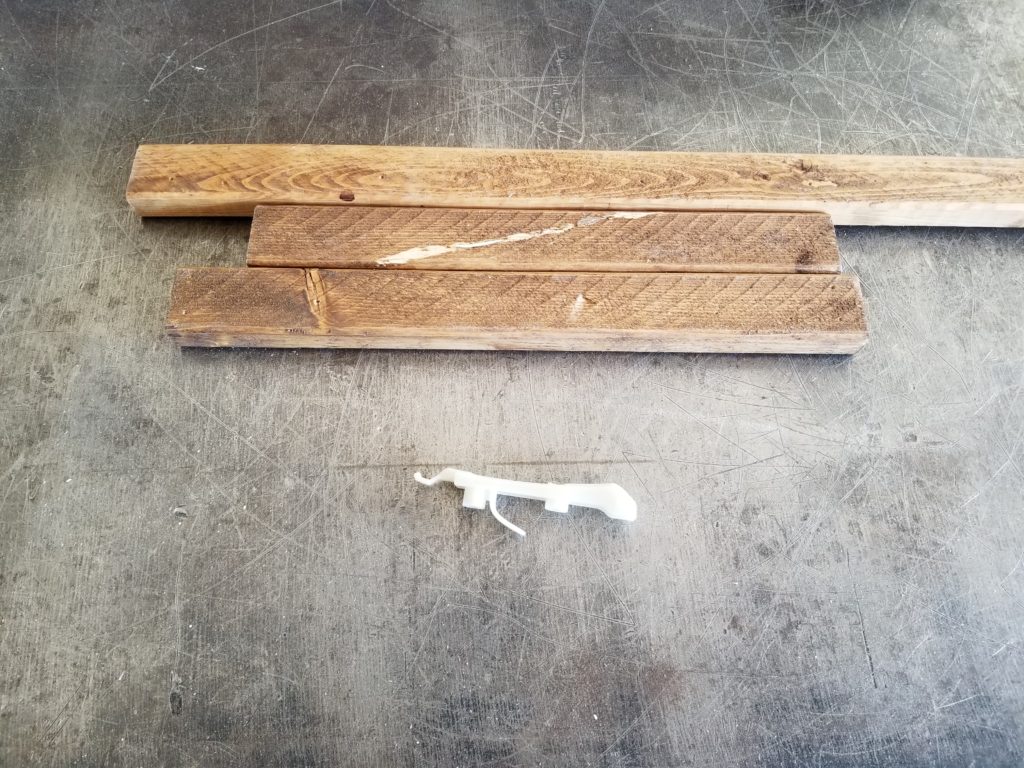
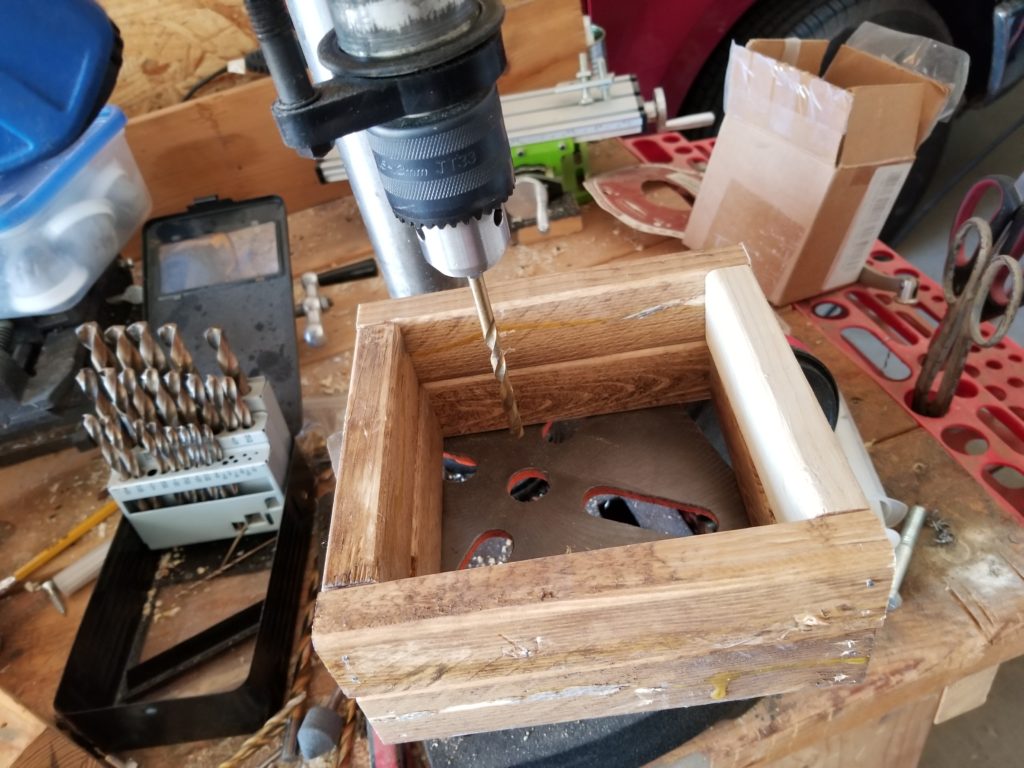
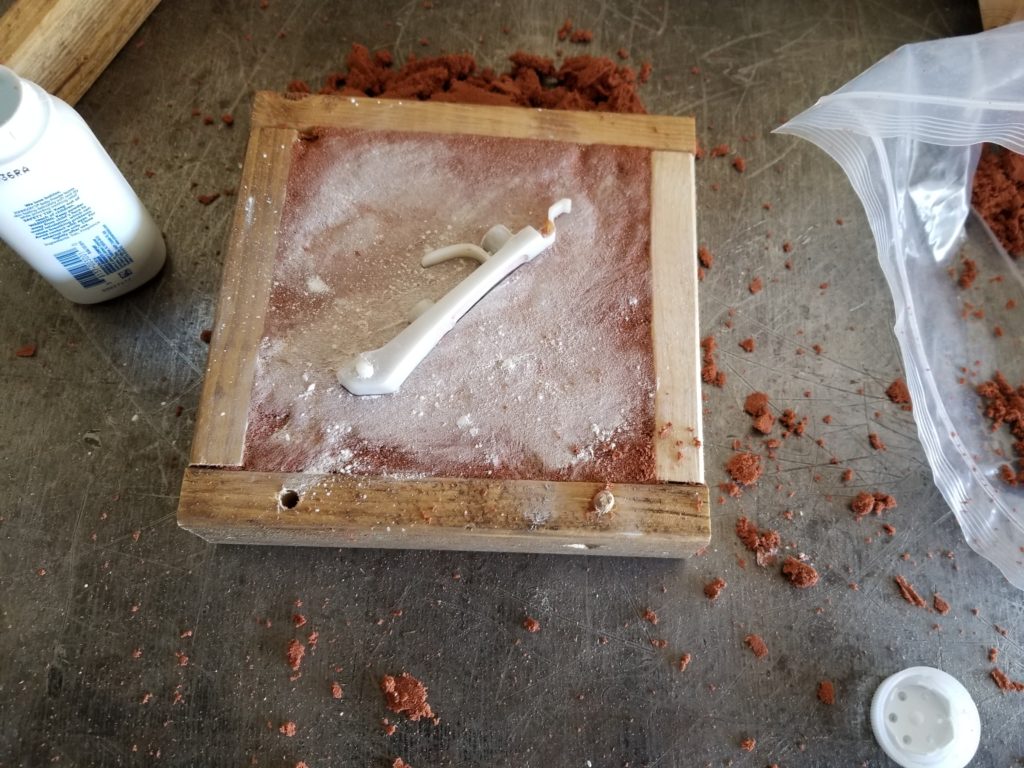
The white piece above is a lever that rotates on two pegs on the right side (one can be seen in the picture above). The arm sticking out the top is used as a spring to push the handle back into place after you stop squeezing it.
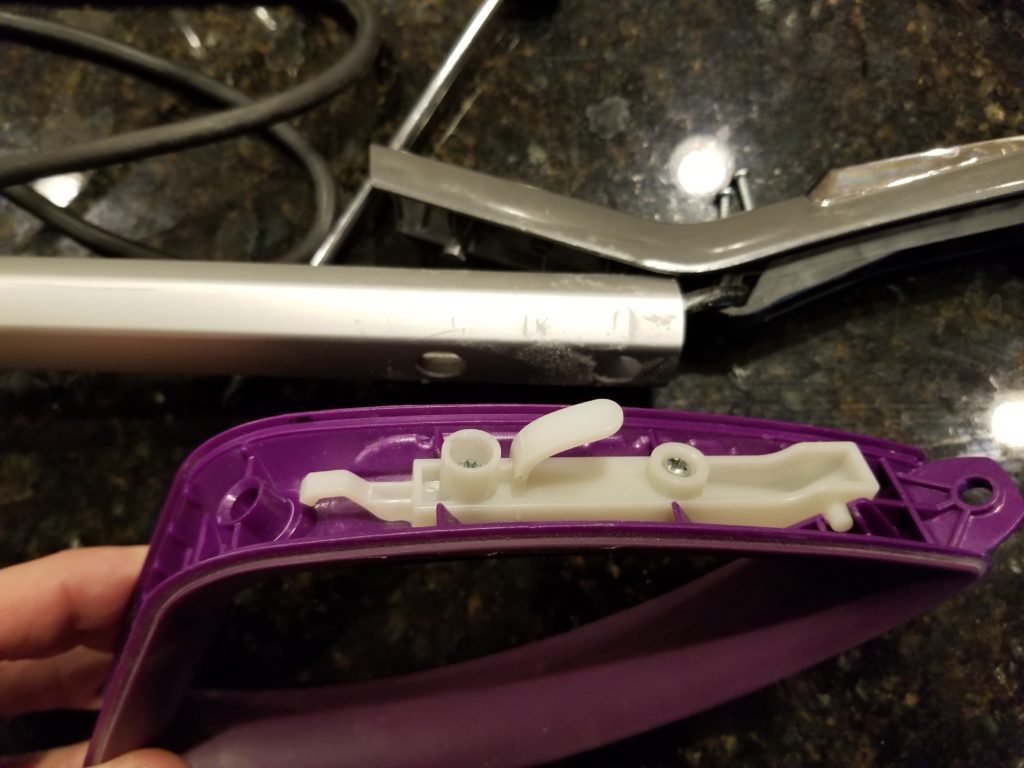
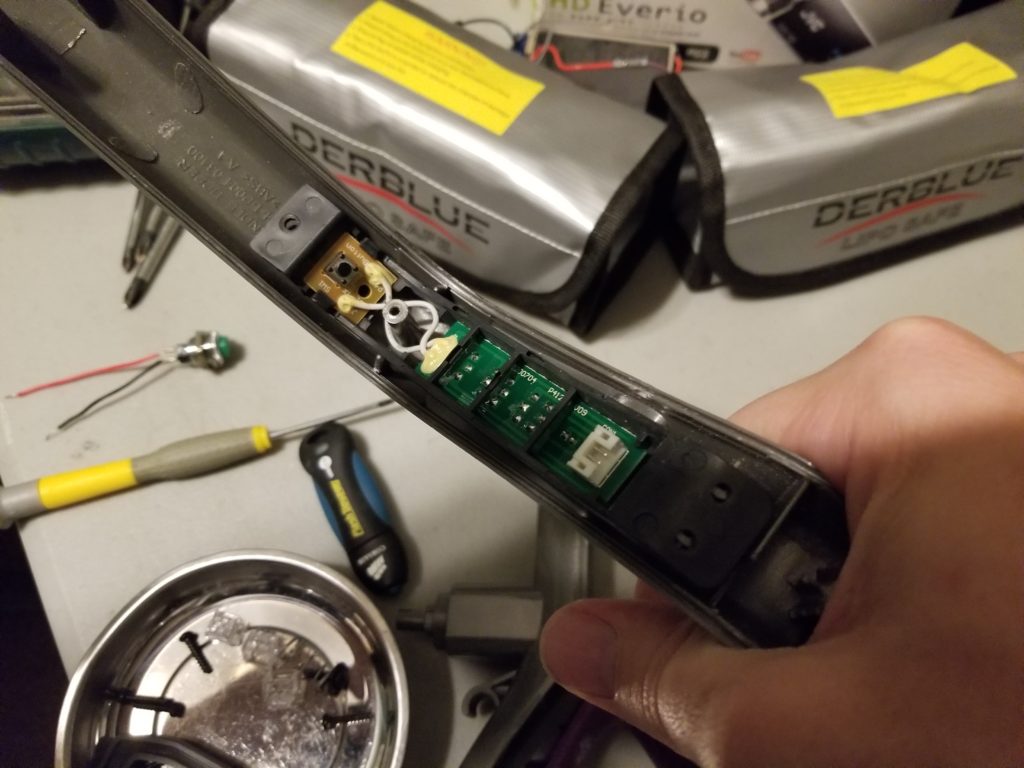
The picture above is the inside of the handle. The top left of the handle is where the white lever fits and acts upon the little momentary push button on the yellow PCB. I knew what the issue was before taking the handle apart because I had already replaced the plastic piece once before. I thought making a new lever would be a good first go at casting aluminum.
I did not have a casting flask so I created one using cutoffs from previous woodworking projects. A casting flask has two parts, the cope (top) and drag (bottom). These are used in sand casting to hold the form for the part. You then pour molten aluminum into the sand to fill the void left by the template part.
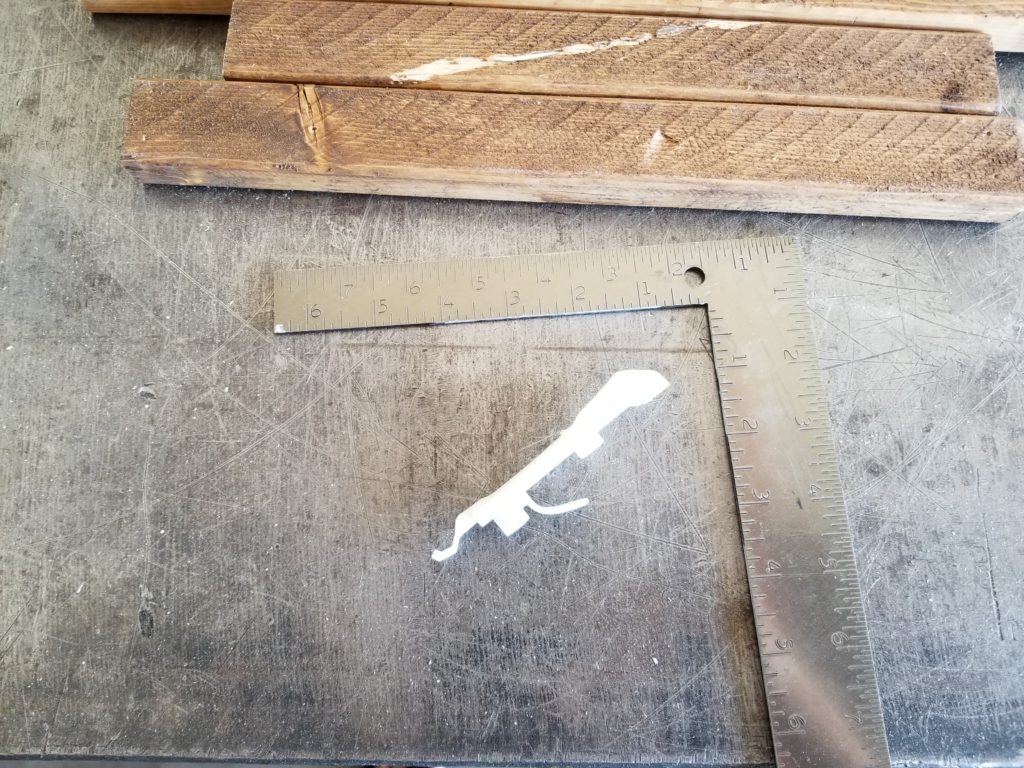
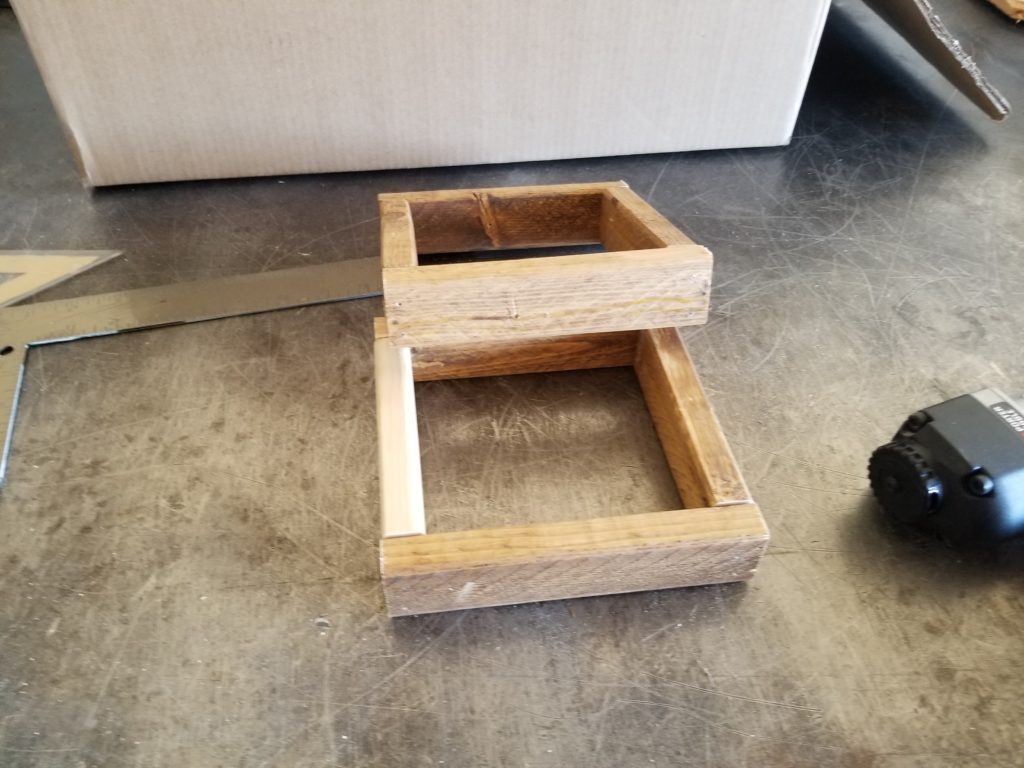
I rushed it a bit and used a nail gun to hold the flask pieces together. I do not recommend this, or if you do at least glue the wood together as well. I then drilled a hole through one half and part way into the other for aligning the two pieces. I used the depth stop on the drill press to keep the depth consistent. The drill bit was a 1/4″ to drill holes to insert a 1/4″ dowel into.
I drilled both alignment holes on the same side of the square. It would have been better to place them catercorner to each other or had 3 pins.
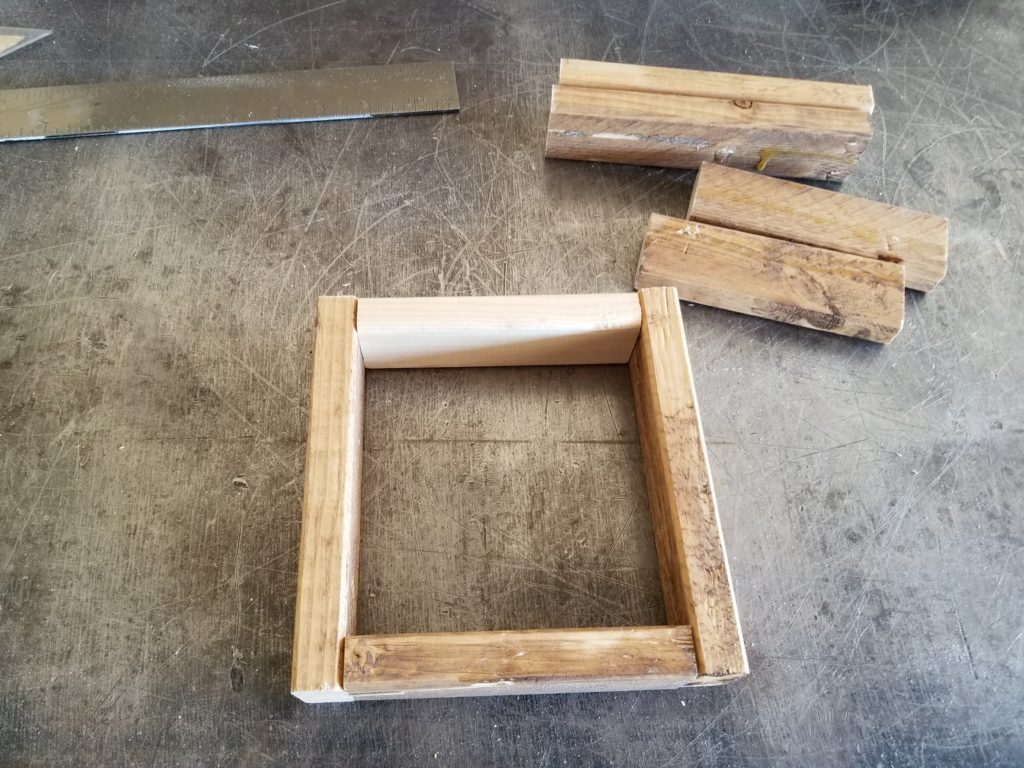
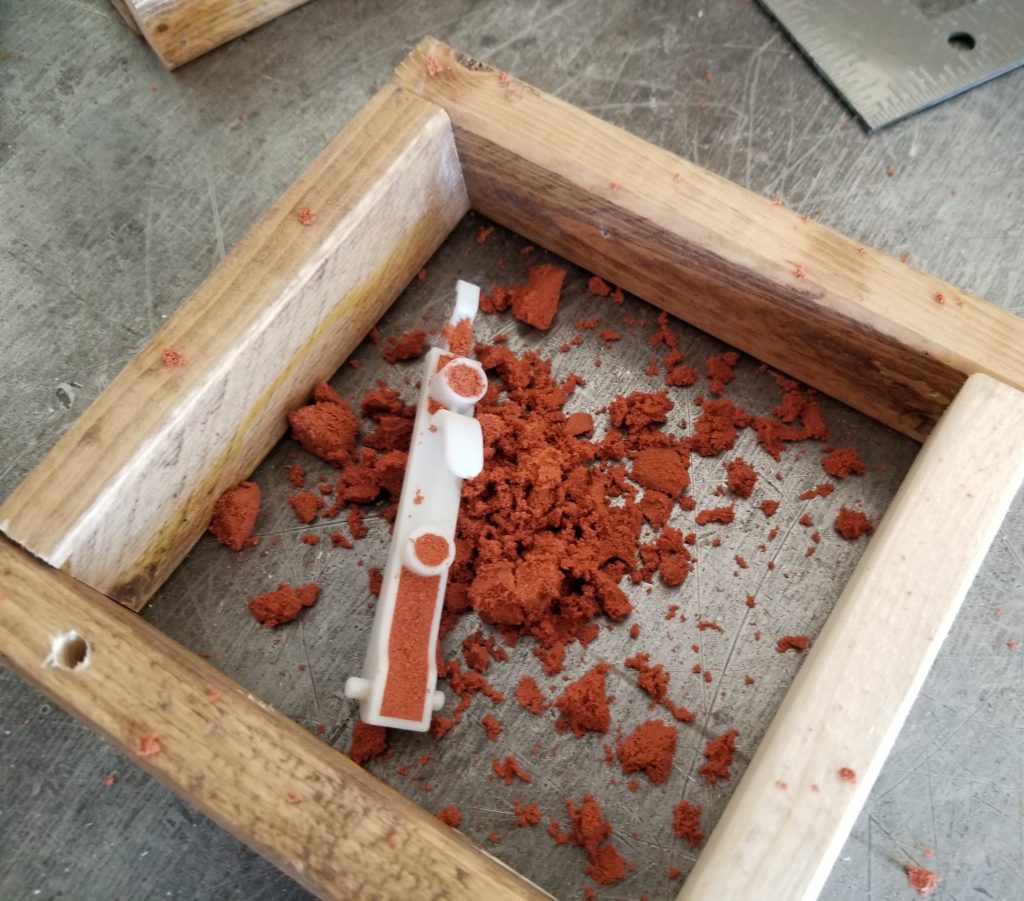
I filled the voids in the part with Petrobond sand so that it could easily slide in and out of the sand for casting. I was not worried about saving aluminum and having cutouts in the part. The manufacturer would be interested in having these cutouts to save on the amount of plastic needed for each part. As I only needed to make one, the additional metal would be negligible.
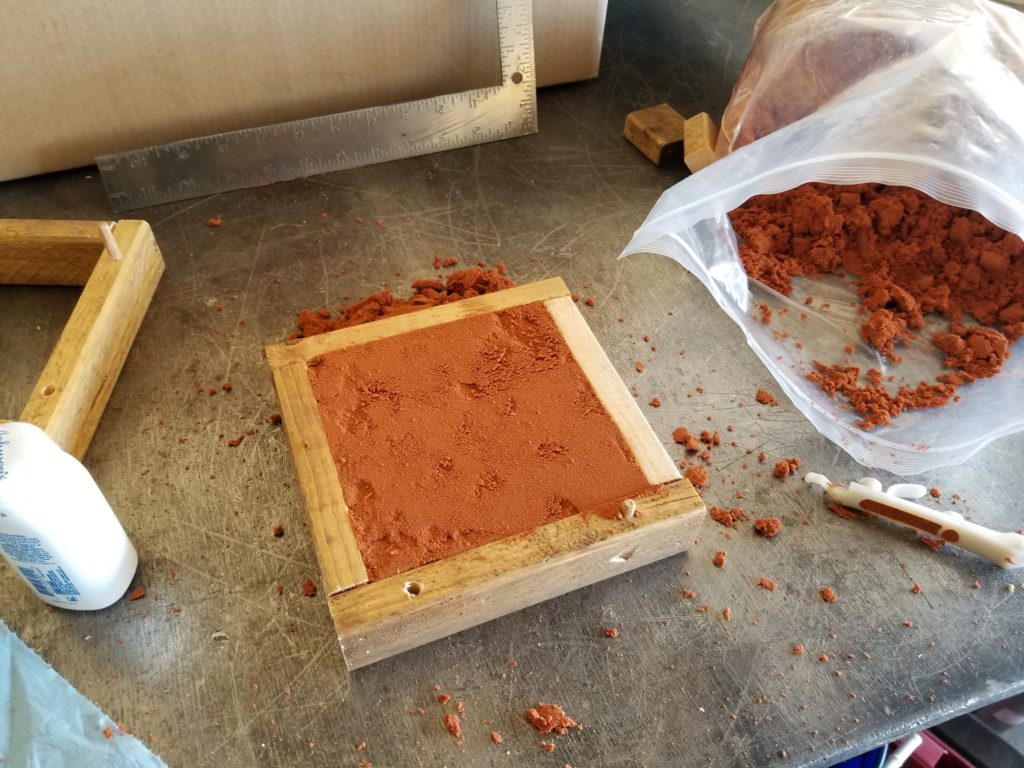
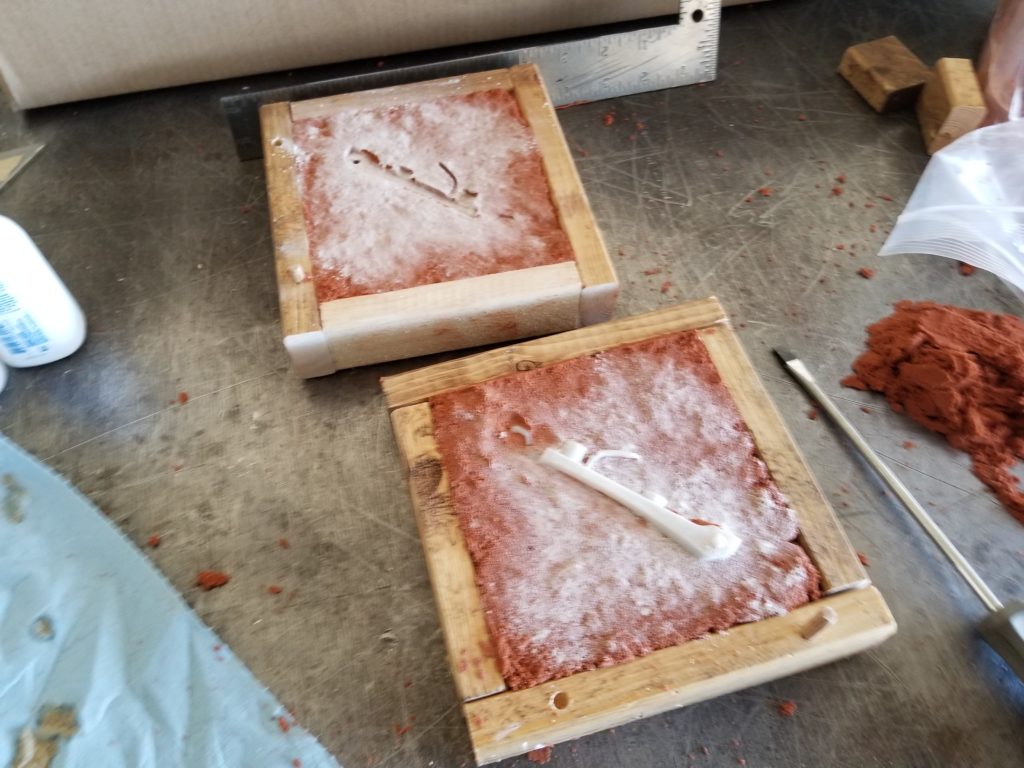
I then created a false-cope for ramming up the drag. I noticed that the nails were not holding as well as I had hoped they would. When pushing the sand into the false-cope the wood would start to separate, preventing me from using much pressure. I used baby powder as a parting material because that is what I had on hand. The baby powder went on the part itself as well.
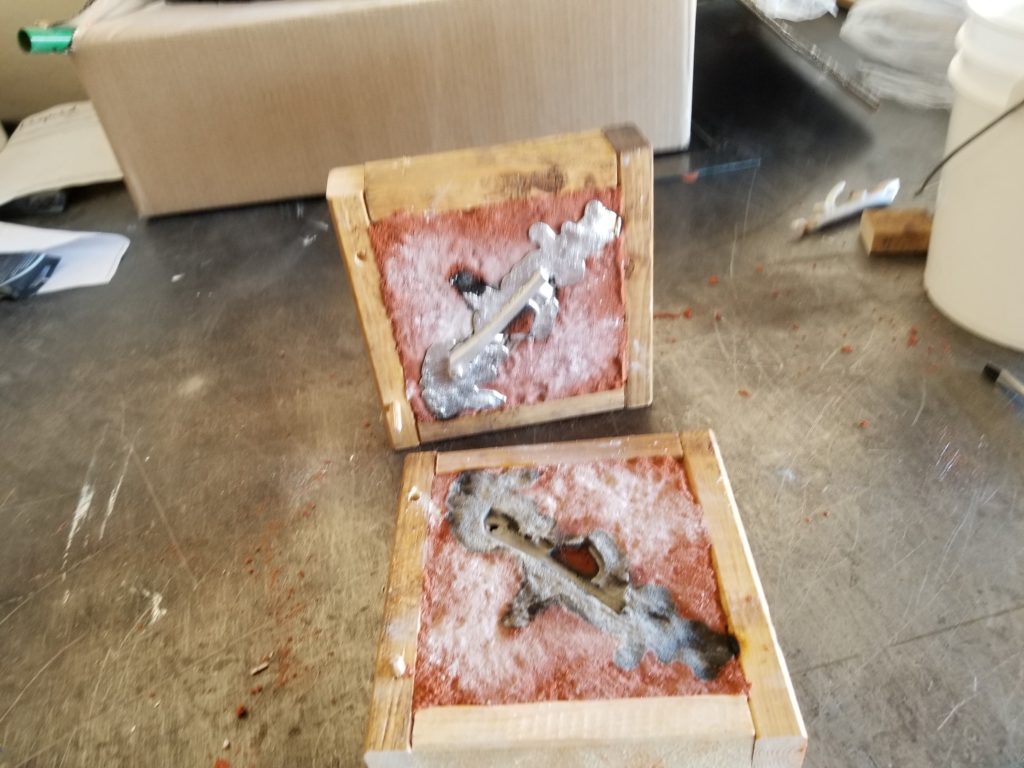
False-cope
I then placed the drag on top of the false-cope and rammed it up. I had the same issue with the wood separating while ramming up the drag. After ramming up the drag I emptied the false-cope, added baby powder to the other side of the part (now stuck in the drag), and rammed up the cope. I noticed that the cope moved off of the drag a bit when I was packing the sand in, but I thought it would be okay. If you see the cope and drag moving apart while ramming the sand, stop immediately and clamp the two together…thoughts from the future being interjected here?!?
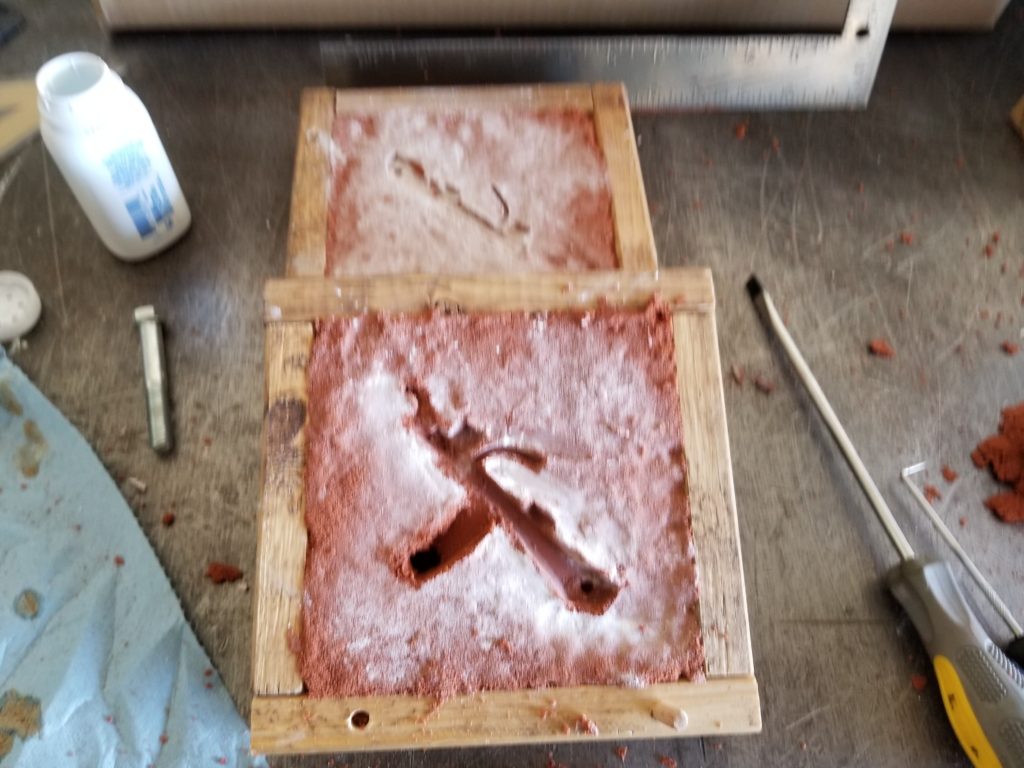
Yes the pictures are not in focus, my bad. I also messed up the sand a bit trying to remove the plastic piece. I set up the furnace and ran it on waste motor oil for this burn. I used aluminum cans as the donor metal.
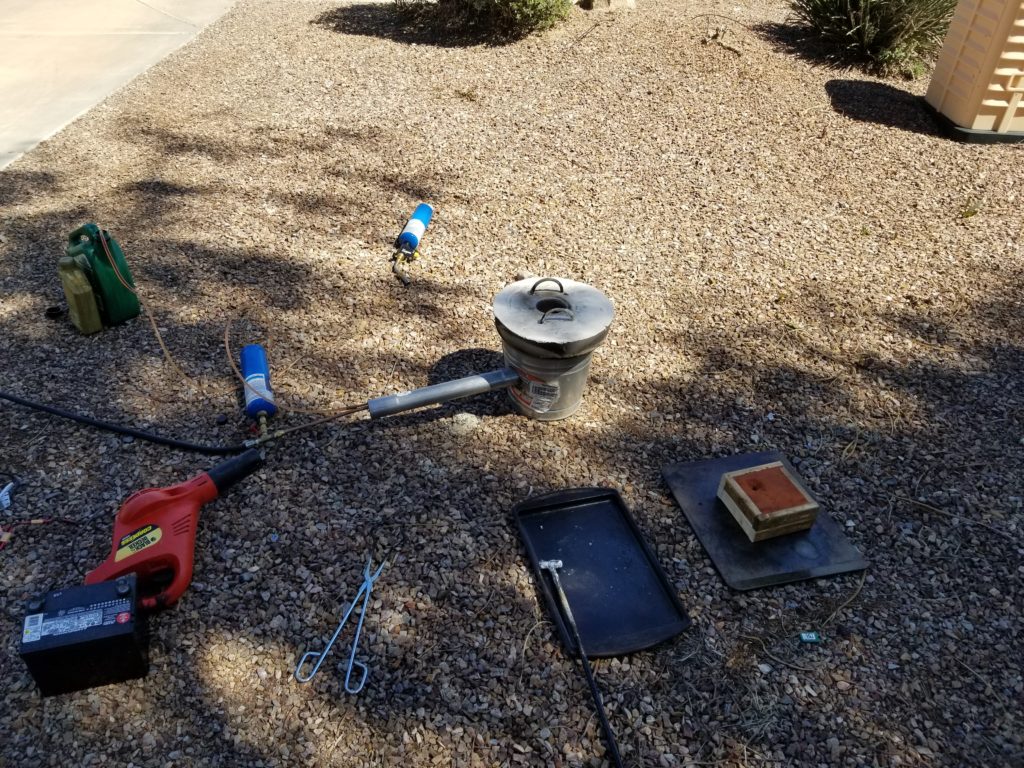
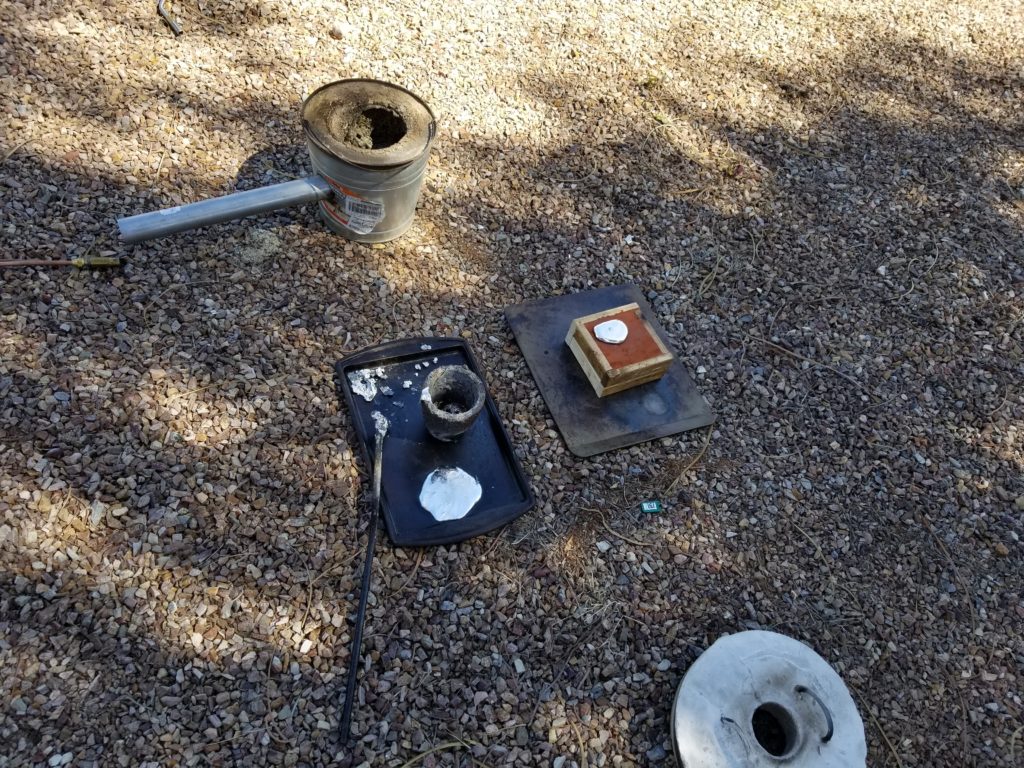
The melt and pour went relatively painless. Not trying to use used differential fluid as fuel makes things much easier. I let the aluminum cool down while I put away the furnace and tools. I saved the sand after the casting for the eventual day when I build a sand muller to get it ready to use for castings again.
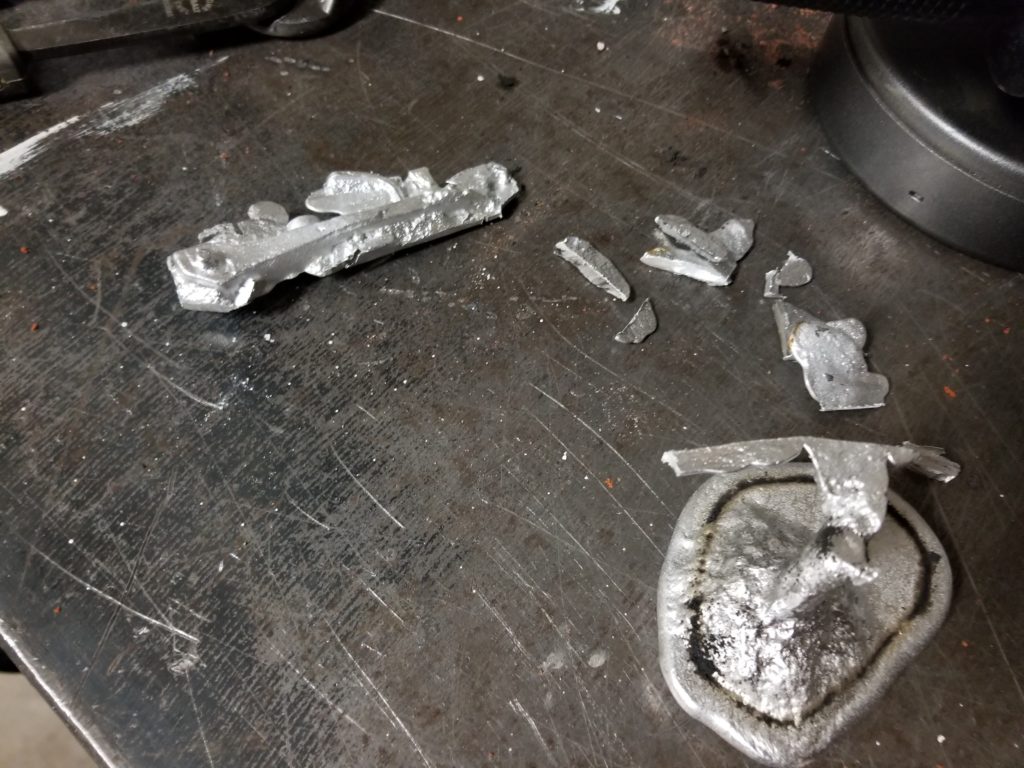
Because of my terribly built sand casting flask and inadequate knowledge/skills with metal casting, the part did not turn out well.
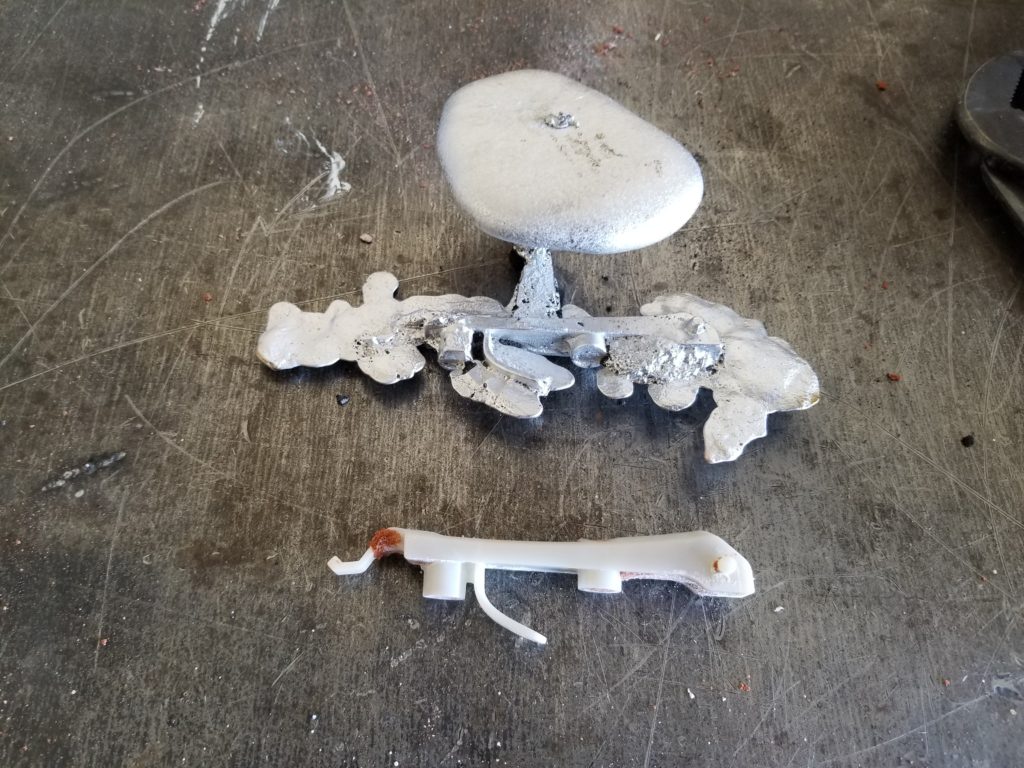
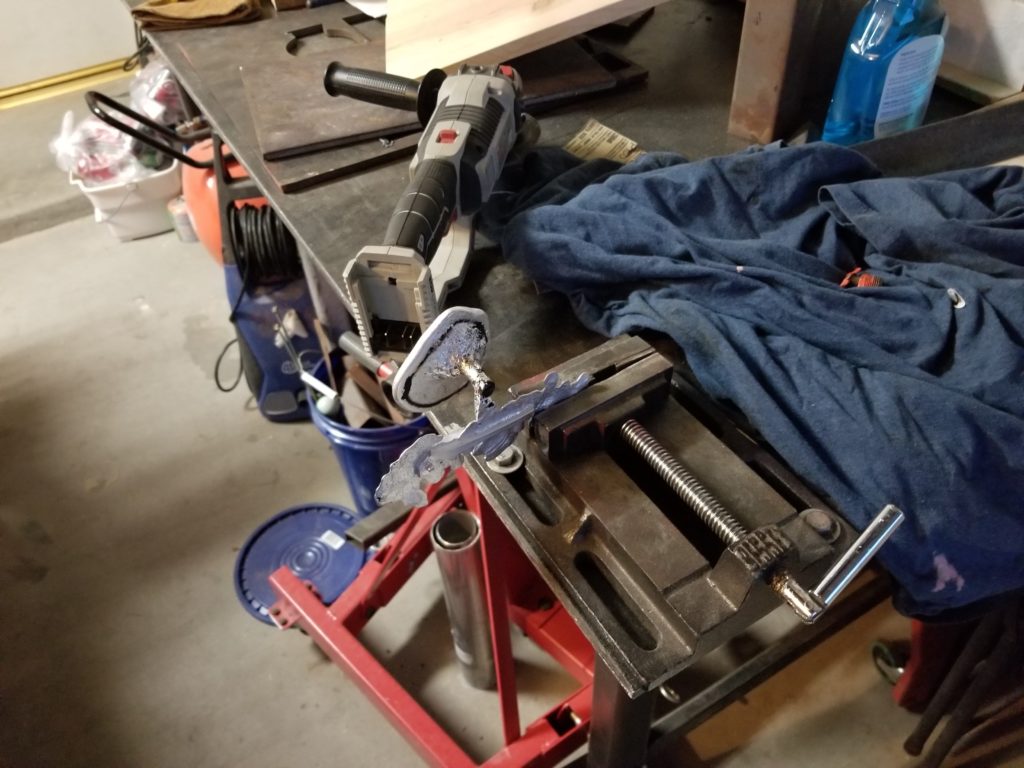
I attempted some cutting and grinding to find the part in all of the excess aluminum, but it was for not. I simply did not have the time to try this again before my wife needed the mop to clean the floors.
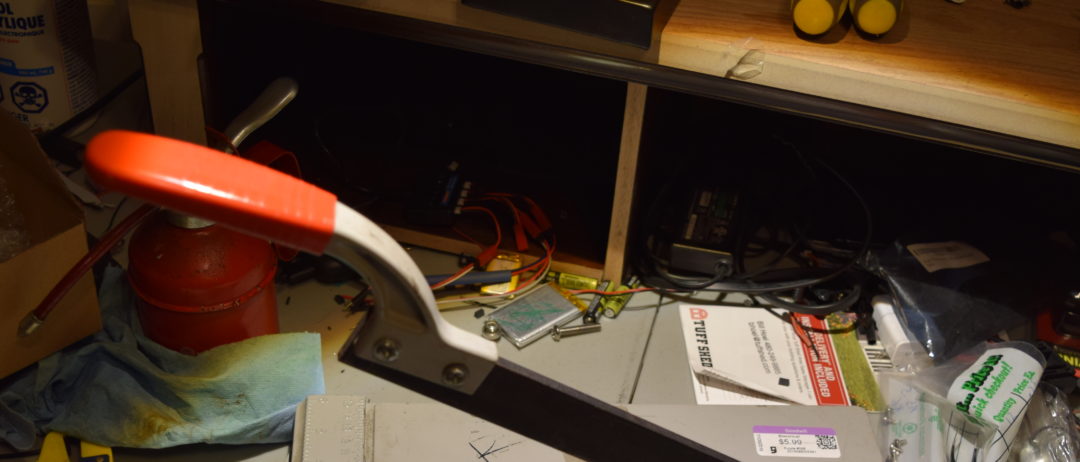
On to plan B, drill a hole in the handle of the mop and put a momentary push button in it. Notice anything in the background of the button picture from earlier?
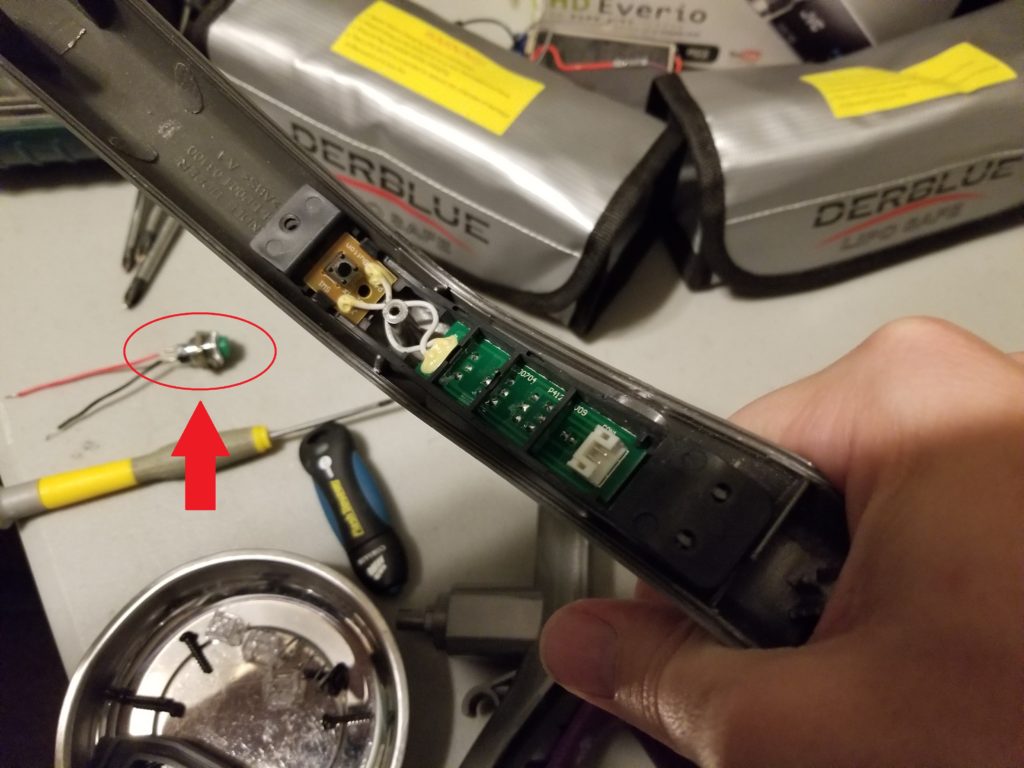
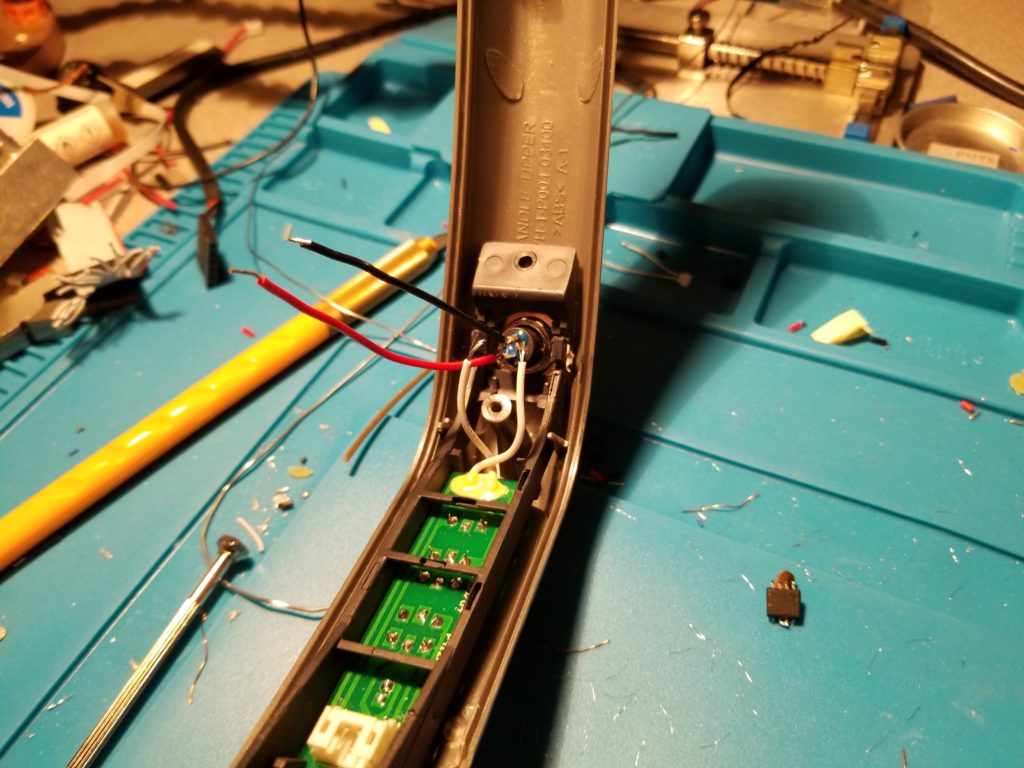
That button was from a previous project for actuating fuel injectors while pushing carburetor cleaner through them. Seeing as how the little push button in the mop did not look like it was rated for much of any current carrying capabilities I figured my 3 Amp 240 Volt button would certainly do the trick. I removed the old button along with its PCB by clipping the white wires. I then drilled a hole in the mop handle to match the diameter of the button.
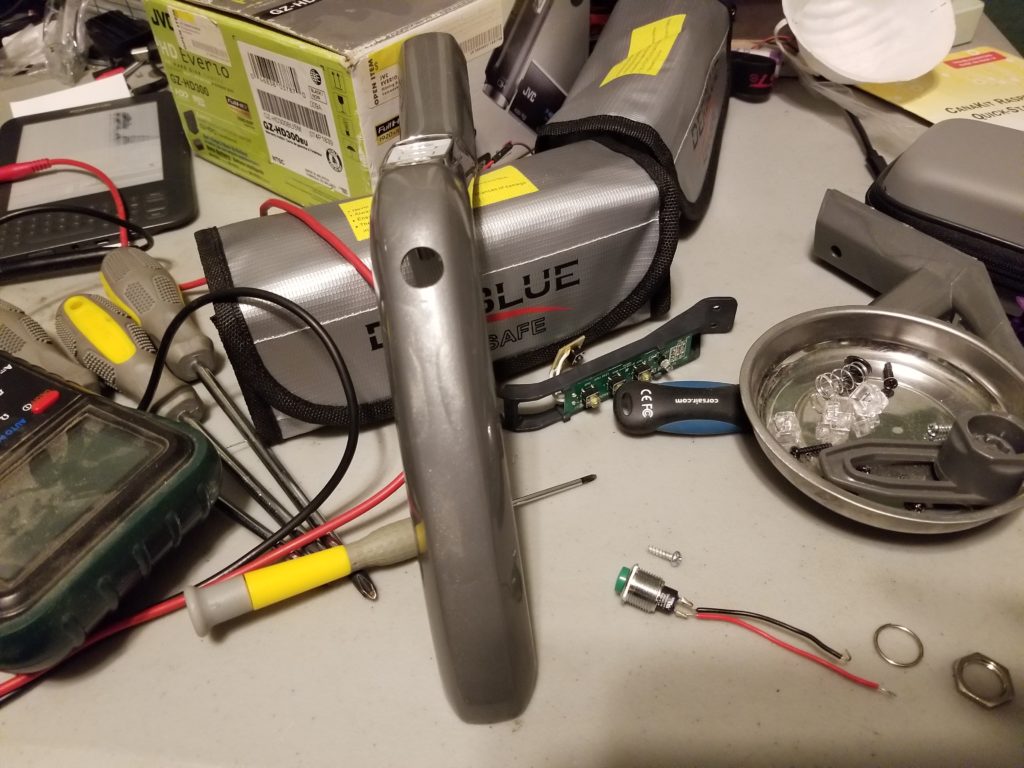
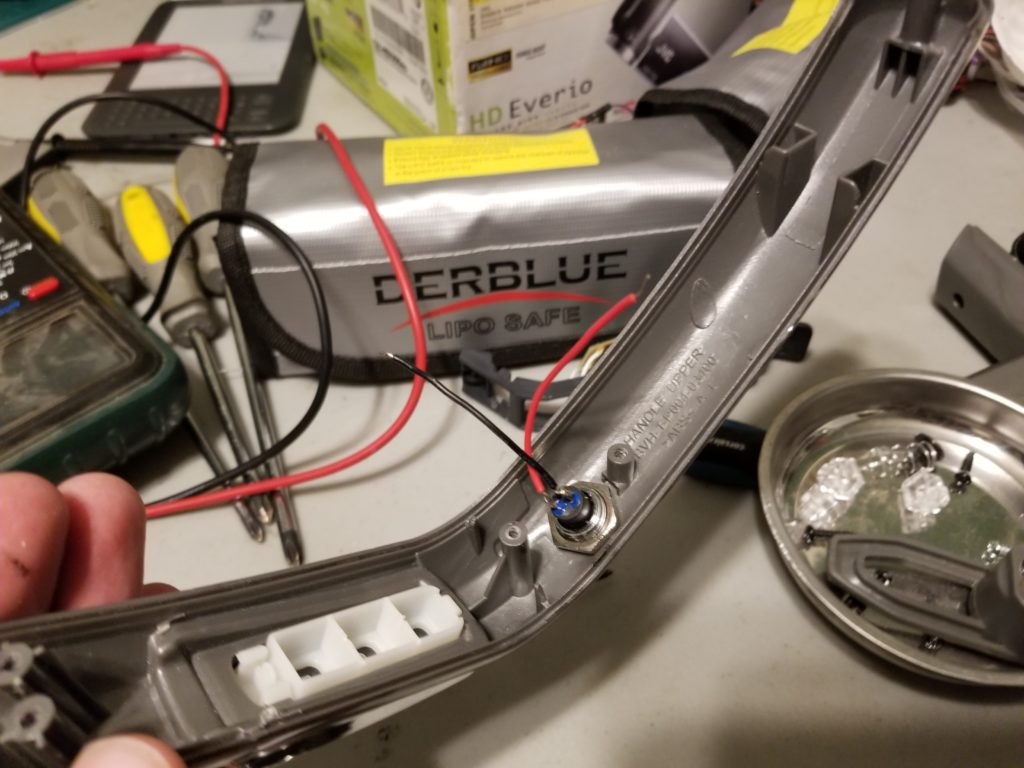
My momentary push button did not care about polarity so I desoldered my black and red wires and soldered in the two white wires that previously connected to the old button’s yellow PCB.
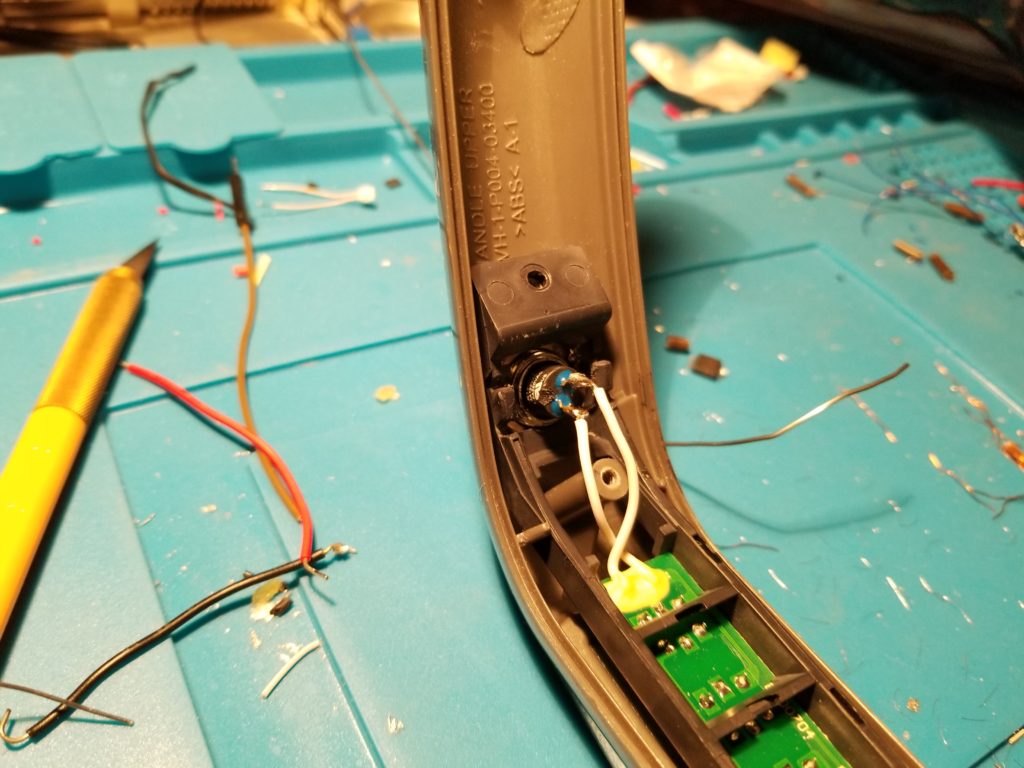
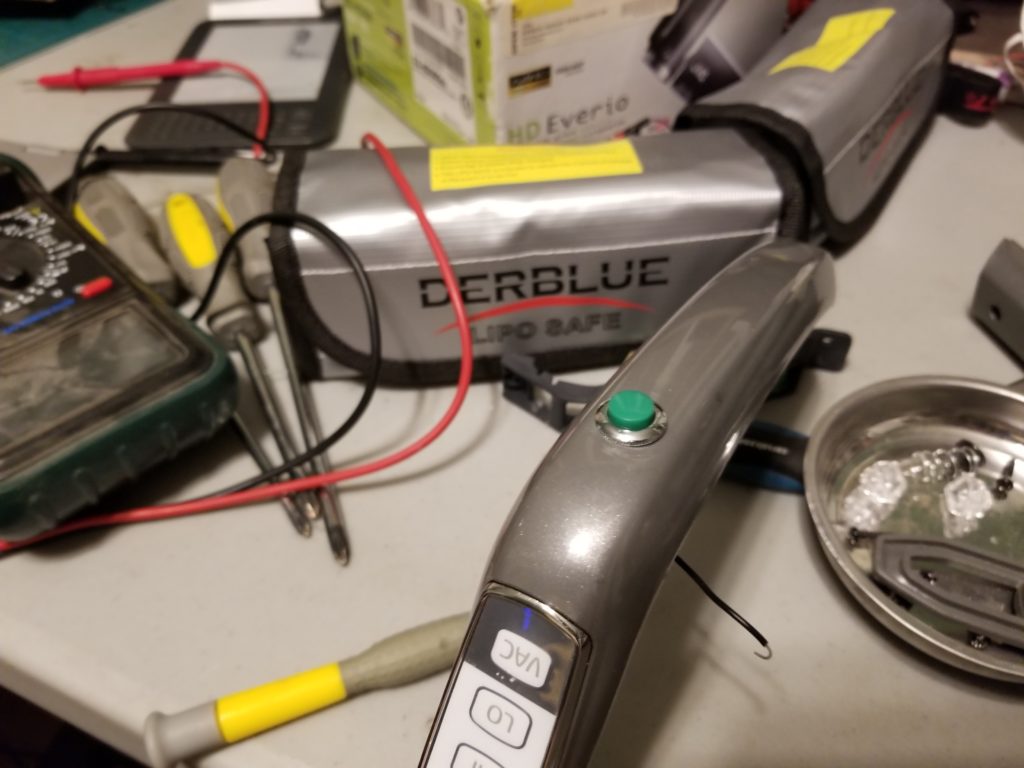
I then re-attached the handle to the mop and presented the now fully functioning mop to my grateful wife. After spending hours attempting to remake the plastic part with aluminum it felt pretty silly to have finished the fix with 30 minutes of effort adding the new switch. The half hour even included testing the mop.