Bench Power Supply Case
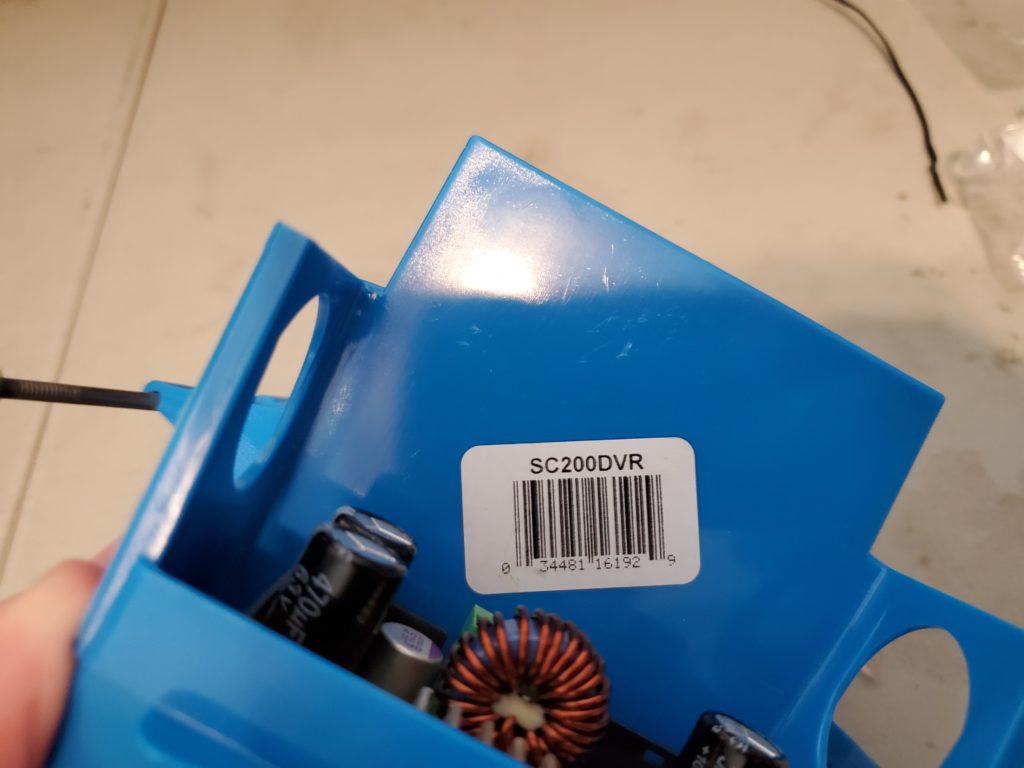
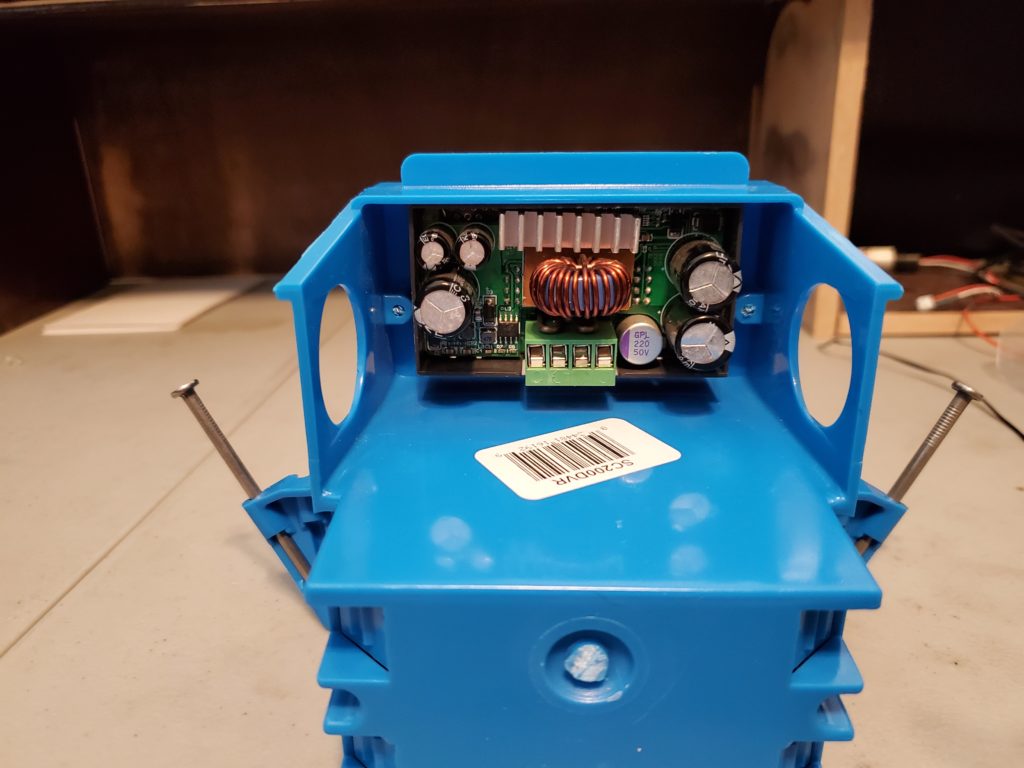
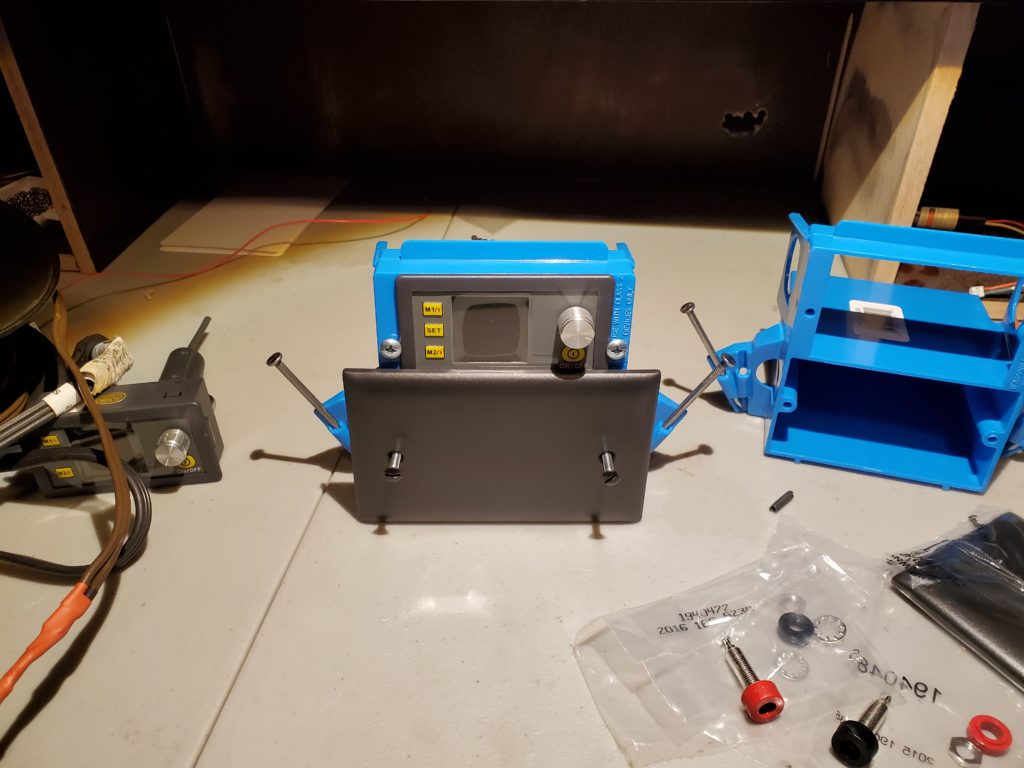
Back in December 2016/January 2017 I purchased two DROK DC6-55V to 0-50V 5A Buck Power Converters. They work well letting you set CC and/or CV all in a small package. I used these instead of a normal bench supply because I needed to run them from batteries at the time. The project I purchased them for has since moved on and they have sat collecting dust since. I now find myself in need of a normal bench supply to use at a desk instead of out in the field. While I am sure there are cases made for these, I have chosen not even to look for them because I like making things difficult. I have seen other projects where people put these in custom cases, but they usually involve precise cutting and planning. Instead of that I chose to go to Lowe’s and let my toddler run up and down the aisles while I looked for inspiration. What I ended up purchasing was an SC200DV low voltage plastic electrical box. The DROK fit nicely in the top section.
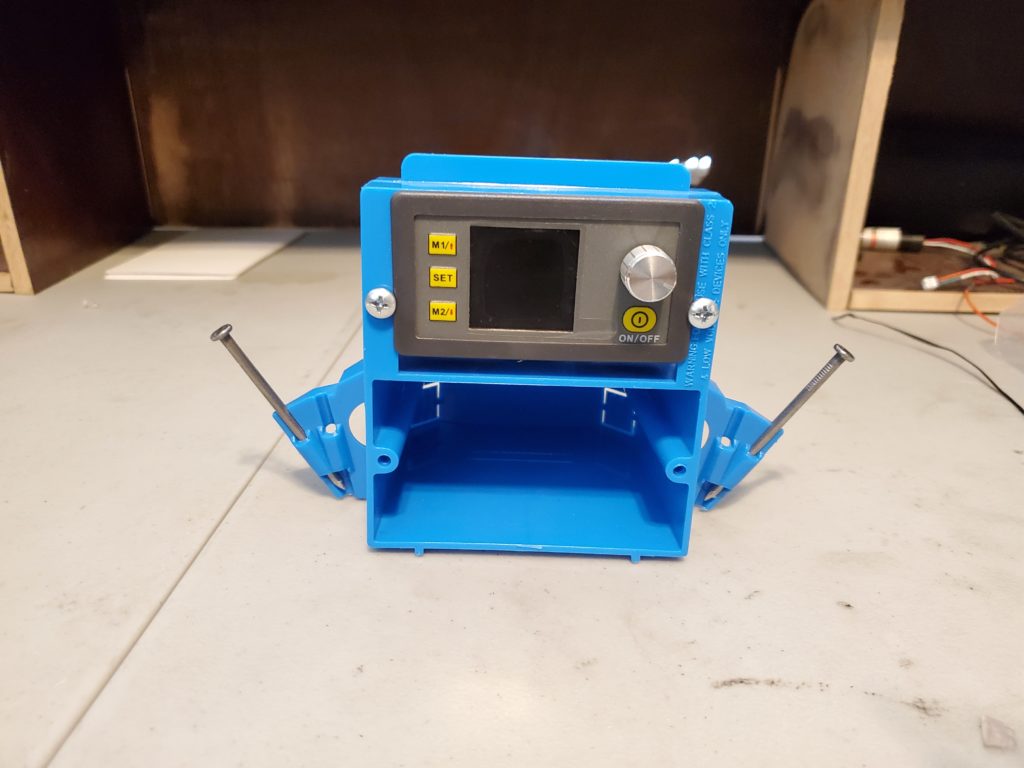
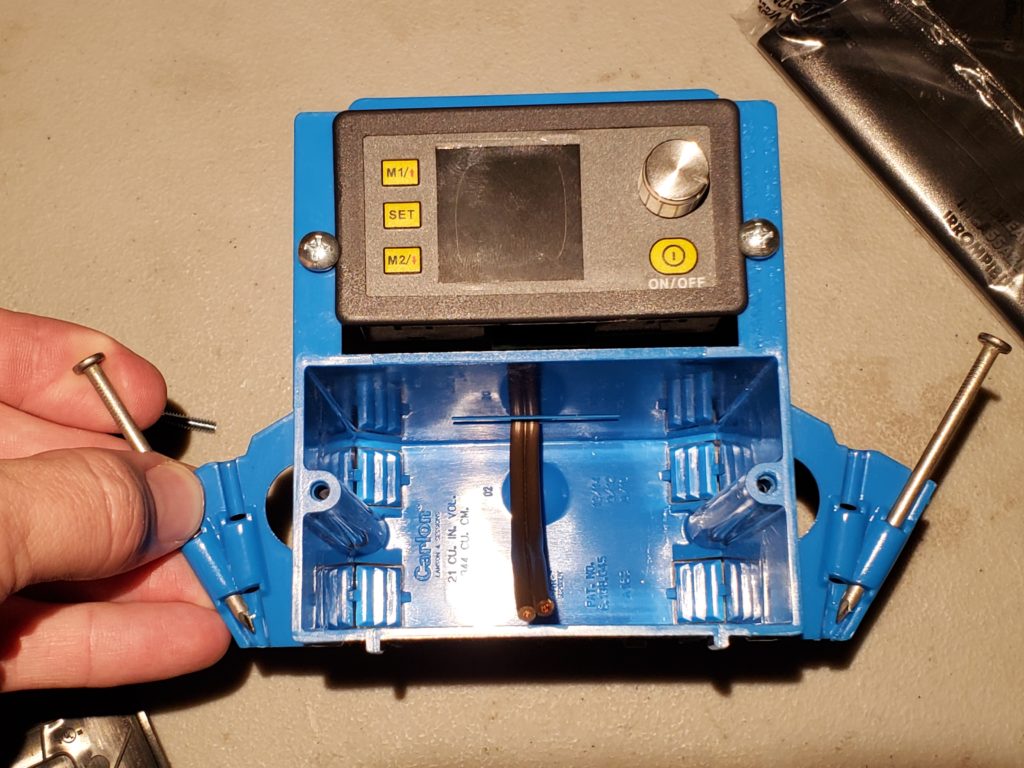
I used 2 #8-1/2″ screws to hold the DROK in the top half. I then let the project sit for a week to let the two parts get acquainted (more like got busy and left them sitting on a desk).

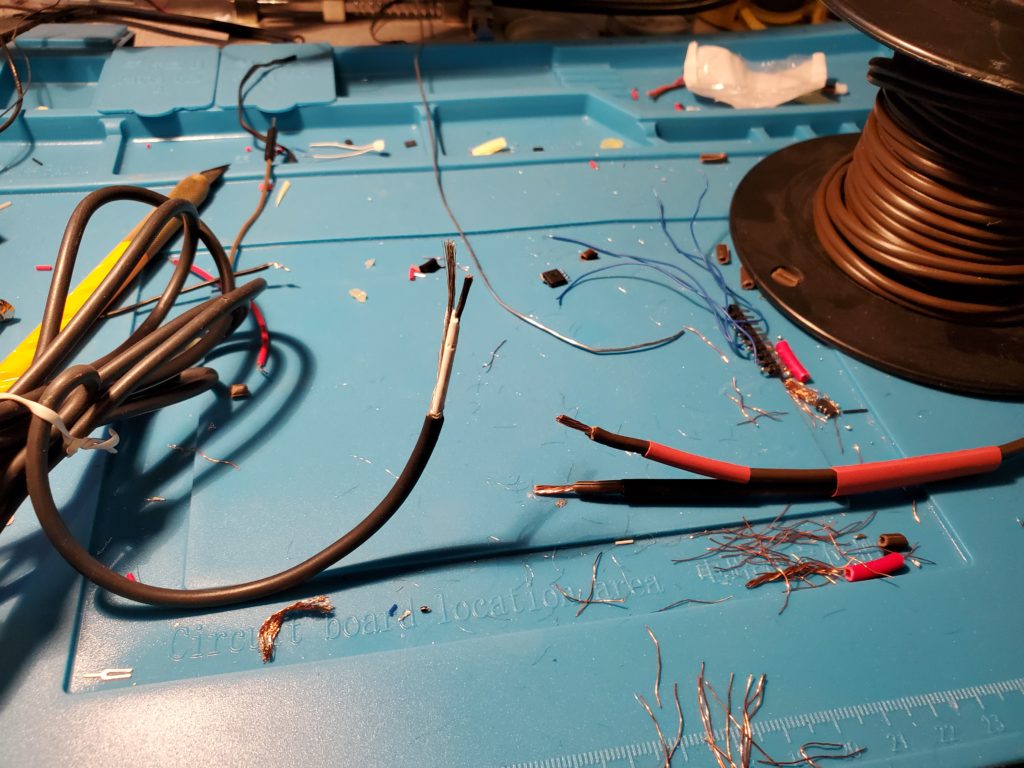
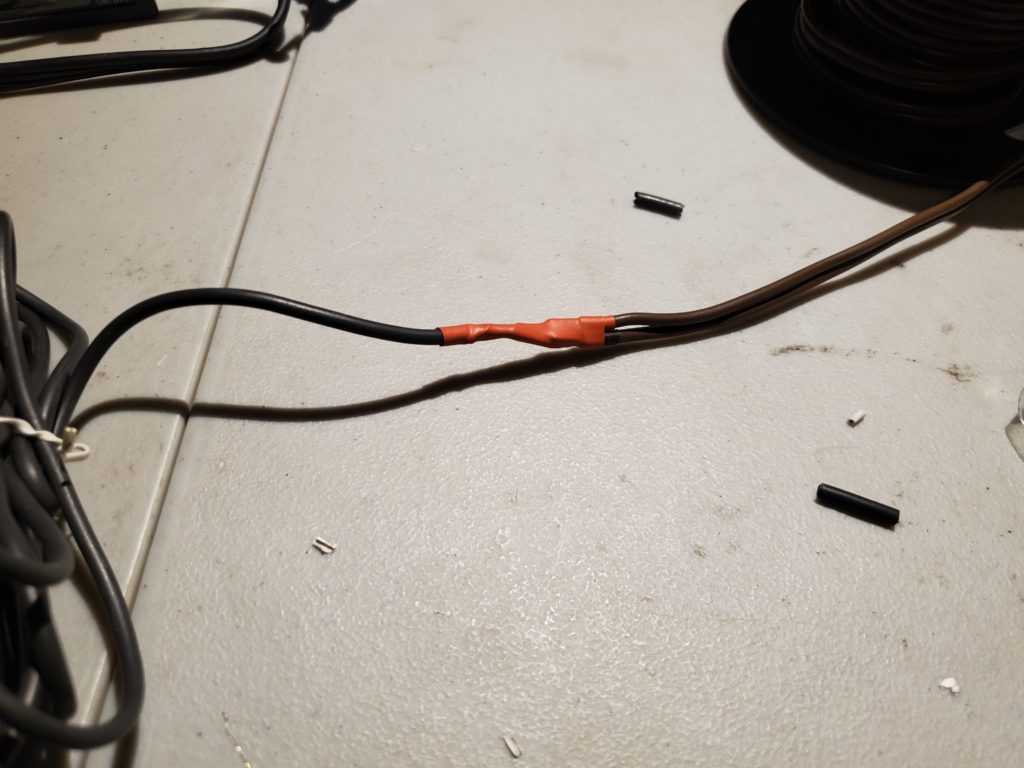
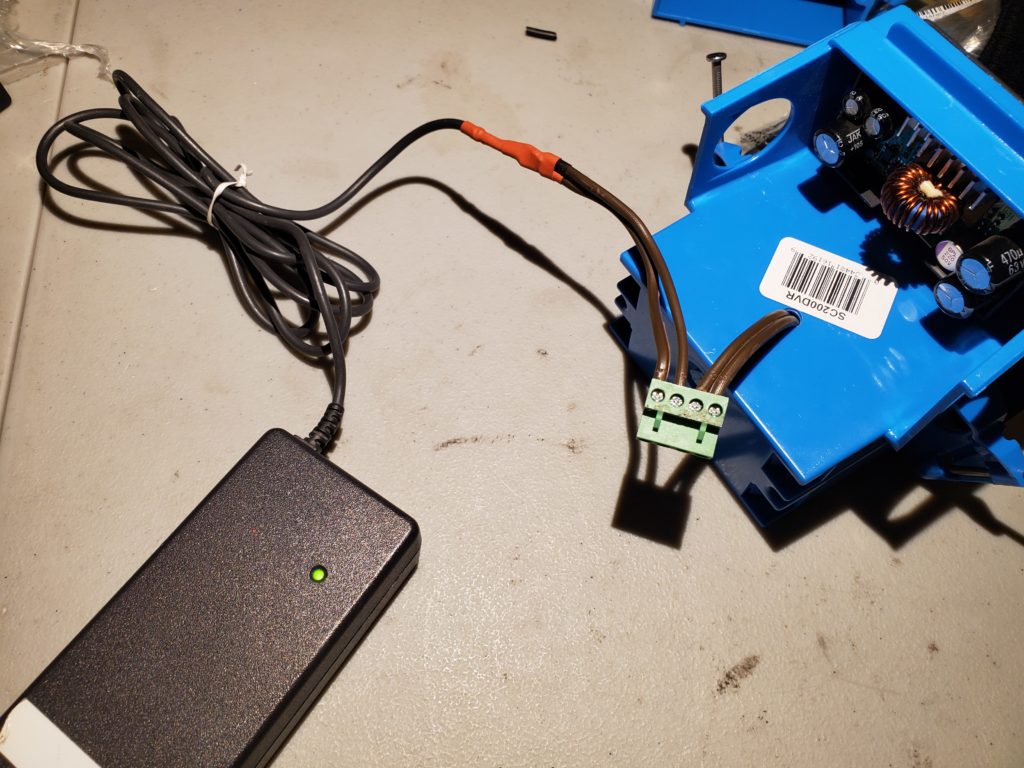
After letting the two parts become best friends I mixed it up by attaching some lamp wire of unknown gauge (probably 14 AWG) to the output of the DROK. My pixie source of choice for the DROK was a 20V 3.5A laptop power supply from some unfortunate laptop that would never be re-united with it’s original power source.

I previously cut off the laptop connector and attached the wires directly to the DROK, but the ferrite core was too close to the end of the cable to allow a good connection. The ground connection would fall out of the DROK (more like it was ripped out multiple times). The ferrite core is added to the end of the cable for noise suppression (EMI). Fun fact, lead acid batteries are really noisy. Adding a clamp on ferrite core around the leads coming from the battery fixes it (at the device end). If I had a spectrum analyzer and chamber for testing we could see how much of a difference the ferrite core made for this laptop supply. Alas I do not, but I digress.

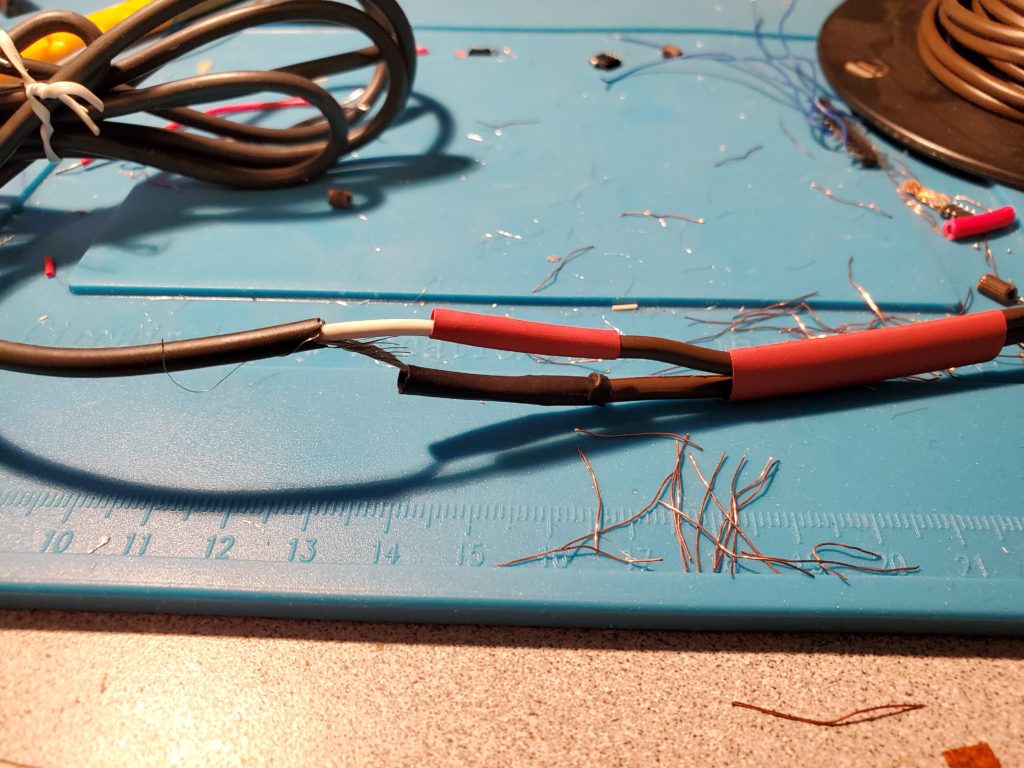
Stripping, soldering, and shrink tubing.
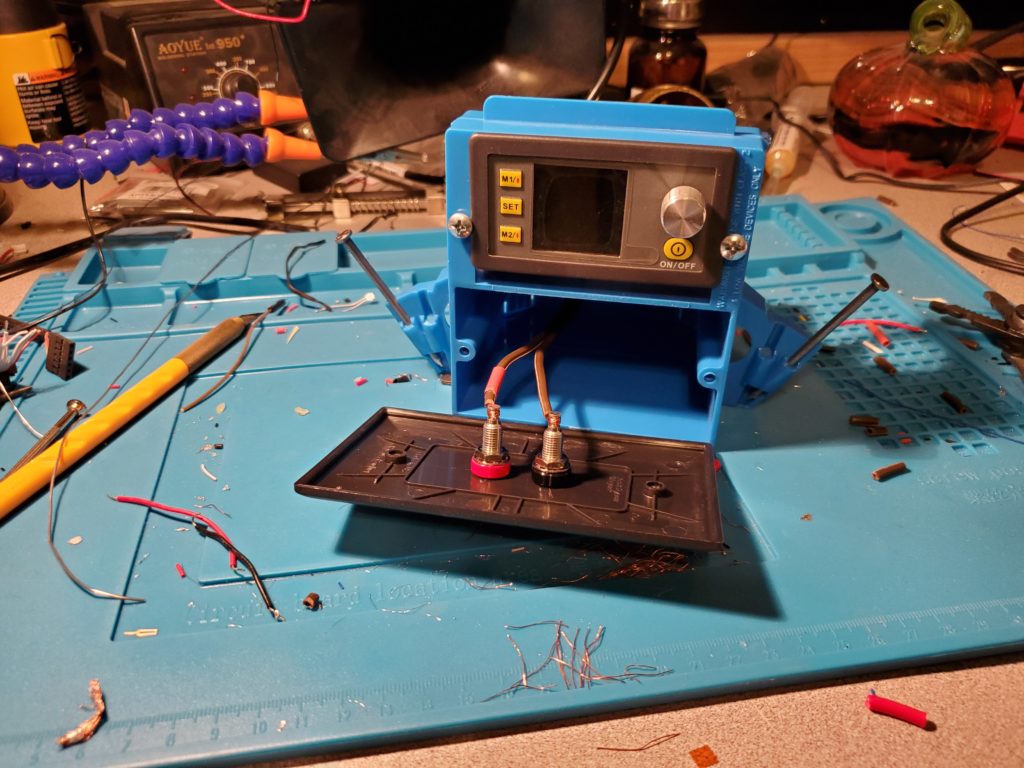
Test assembly with solid cover. Red and black female banana jacks can be seen in bottom right corner.
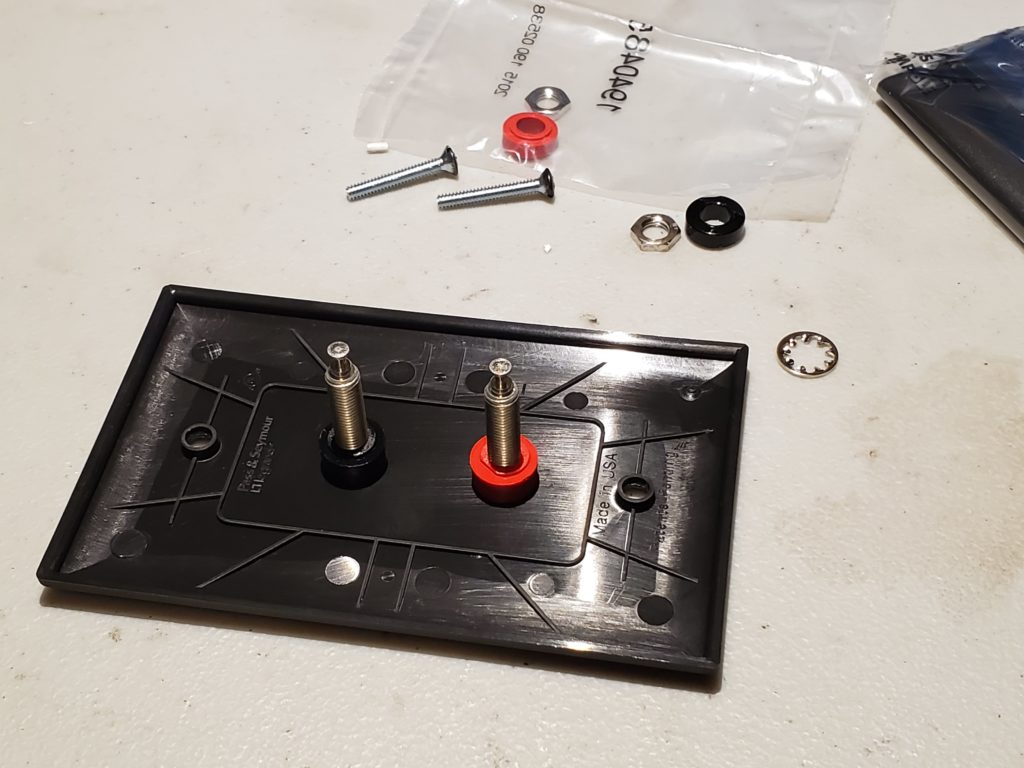

Banana jack diameter 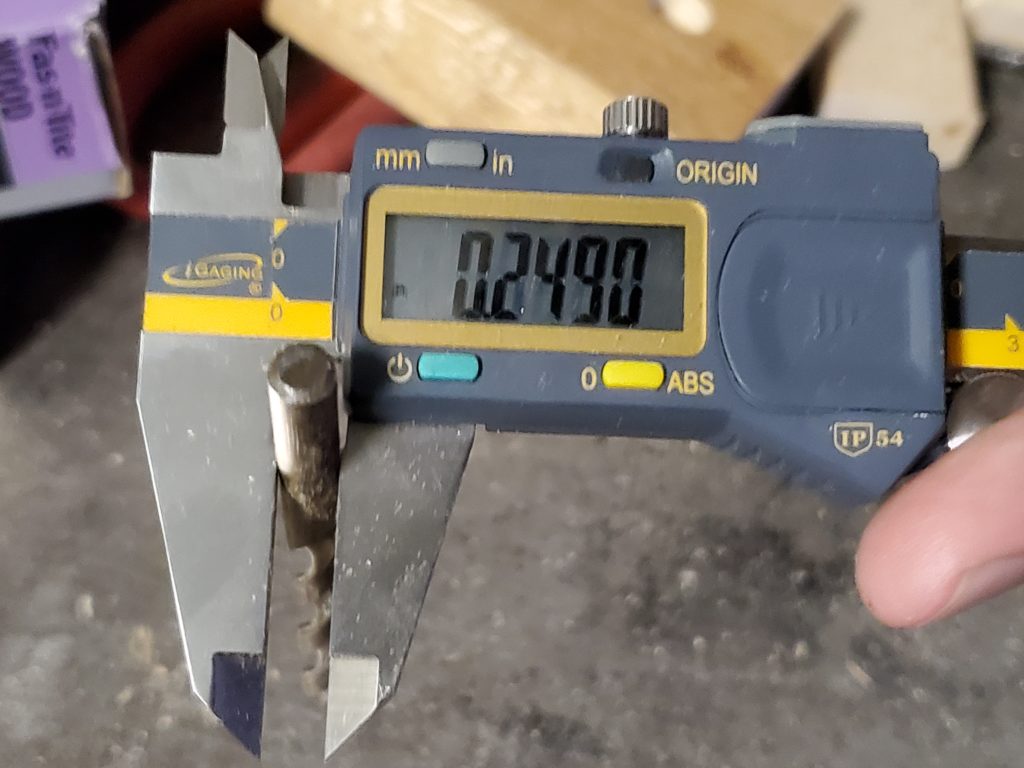
Drill bit diameter
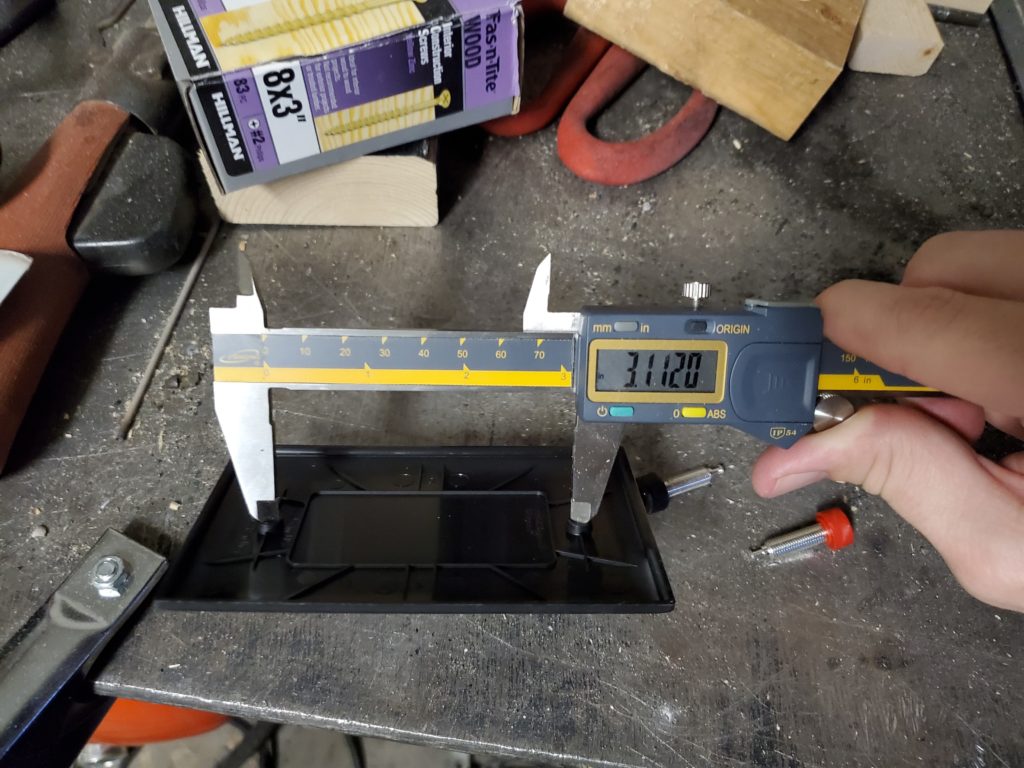
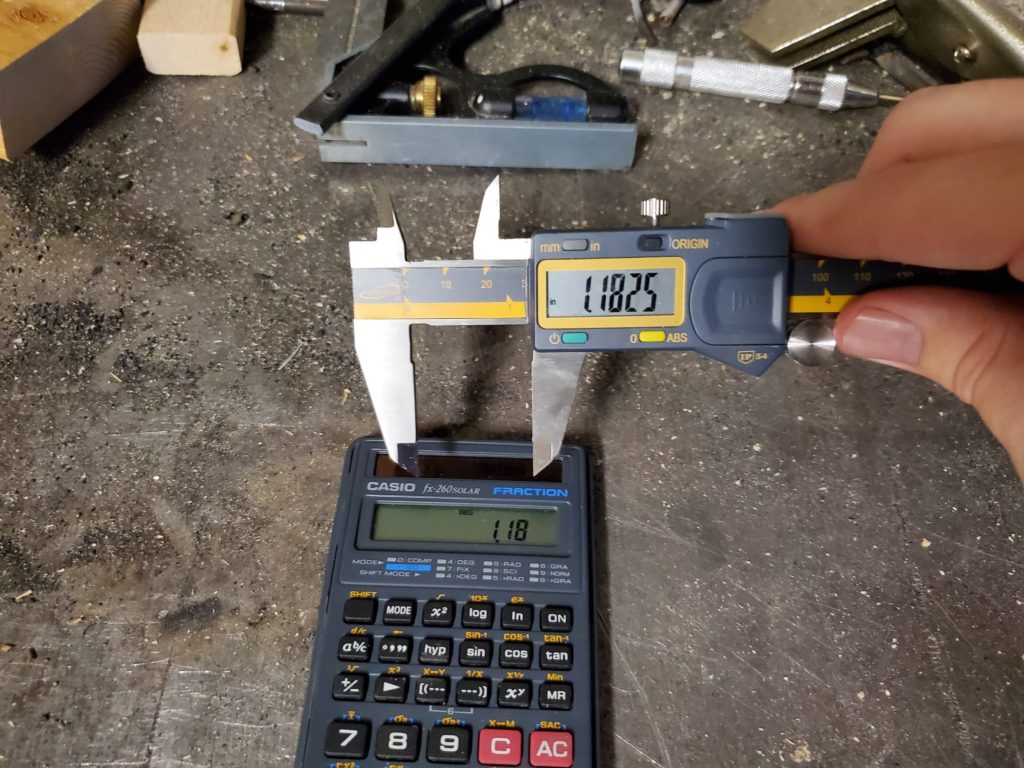
I wanted the banana jacks to be symmetrically placed between the screw holes on the plate. To do that I measured the distance between the screw holes (3.112″). The distance between the two banana jacks for what I felt was correct (1.0325″). Then with my best guess of how I came up with the 1.18 found in the calculator picture below here is the math. (3.11-1.00+.25)/2 = 1.18. I did this project a month and a half ago and am just now finishing the write up, hence the math guesstimates. The number I was looking for is how many inches should I set the calipers to, to make an arc from the screw holes.
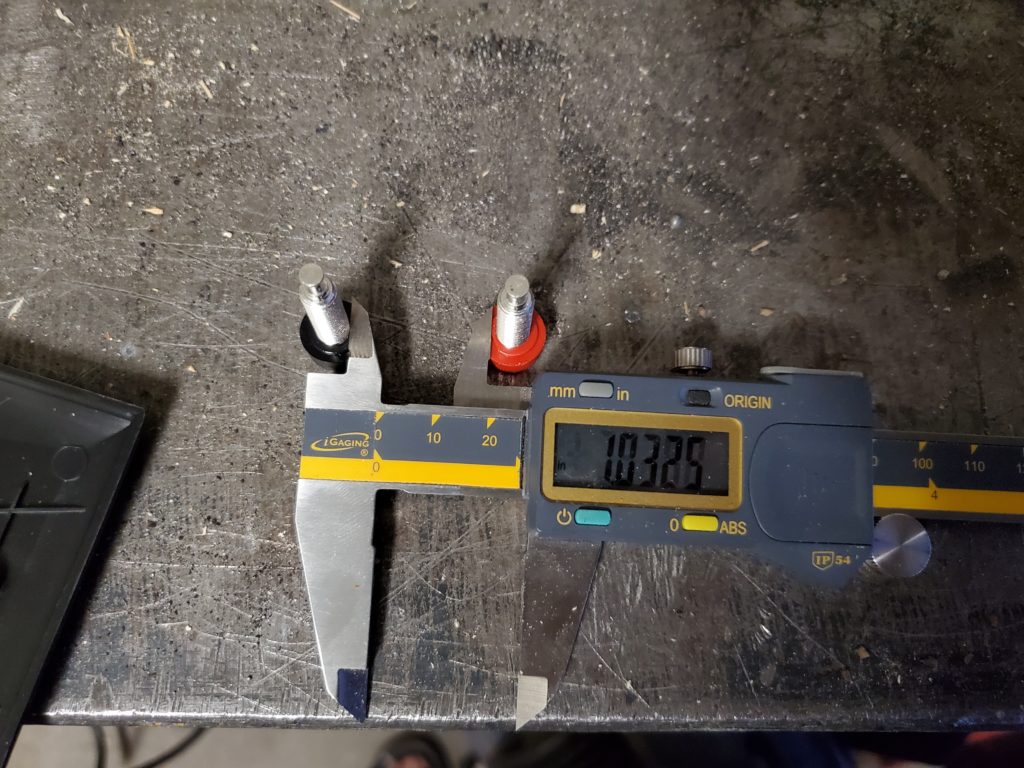
No one notice the 0.0025″ 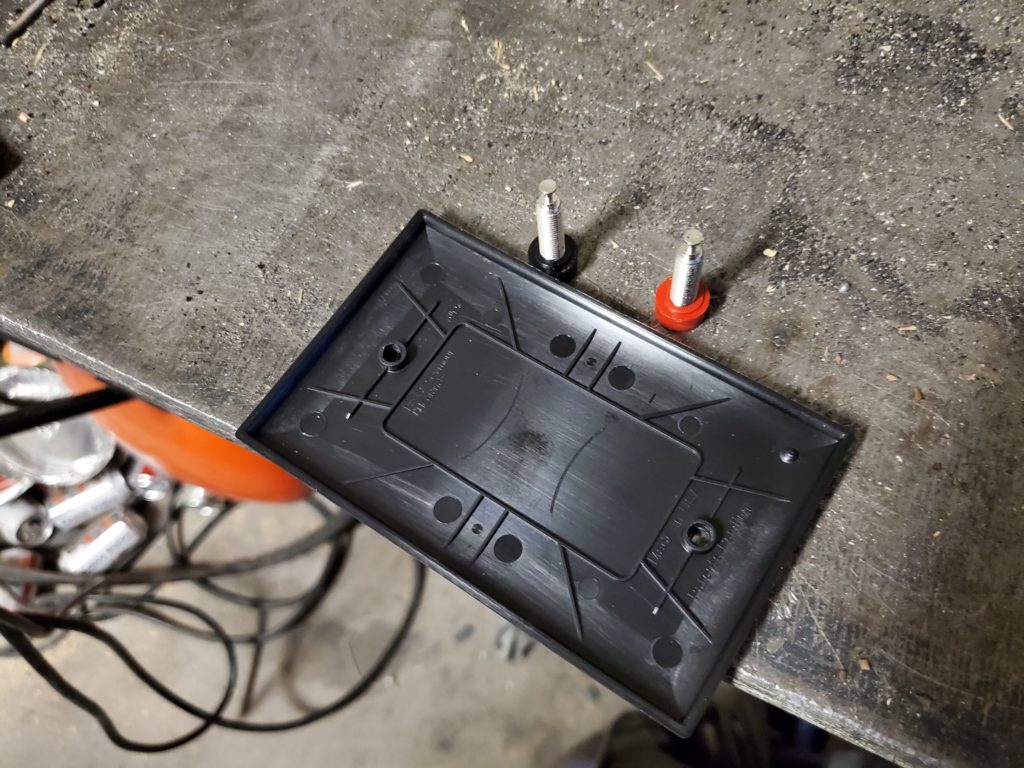
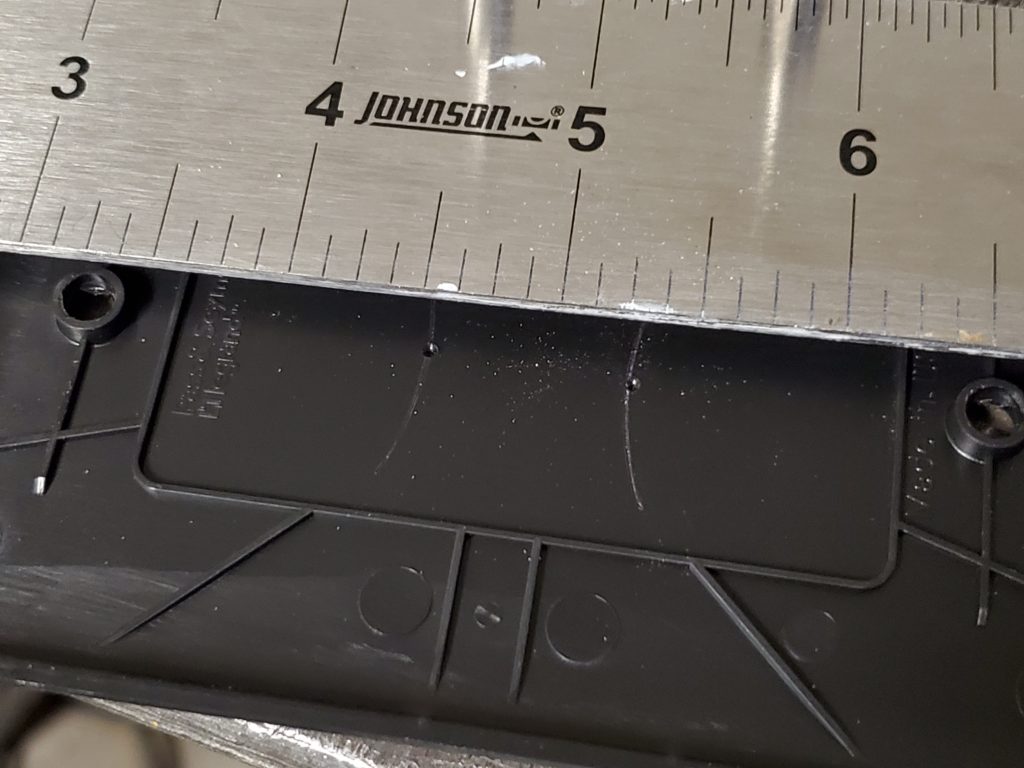
Arcs scribed into the plastic
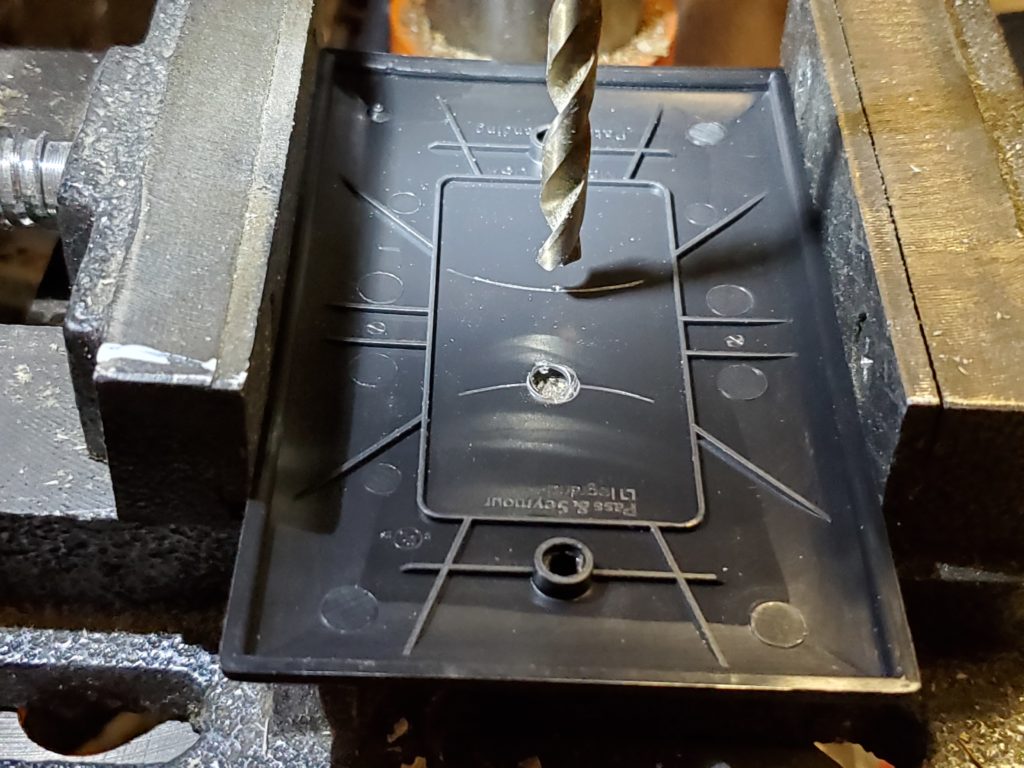
I then used a straight edge aligned by eye between the two screw holes to mark the drill points. I drilled the two holes and brought everything back inside for assembly.
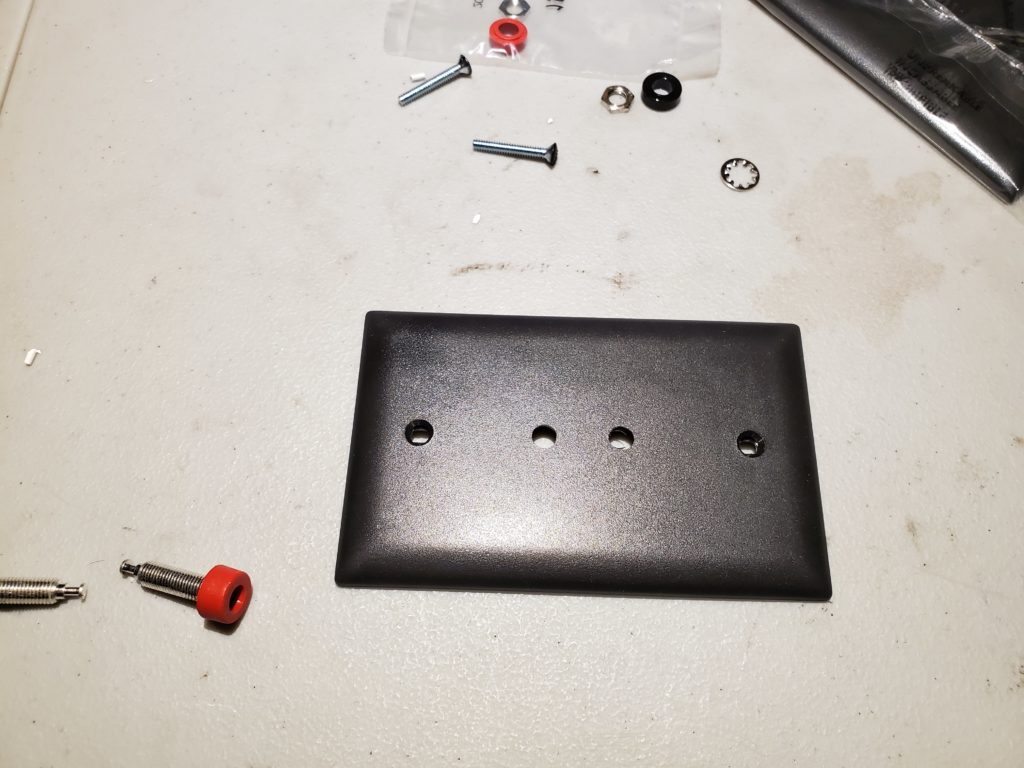
I screwed the banana jacks into place and realized I needed a hole in the enclosure to feed the lamp wire down to the rear of the banana jacks. I went back into the garage to make the quick hole and fed the wire through.
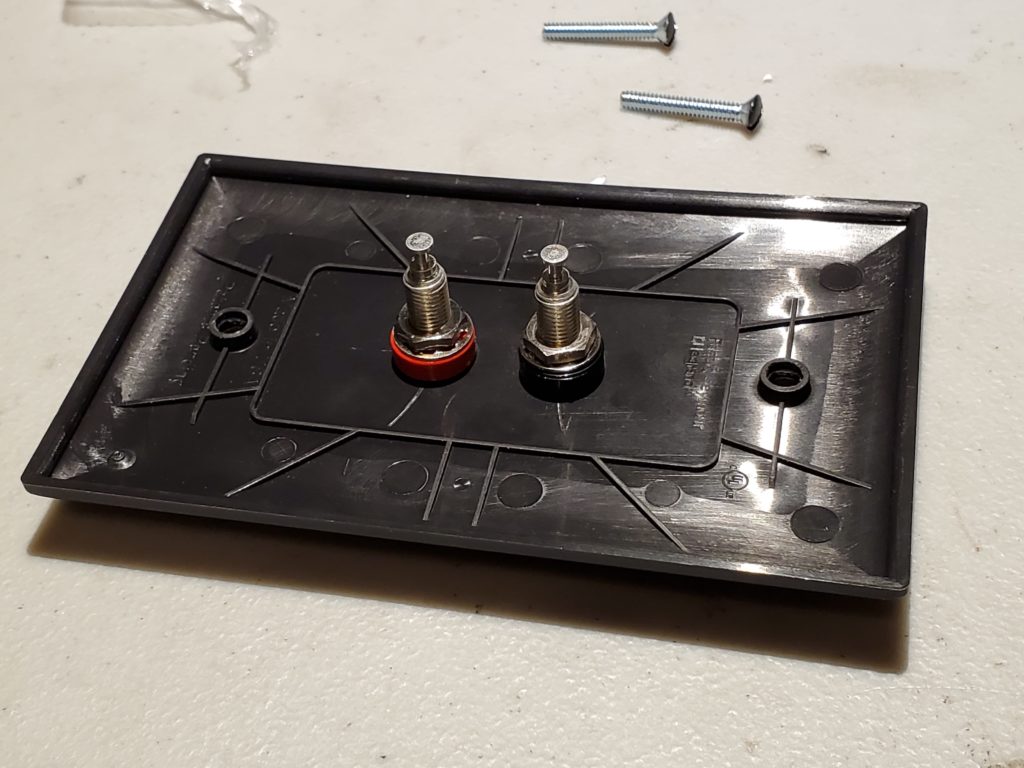


I stripped the wire ends, added some red shrink tube to the + wire, and wrapped the wires around the posts on the banana jacks. The jacks are rather large and take quite a bit of heat to solder to. A larger tip on the soldering iron will make this easier. (If you don’t do SMT soldering then the large tip that comes on most soldering irons will do just fine)

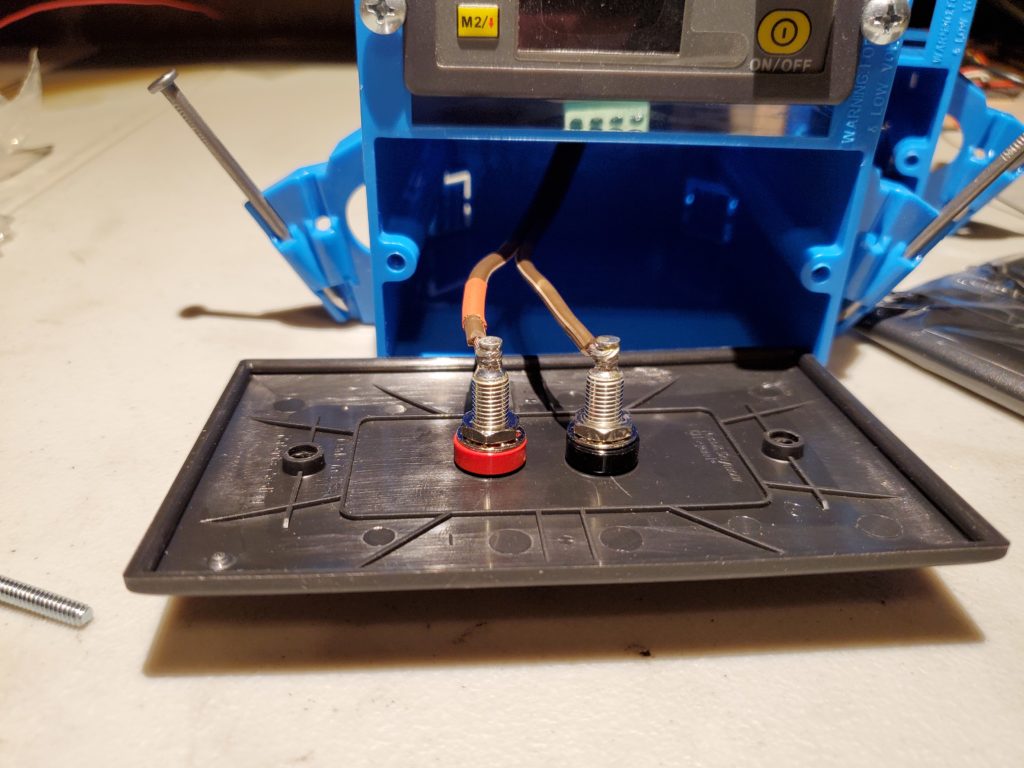
All soldered
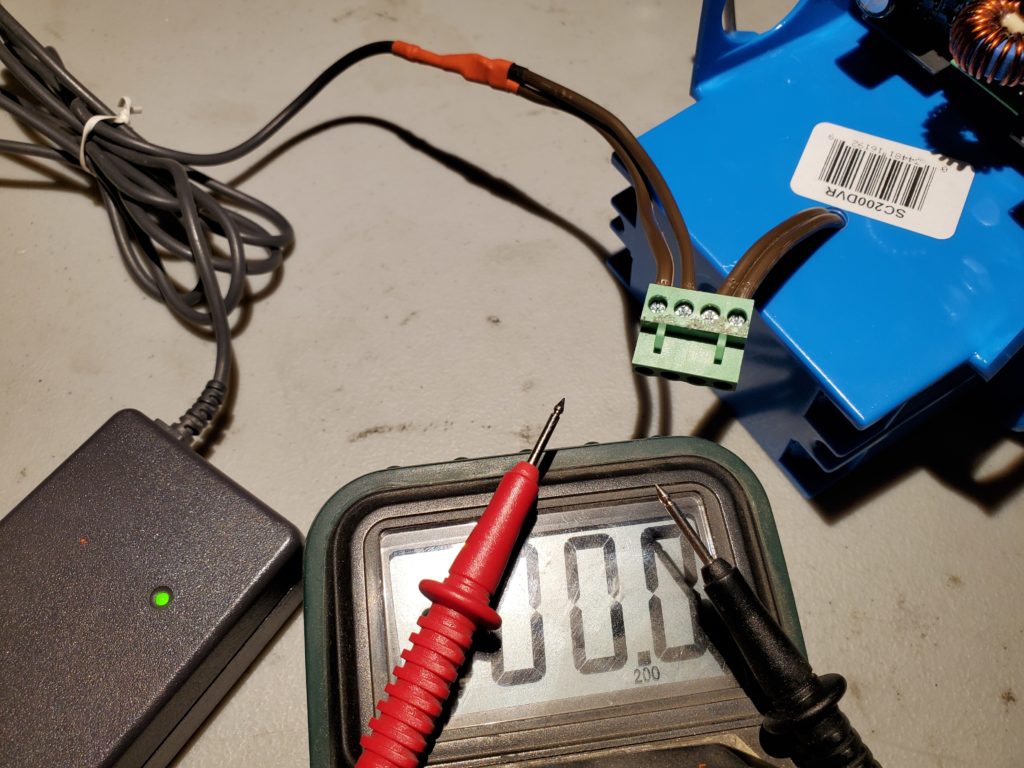
I then screwed the cover to the rest of the case. I pulled the screw terminals out of the DROK to make it easier to connect the laptop power cables. Once everything was screwed into the terminals I tested the voltage with a multimeter before plugging it back into the DROK. The main two things I wanted to make sure was that the polarity was correct and that the voltage was under the 50V max input of the DROK. As both of these things were good, I plugged in the screw terminal and verified the DROK powered up.


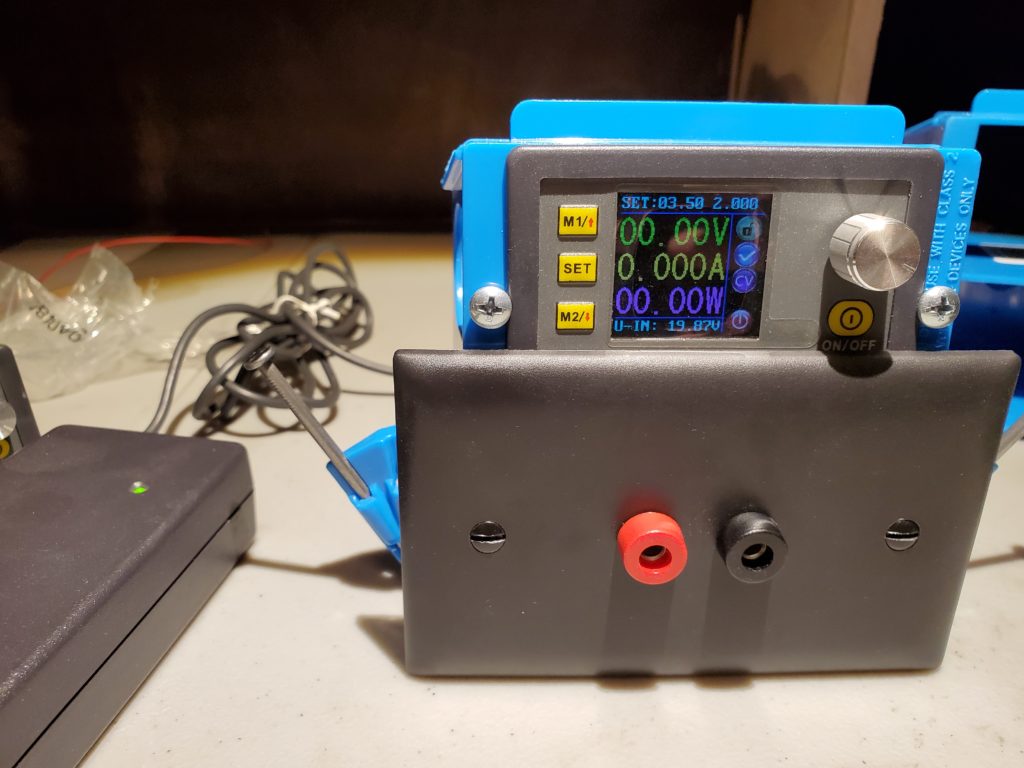
I then plugged the laptop supply into a 6 outlet surge protector with a switch and set my new bench supply on a shelf. I use the switch on the surge protector to make it easy to power down my workspace. My lamp is also plugged into the same surge protector to make sure I don’t accidentally leave things powered up.