Back Firing Engine
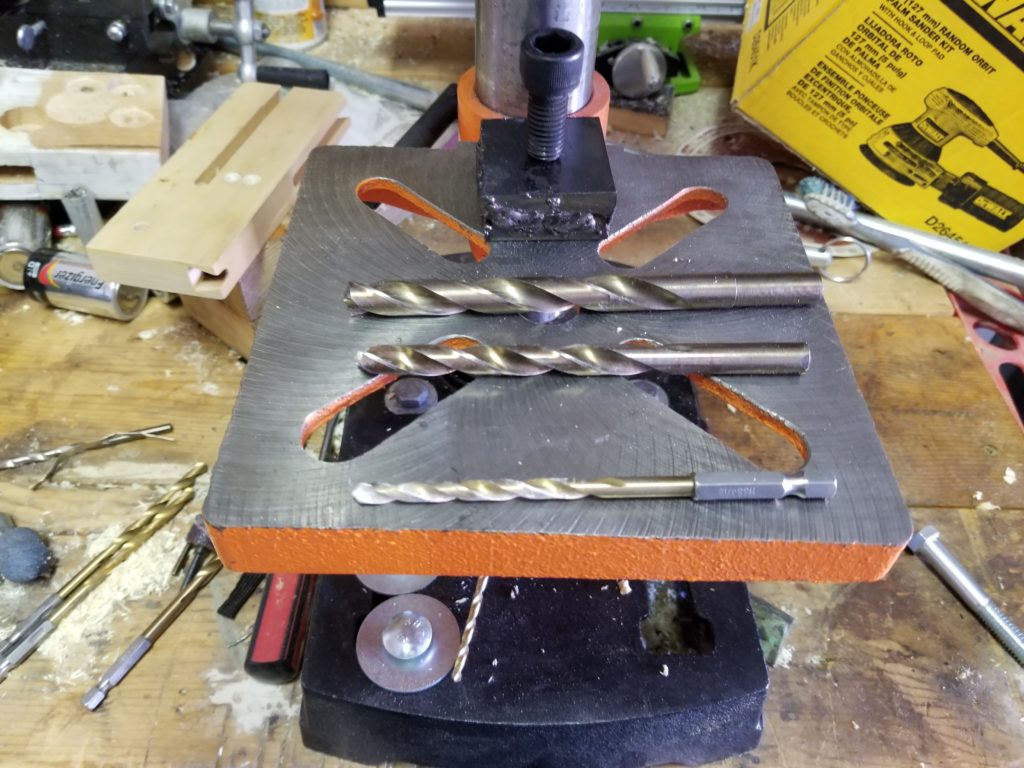
Although the engine did run, it started back firing once it warmed up. I assumed it was the carburetor. Short story even shorter, it was not the carburetor. The carburetor was relatively clean, but since I had it apart I sprayed everything with carb cleaner. After some research online I started looking at the exhaust for the cause of the problem. There was indeed a problem with the exhaust, about half an inch of completely destroyed gaskets stacked between the exhaust port and the manifold. The harness that bolts the manifold to the engine left a half inch or more gap between the manifold and the engine. I sure hope the stack of gaskets that was crammed in that space was not the factory solution for connecting the exhaust manifold. I ordered a pack of 10 “Exhaust Muffler Pipe Gasket” for $6 so that once I found a way to bolt the manifold in place it would seal properly.
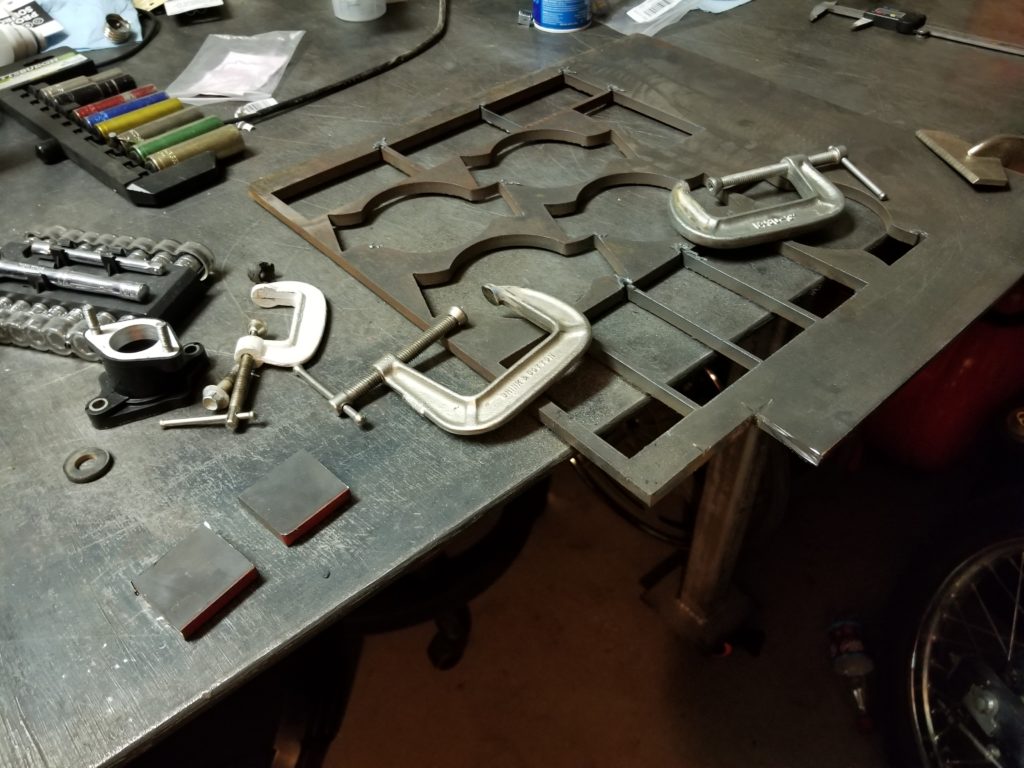
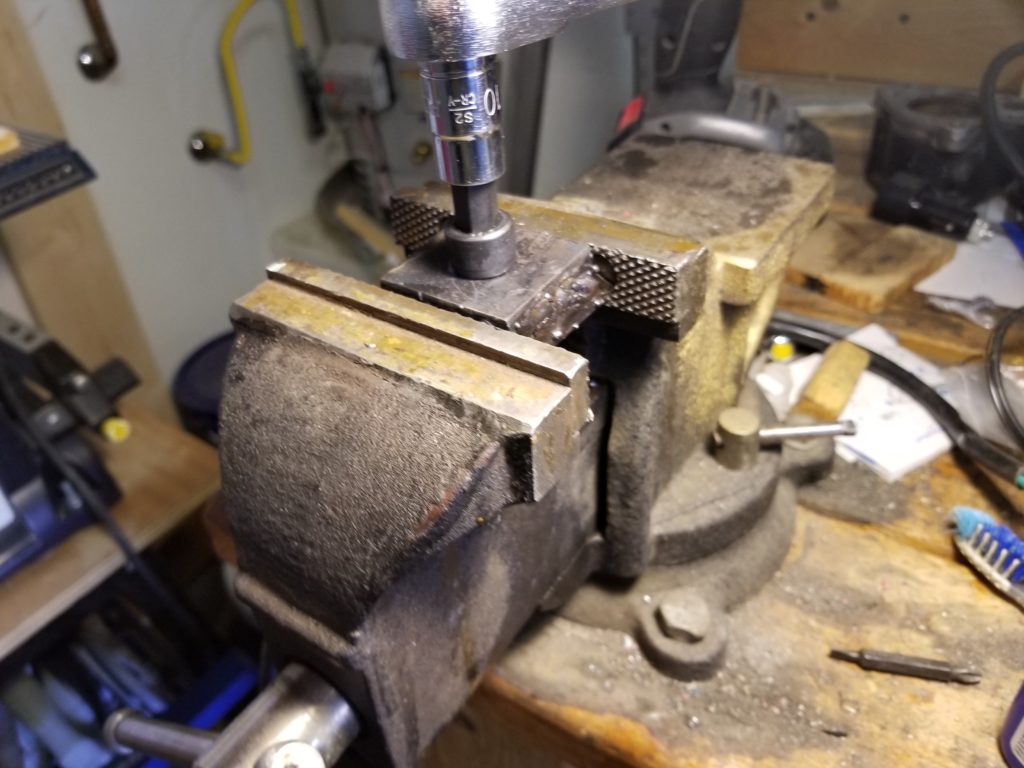
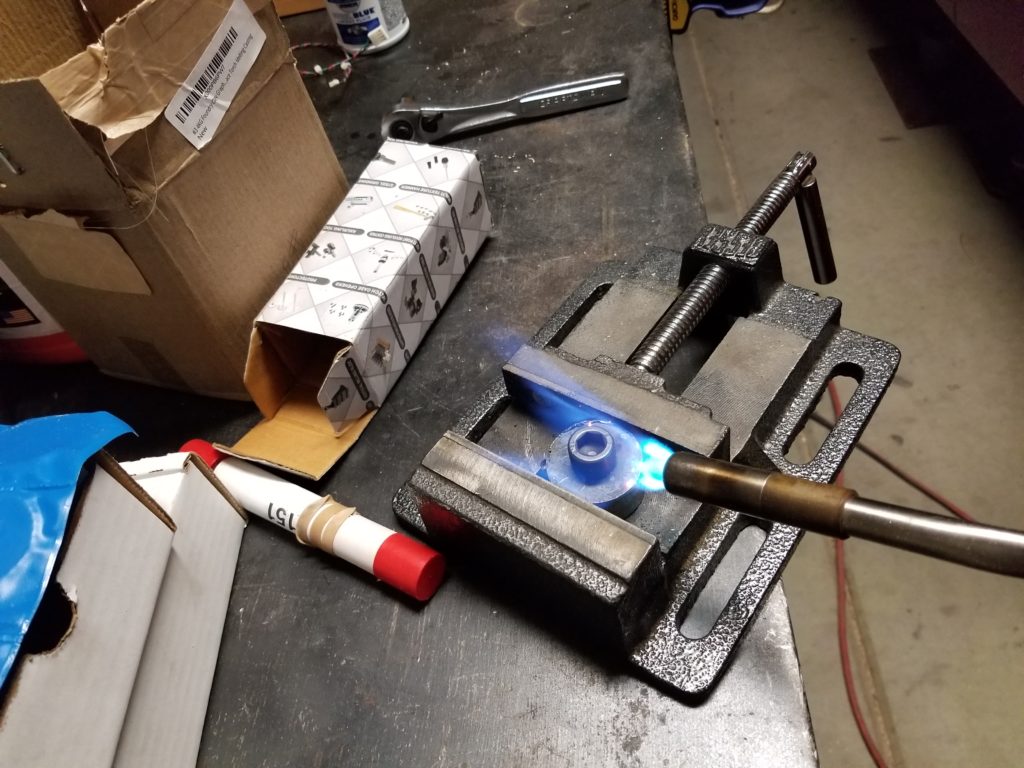
After some brief consideration of normal ideas for fixing this problem such as buying an exhaust manifold that fit, I promptly ignored them and decided to make an extension for the current exhaust manifold. As I did not have any round metal thick enough to bridge the gap, I cut out two squarish pieces from the scraps that I had. I believe it is mild steel. I then proceeded to stick weld the two pieces together with results that would make any welder cringe.
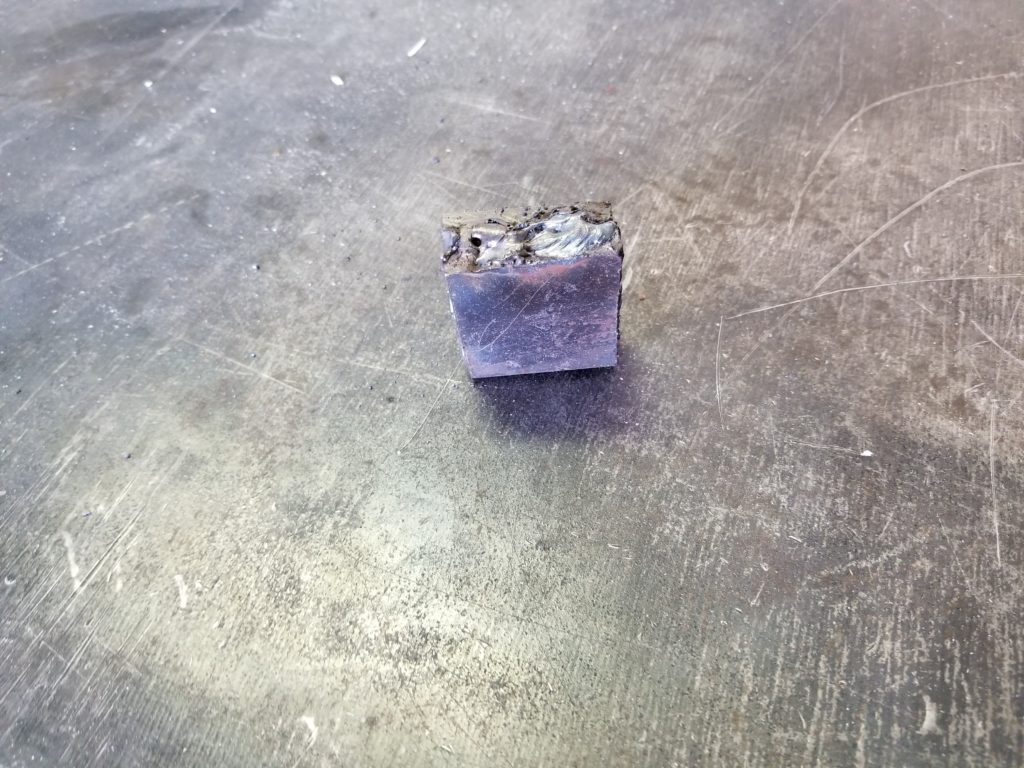
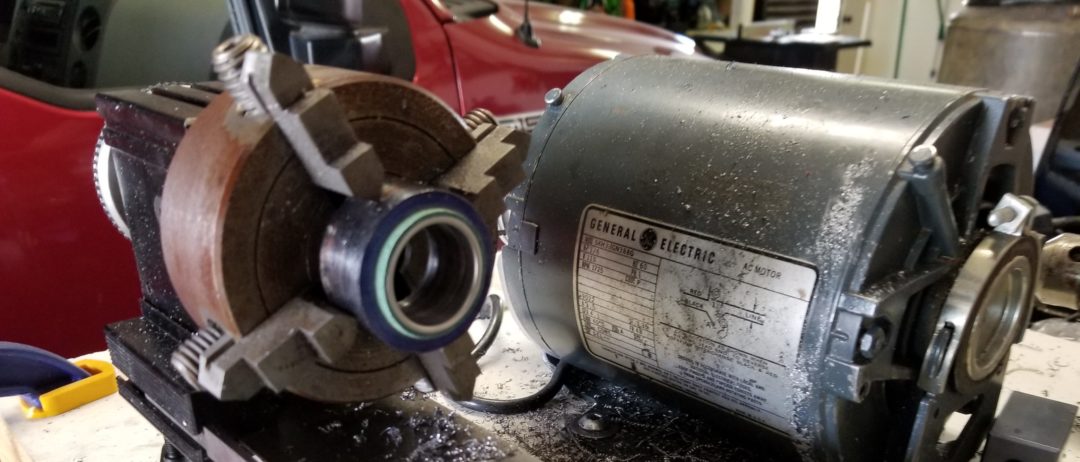
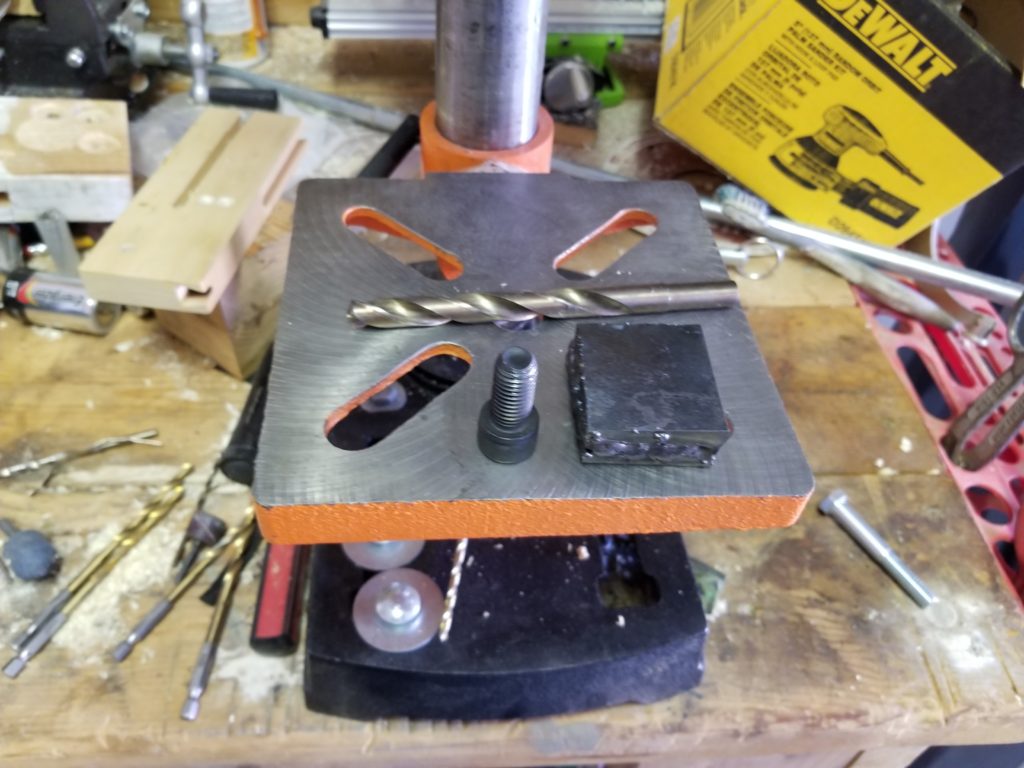
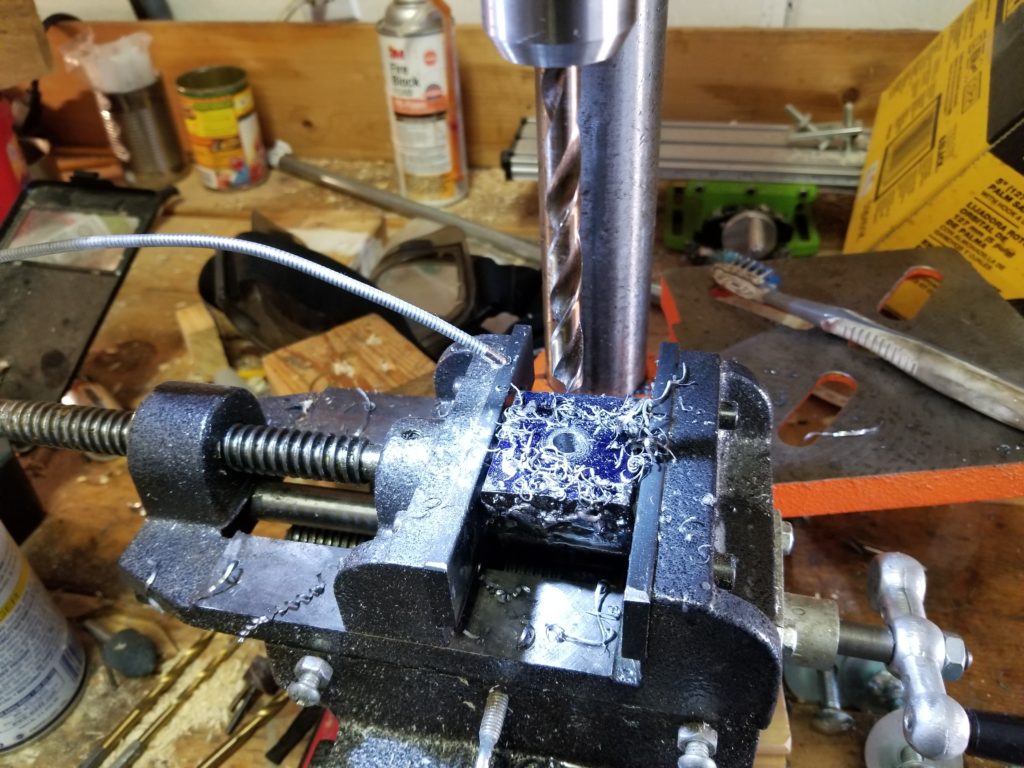
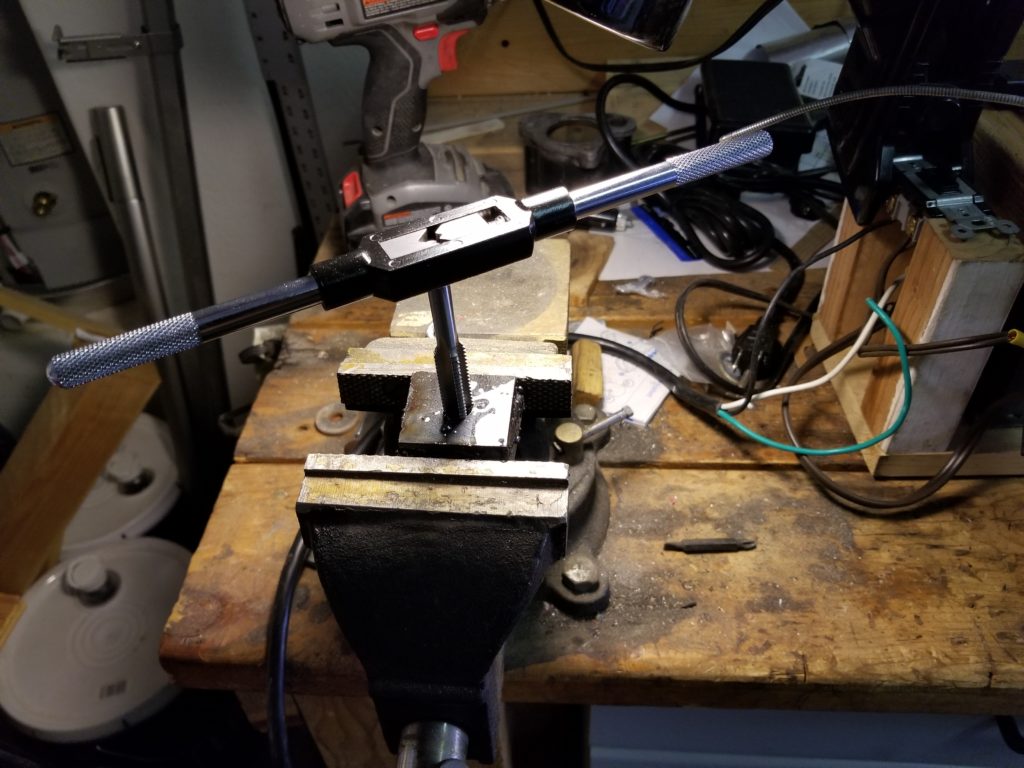
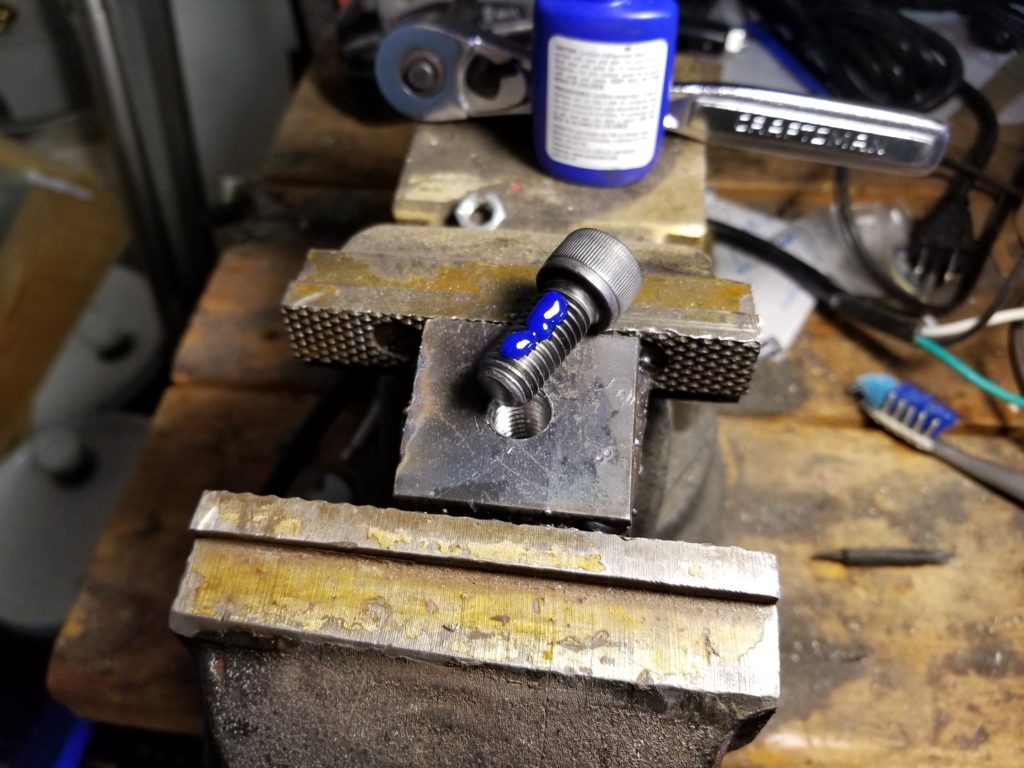
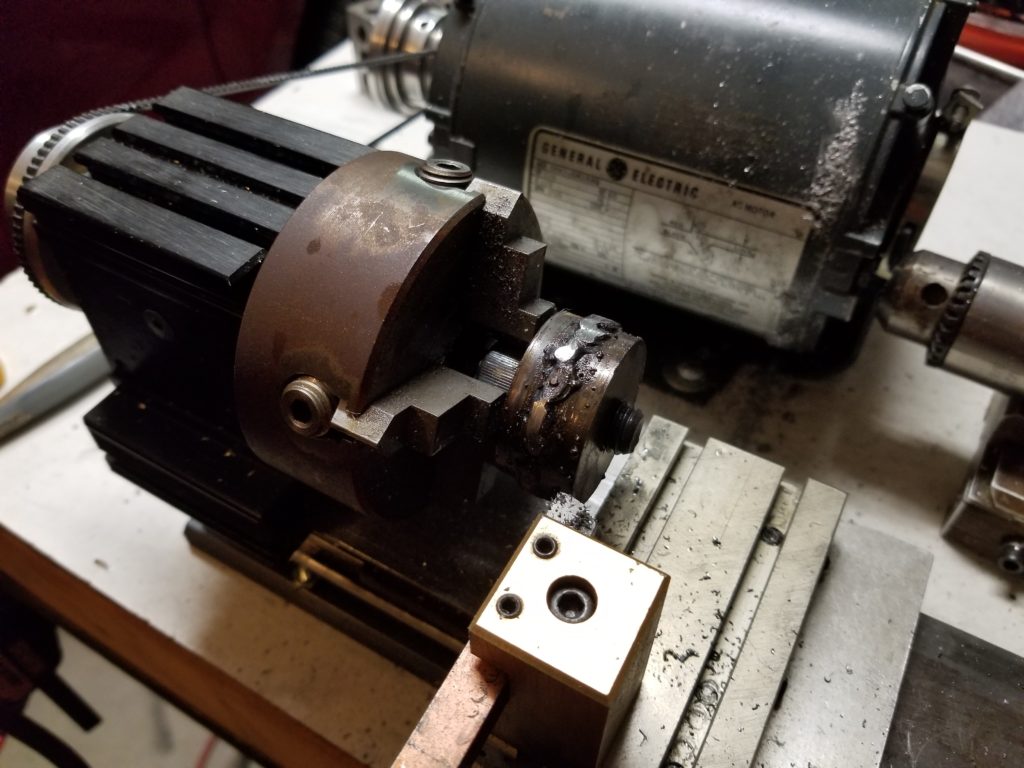
I now had a piece of metal that was thick enough to bridge the gap and withstand the exhaust temperatures. To be able to mount it in my mini-lathe I needed a way to grip the part and center it. I decided a bolt through the middle was the easiest for my setup. I found the center of the block, drilled it in 3 steps, tapped it, and thread locked a bolt with a large head into it. I used blue thread lock to make it easier to remove later.
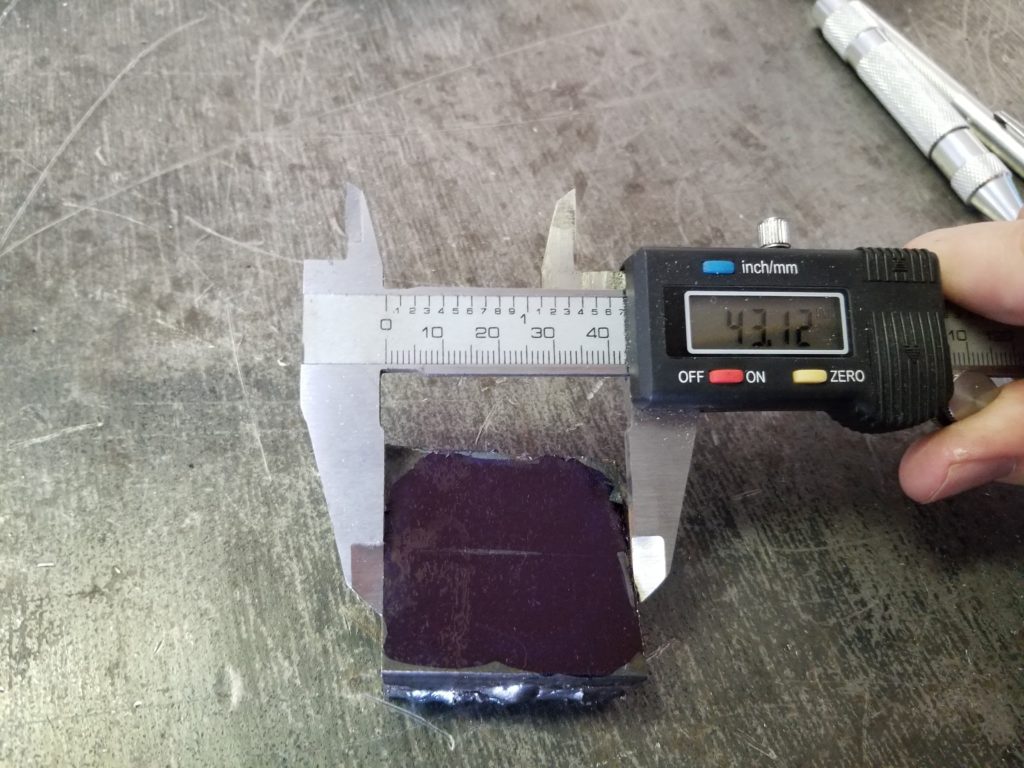
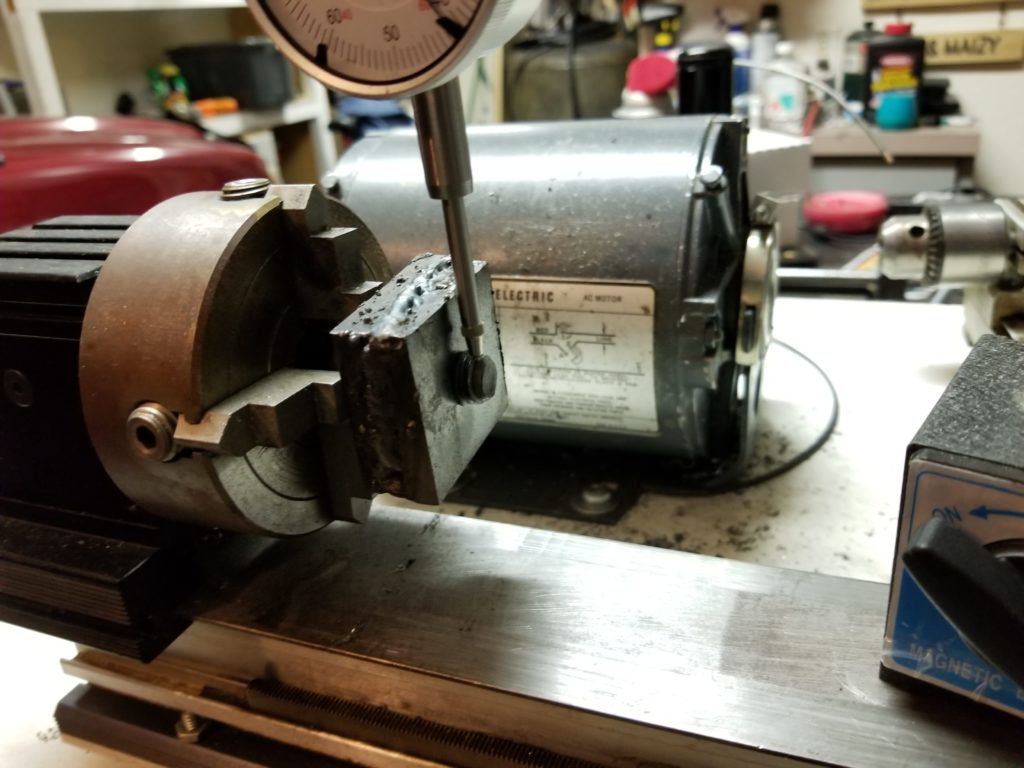
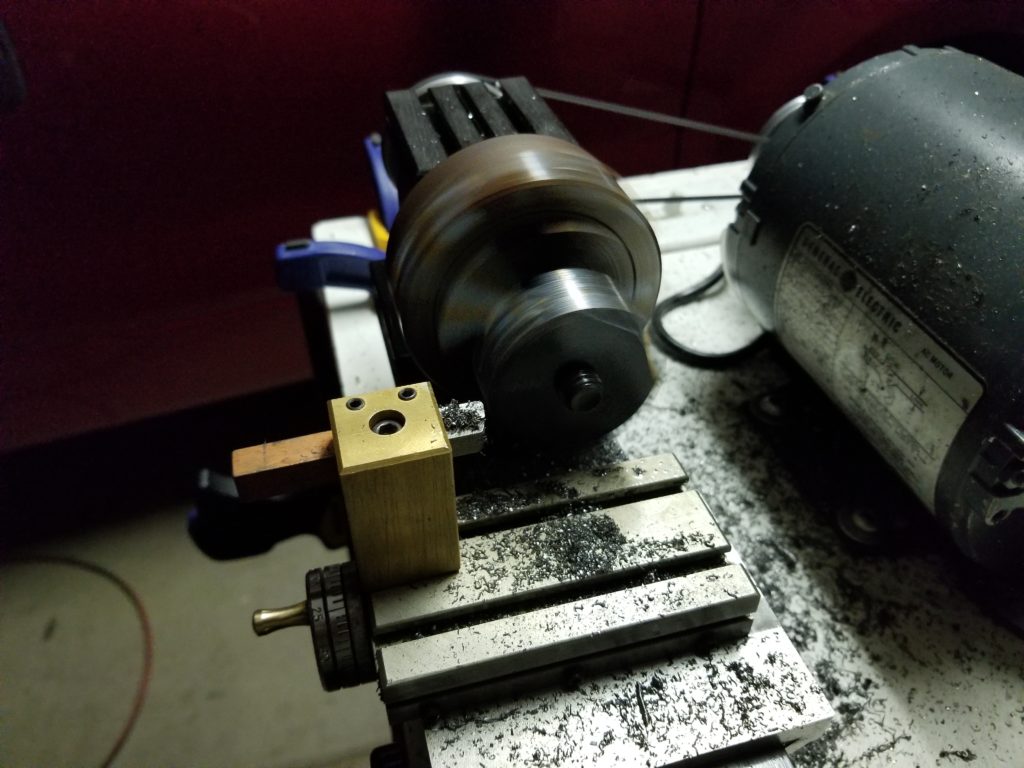
Now that I had a piece of metal that looks nothing like an exhaust manifold, I needed to turn it down to useful dimensions. I do not have a 3-jaw for my lathe so I manually centered the block of metal using the bolt protruding through its center. I had to advance very gradually while turning this part because of the size of my lathe and it being an interrupted cut. It took quite a while to turn the square block into a round shape. I used a carbide cutting bit because that was all I had. I did not take it down to the final dimension I wanted yet. My lathe is a Taig micro lathe that I purchased off of craigslist.
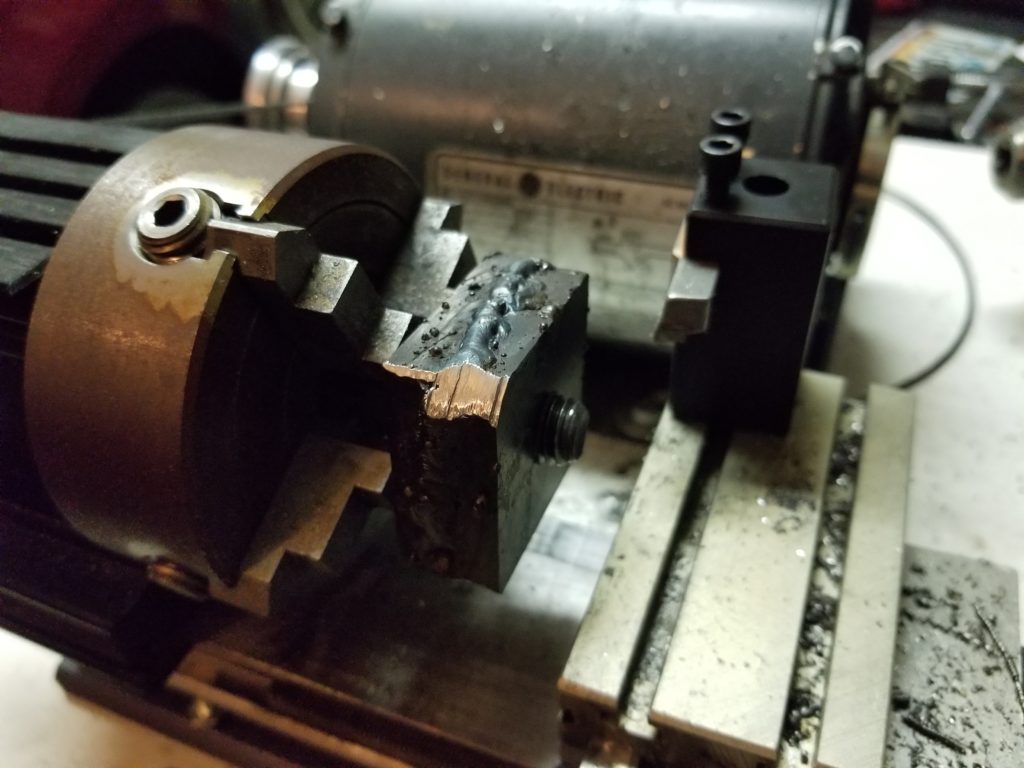
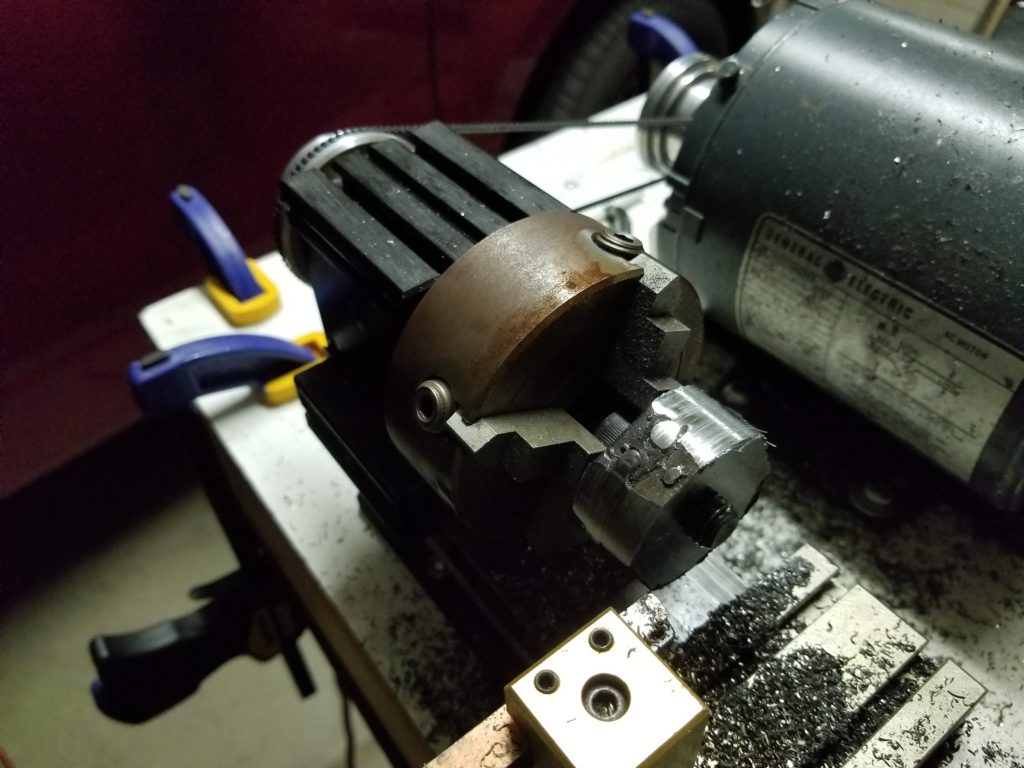

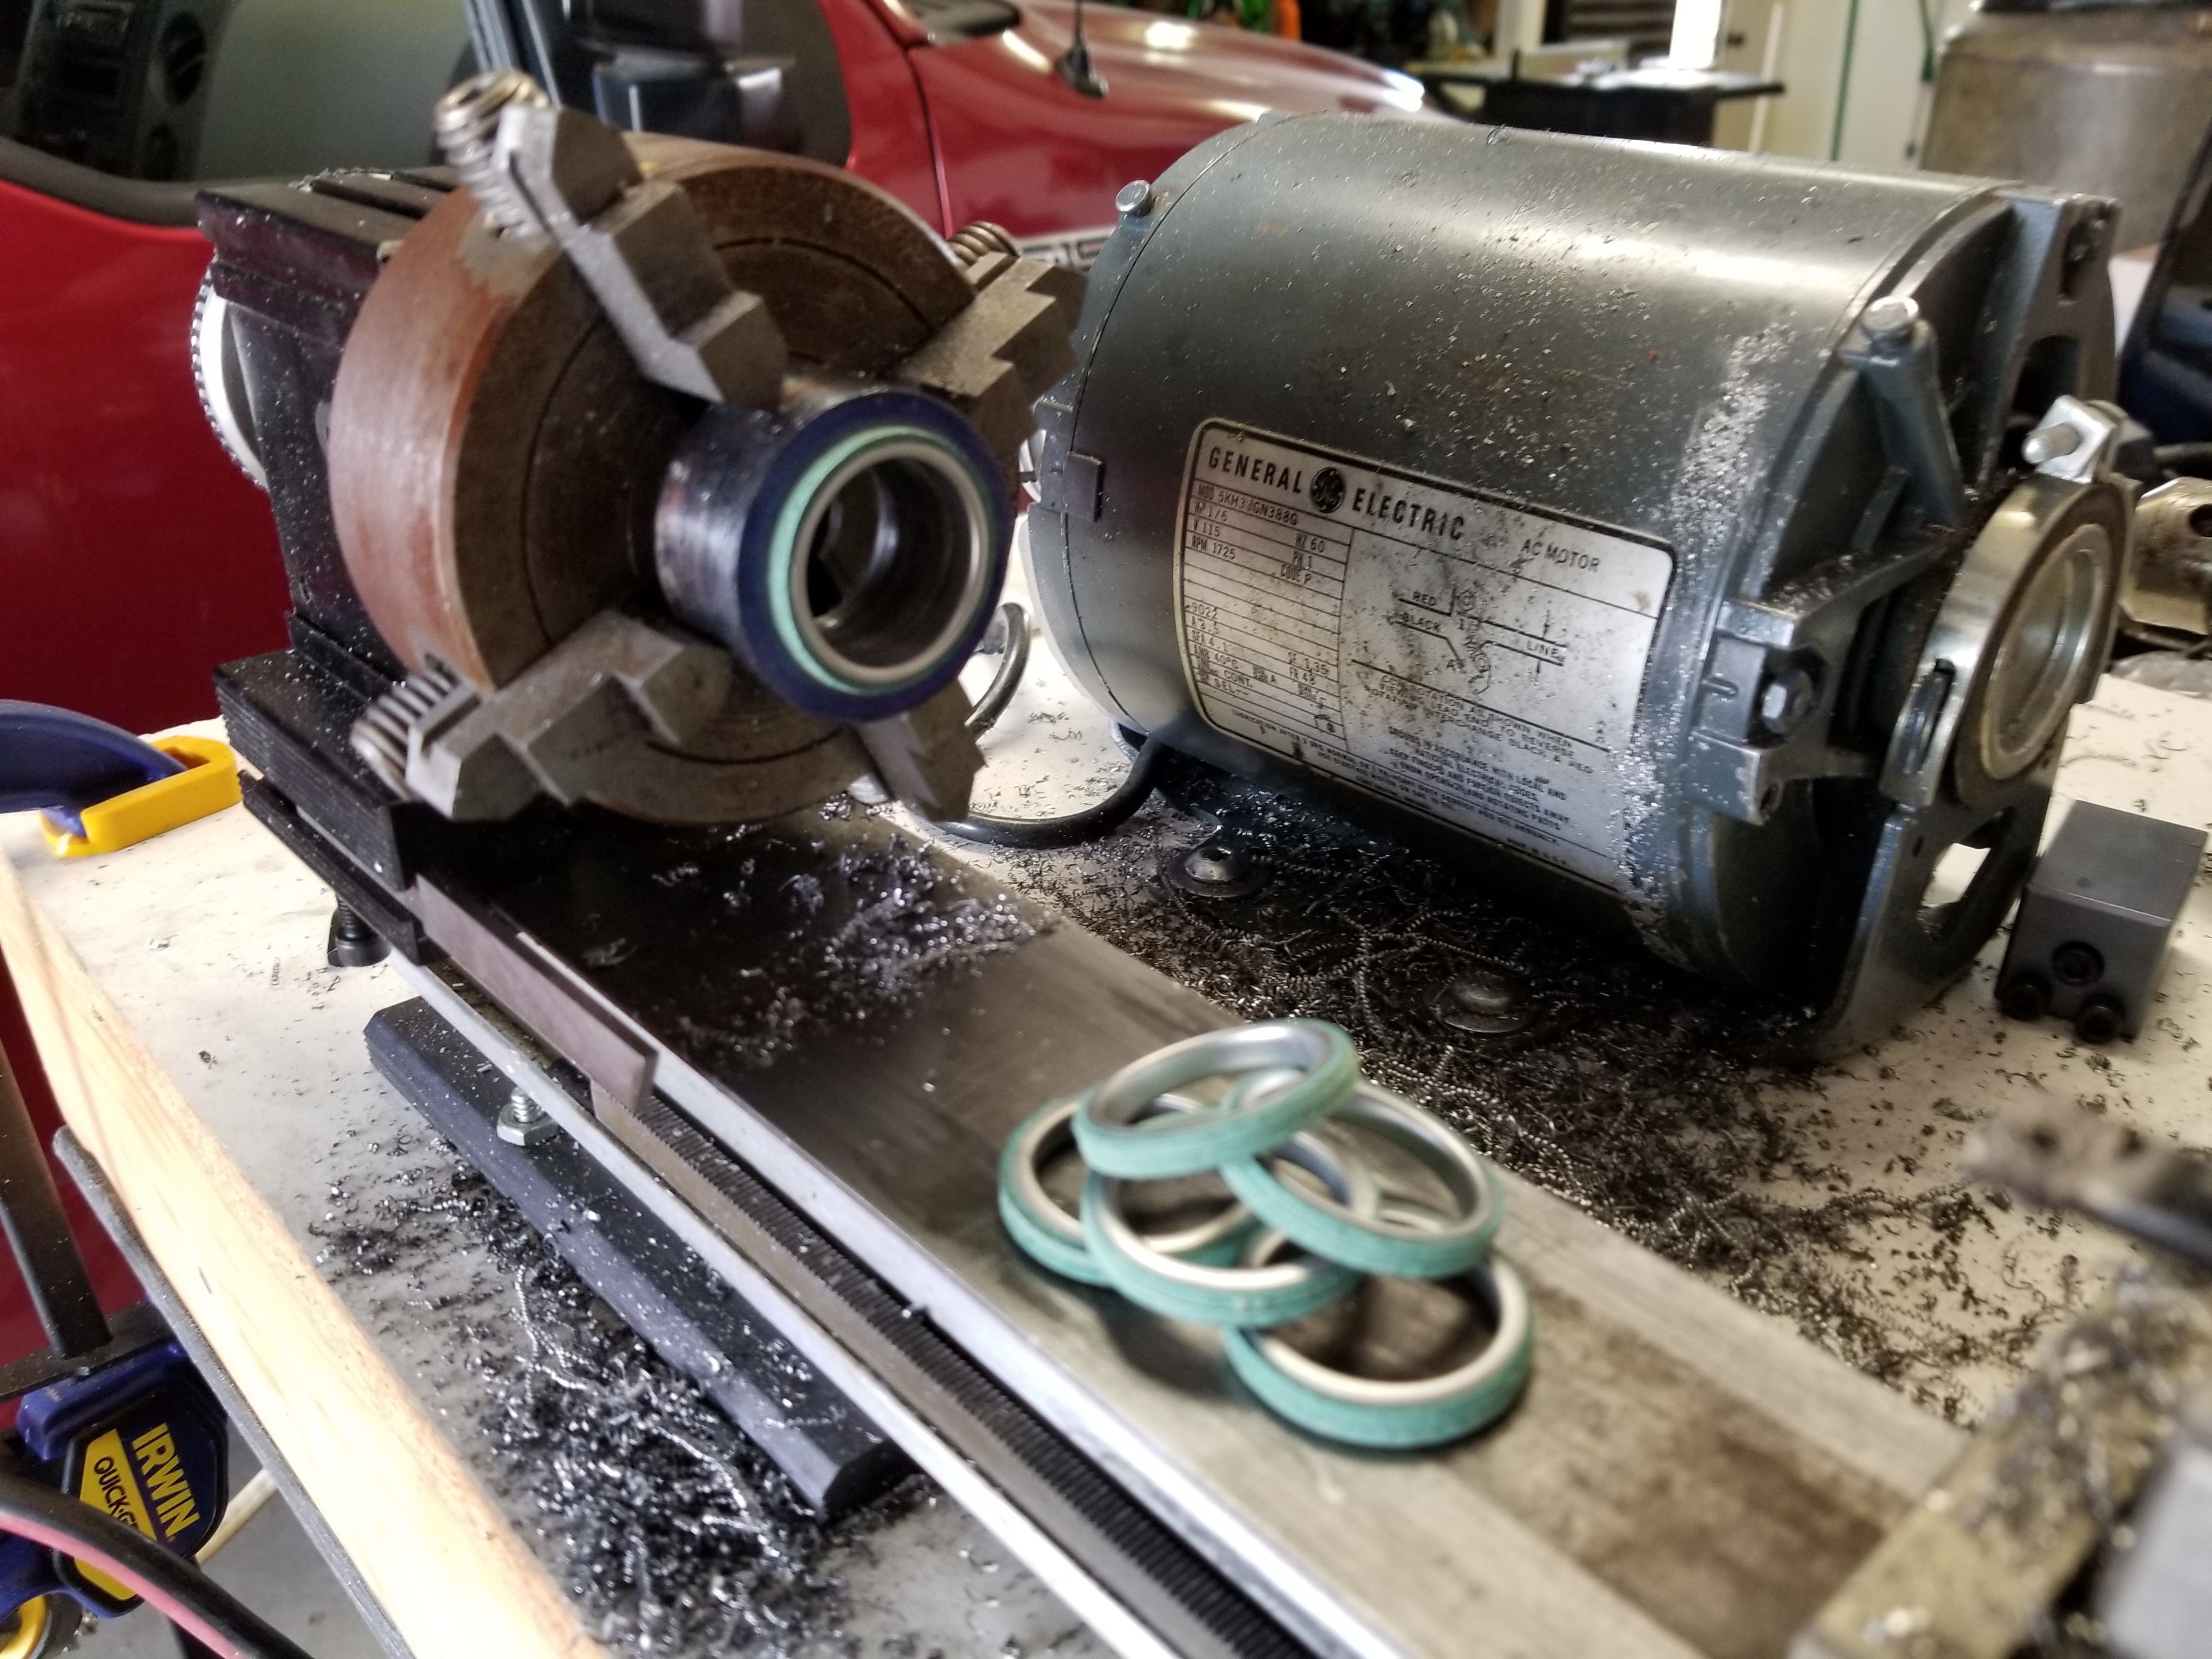
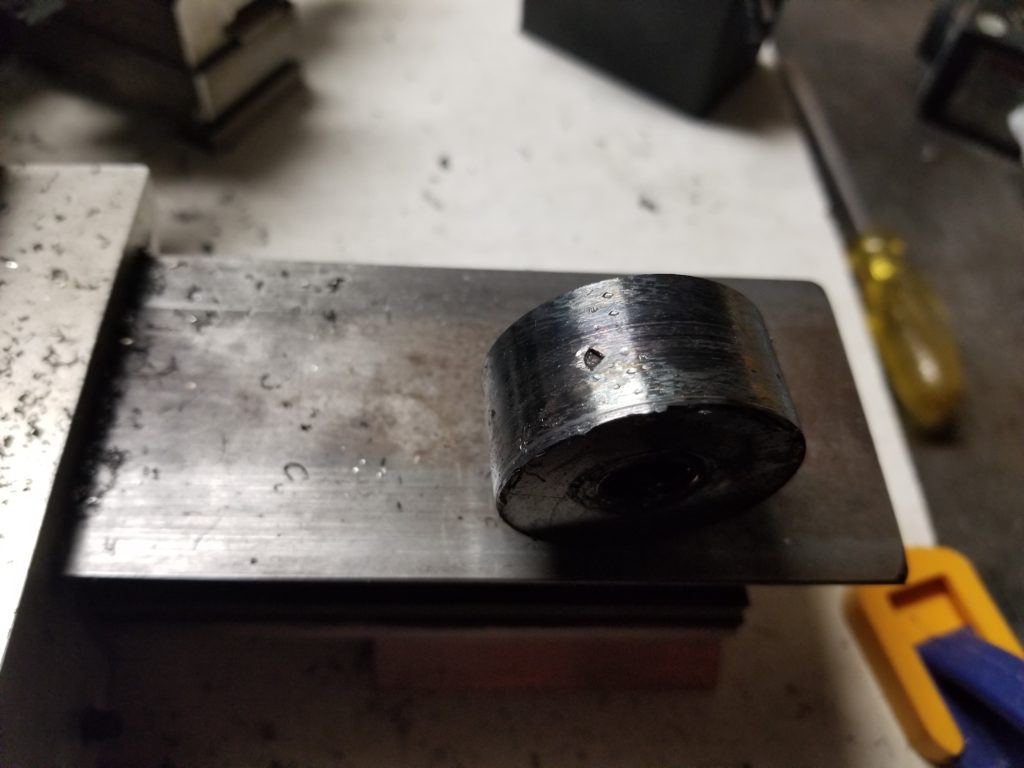
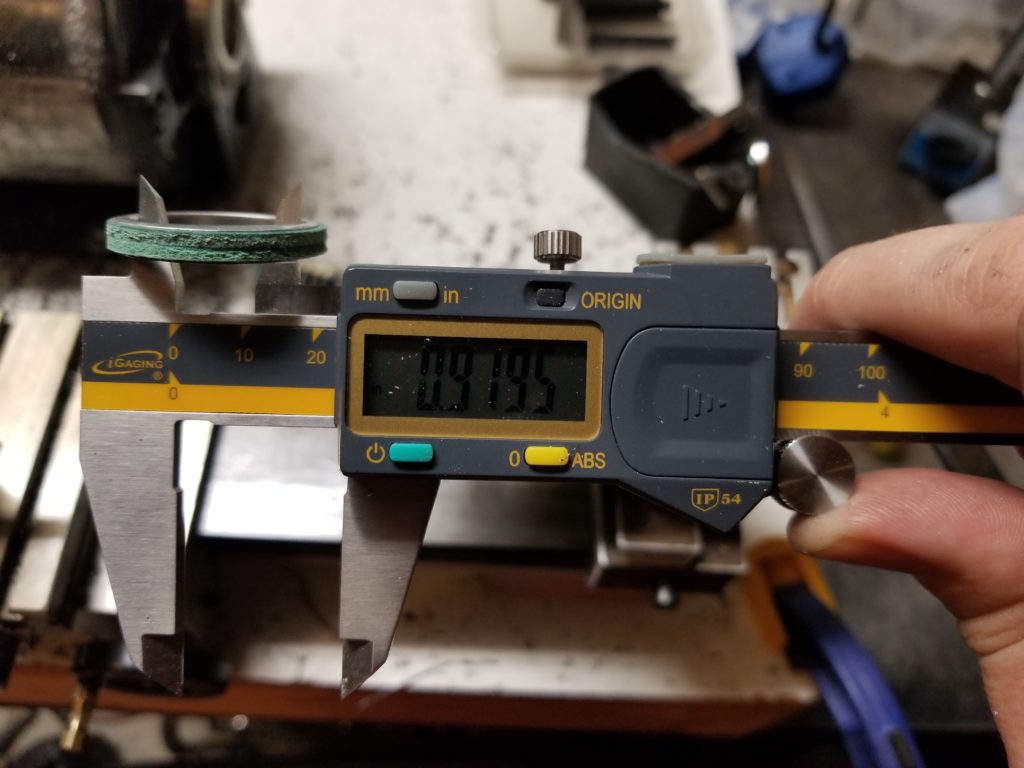
I wasn’t sure how deep the welds penetrated into the steel, so I added another bead now that it was roughly the outer dimension it needed to be. I then centered the piece back in the lathe using the bolt for reference. I turned down the protruding weld bead until the surface was smooth again. I then turned down the part to its final dimension. I faced the front of the part for experience and because I liked the look of it. It was not necessary because this is the side of the part that will be welded to the current exhaust manifold. The current exhaust manifold is not a precision part, so even with the relatively flat surface of the faced part, weld bead will be filling some gaps. My welding definitely needs improvement, you can see some pitting in the surface of the part in the group of pictures below. This is not an issue for the function of the part, just aesthetics. Now that the outside of the part is machined and one side is faced, I have two reference surfaces for placing the part back in the lathe without the need for the center bolt. I applied heat with a torch to break the thread lock without needing much force. I let the part cool down before returning it to the lathe.

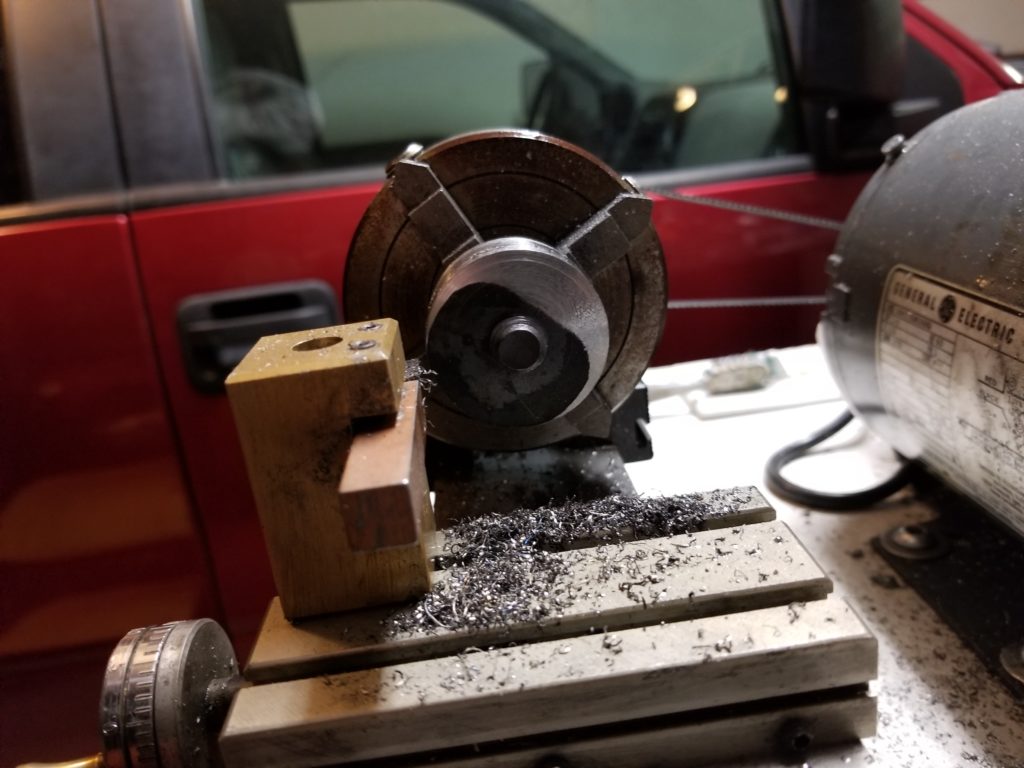
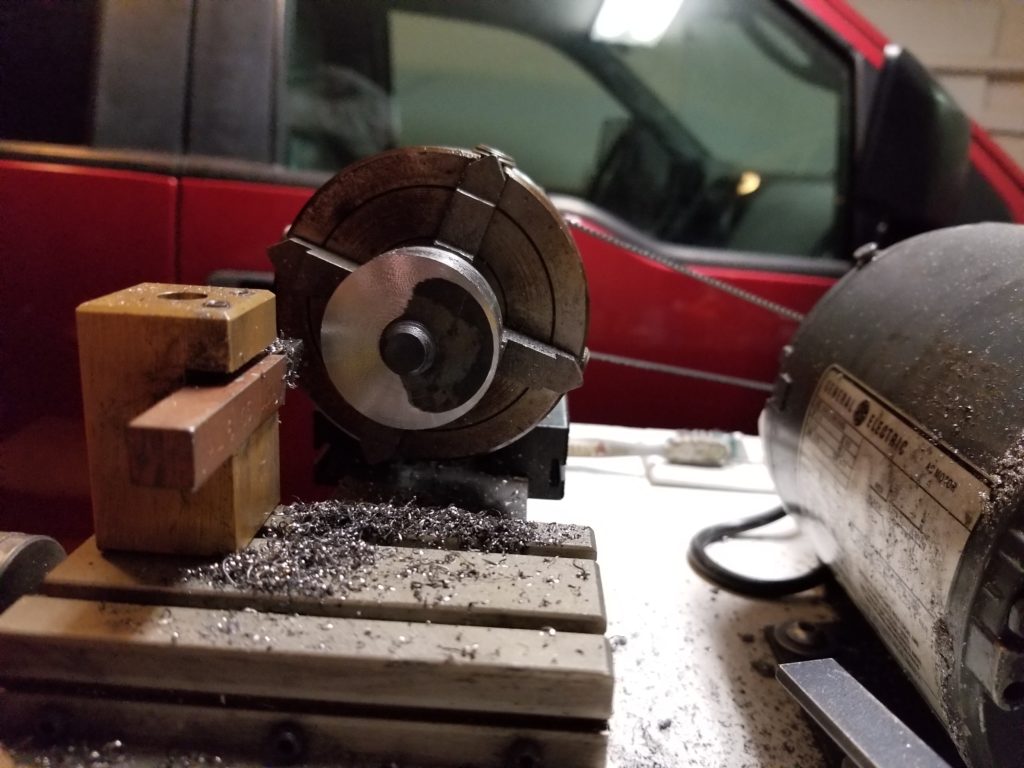

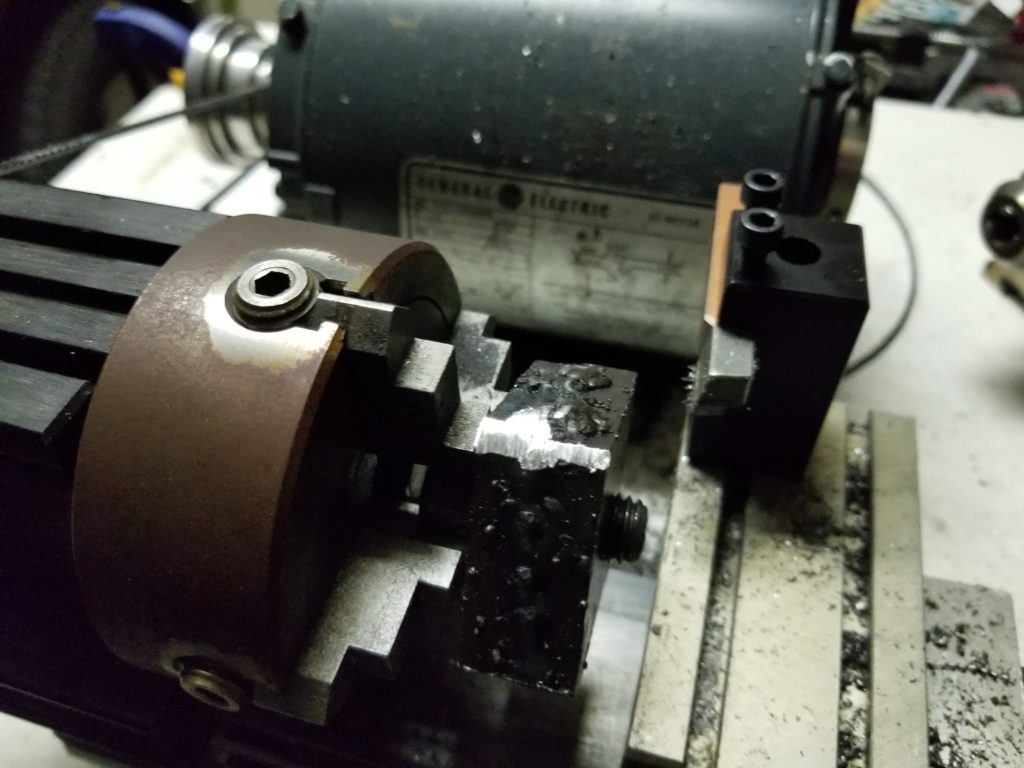
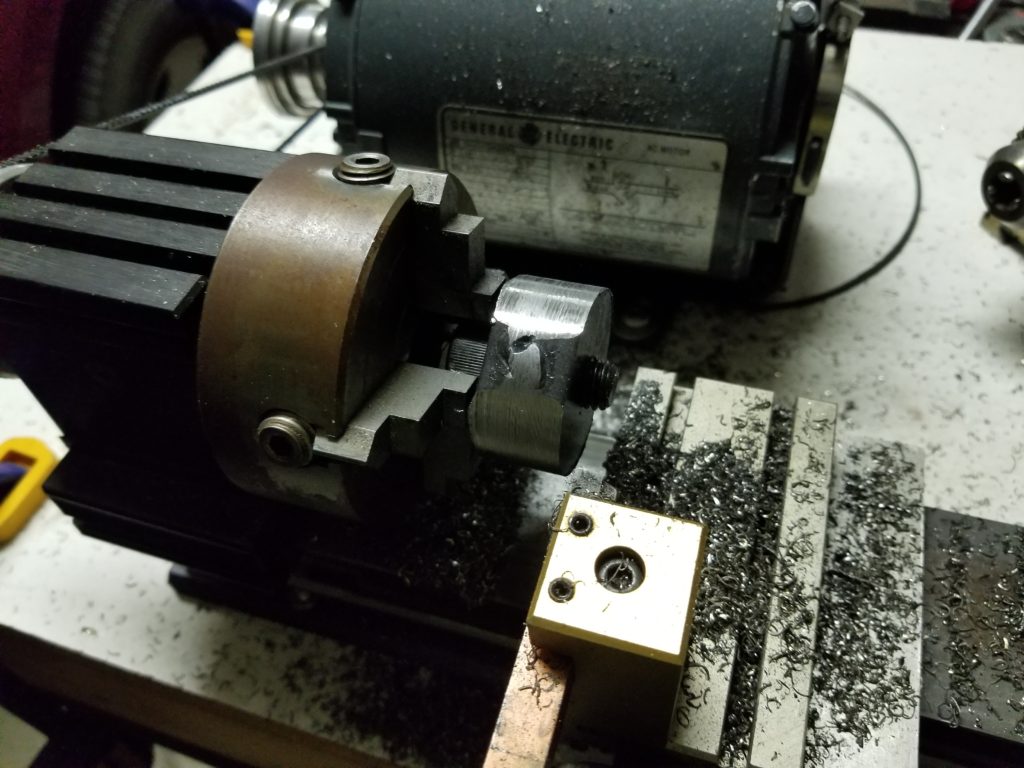
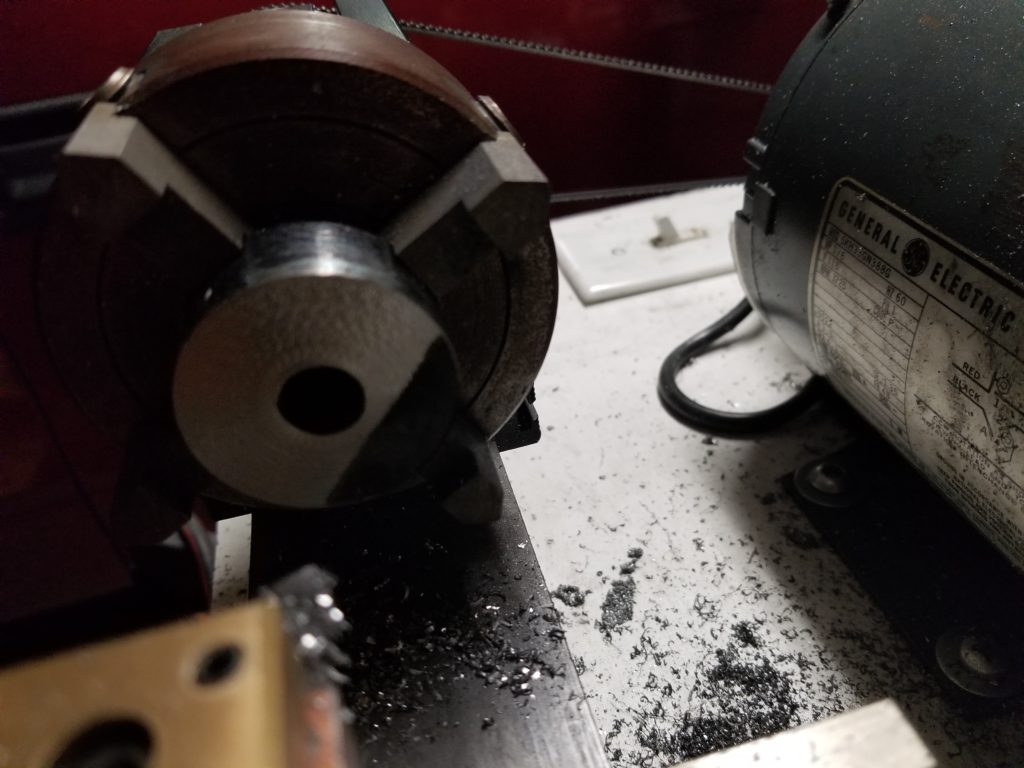
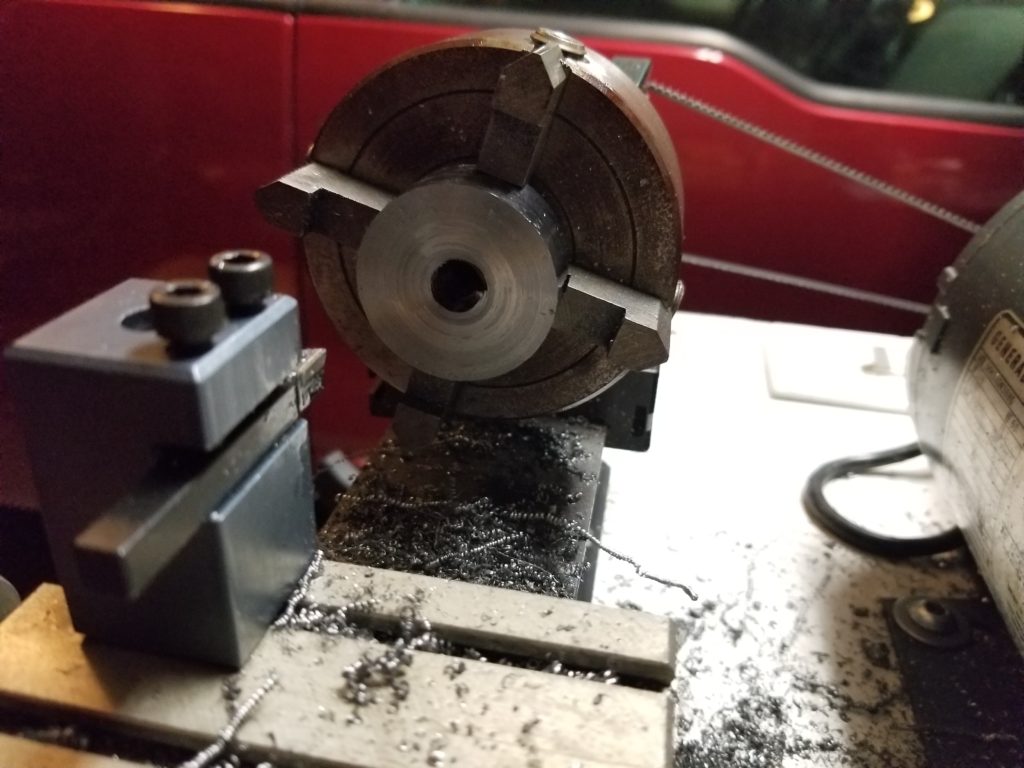
I needed to flip the jaws in the 4-jaw chuck to be able to grip the part without its center bolt. The part was too large for the jaws to grip otherwise. This also allowed me to push the part all the way up against the back of the jaws while still leaving room for the tool to come in and surface the remaining side. The side that was surfaced while the bolt was still on was placed facing the chuck. I surfaced the side facing out from the chuck. This side is much more important to get right as it is what will bolt up to the engine. After facing the part I started drilling out the center to fit the gasket and make room for a boring bar to take the part to size.
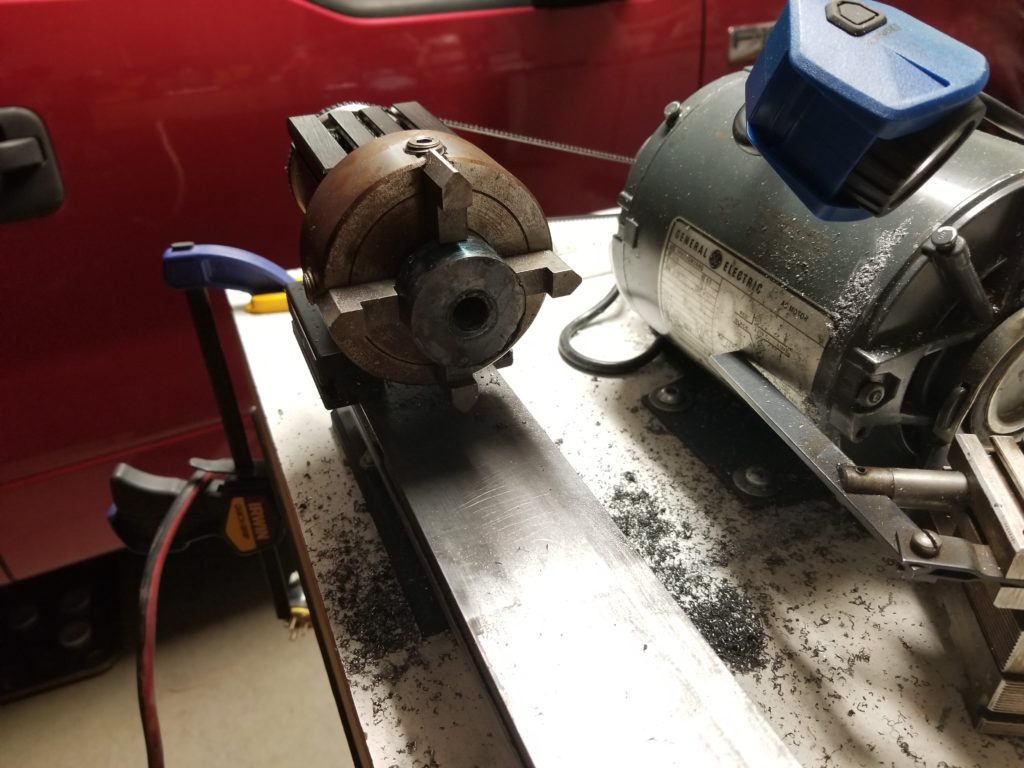


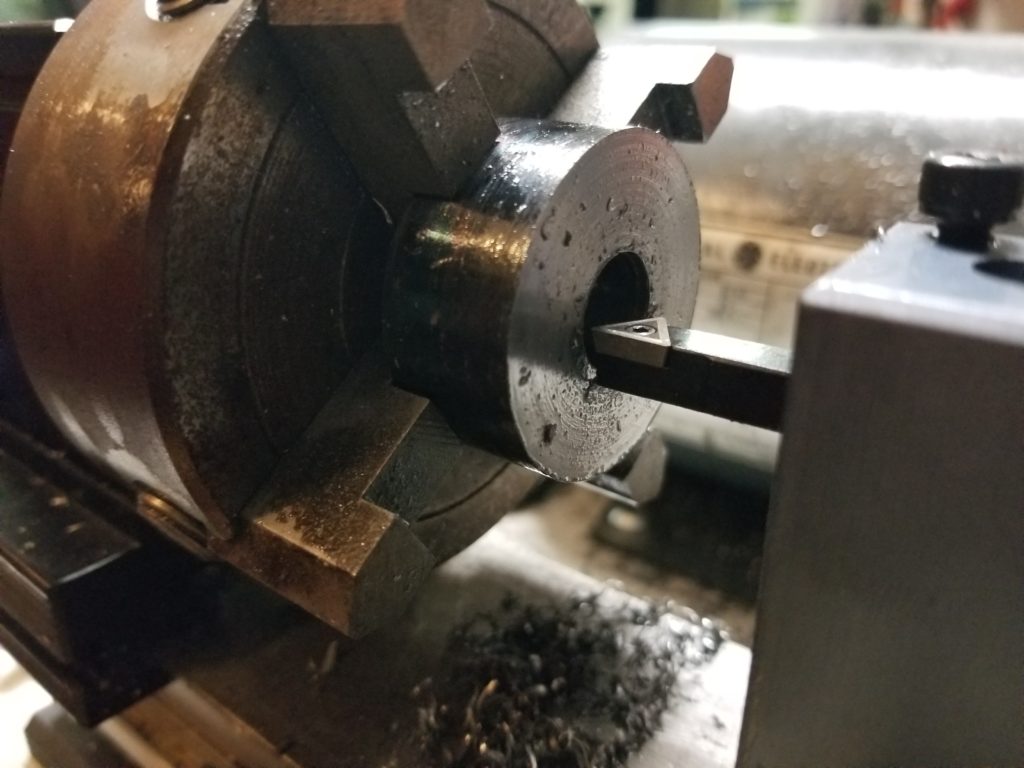
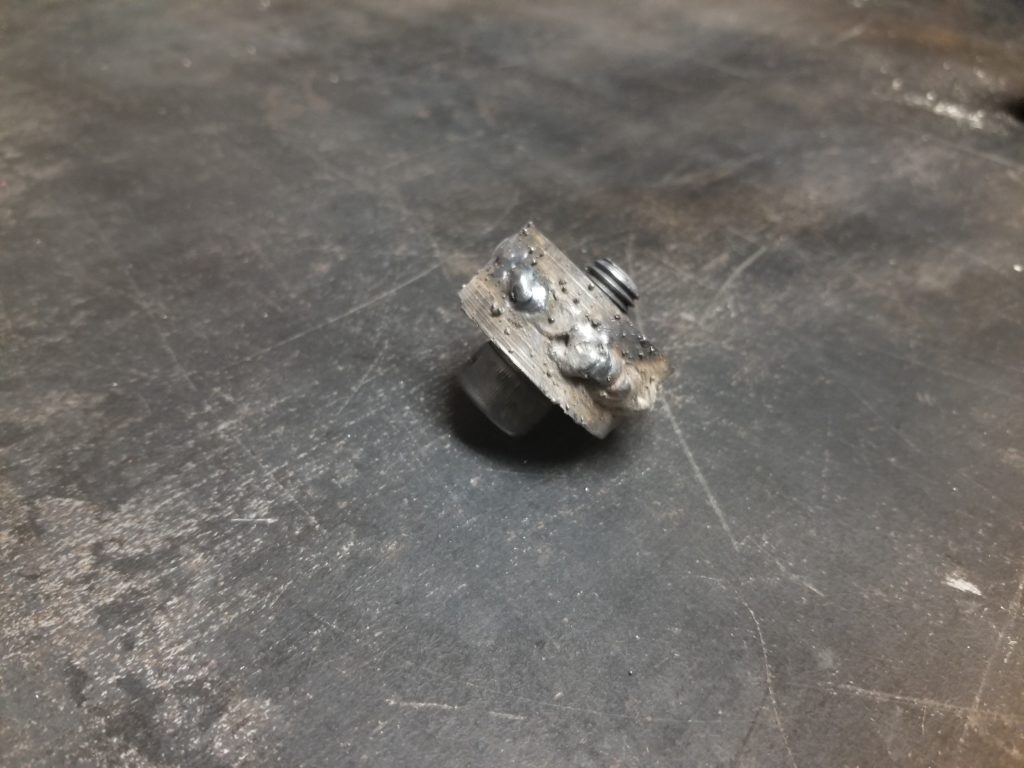
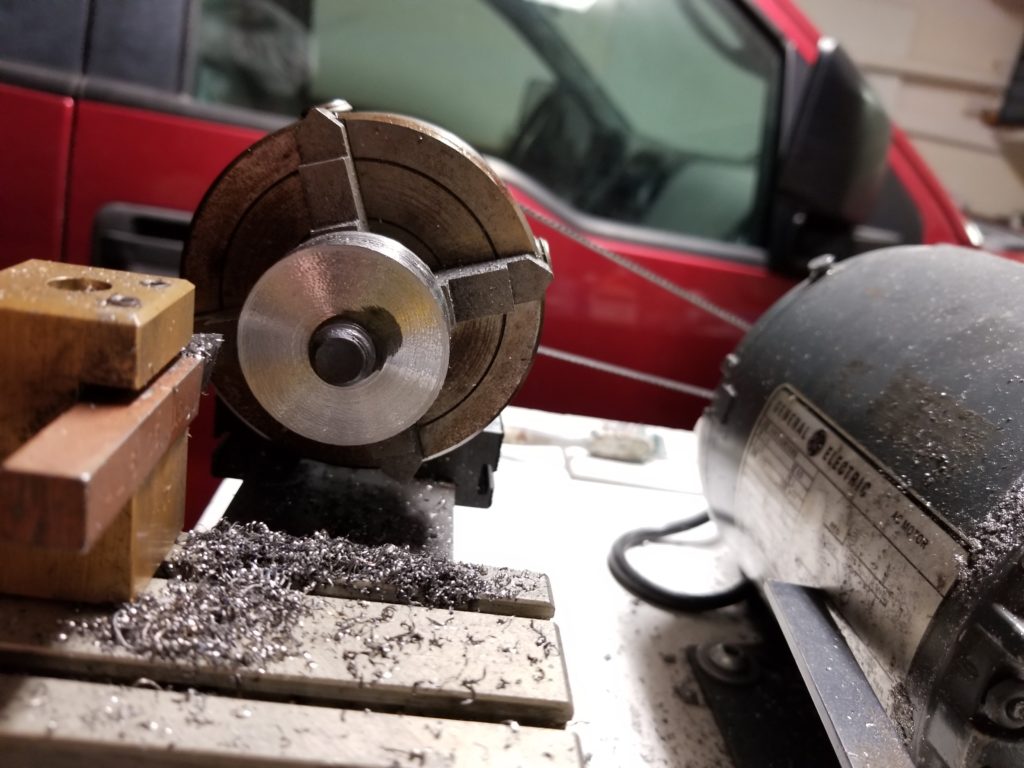
And that is where I ran in to some difficulty, I did not own a boring bar. So the project was placed on hold until one could be acquired. As you can see in the final picture, a normal turning tool does not have the clearance required.