New Plasma Cutter
This post is about two months late, I purchased the cutter and took all of the below pictures back in April. I had been looking for a plasma cutter on Craigslist for quite a while before eventually deciding to buy a brand new one. I am a hobbyist and not willing to spend $$$ on a nice one. After a bunch of research and wavering levels of commitment I finally pulled the trigger and purchased a Lotos LTP5000D. My main deciding factors were price, amperage (cutting thickness), and that it had a pilot arc. I am doing this as a hobby, not a profession, so saving $1k on the price of the unit is worth the time it takes to clean up some dross and slower cut speeds. Before purchasing this unit I had never used a plasma cutter. I had used oxy-acetylene, hacksaws, and death wheels for all of my previous thick metal cutting needs. I am not being paid for this post and I am not recommending or dissuading people from purchasing the same tool. I paid full price for the tool. I expect people to make up their own minds and do whatever they want.
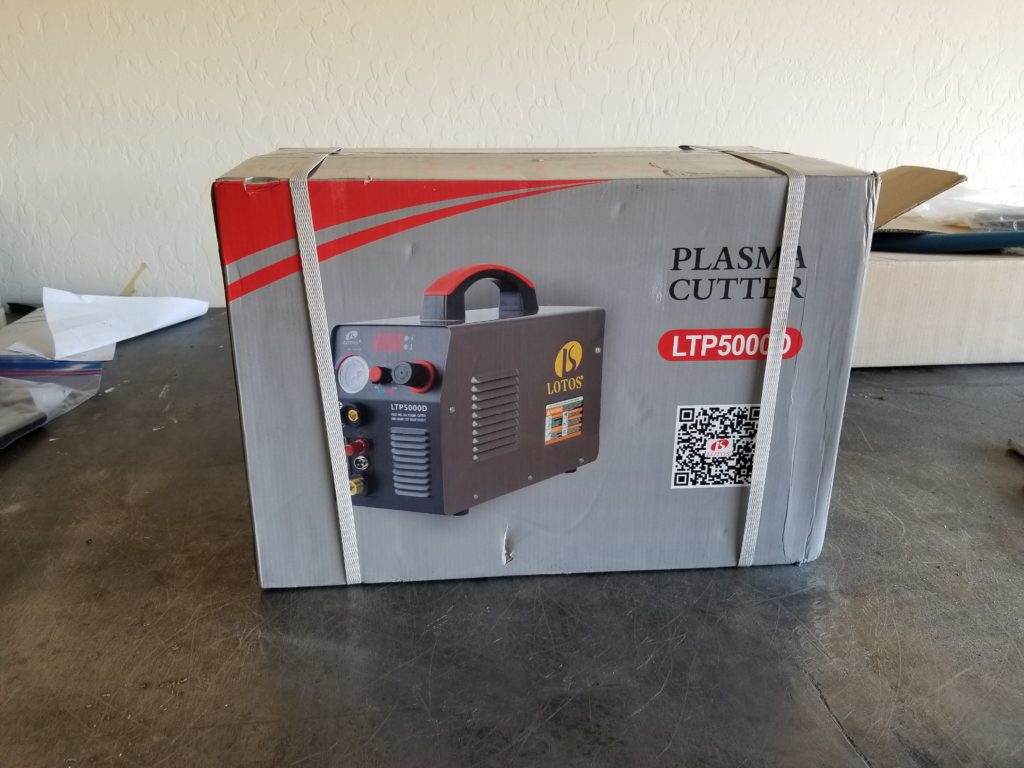
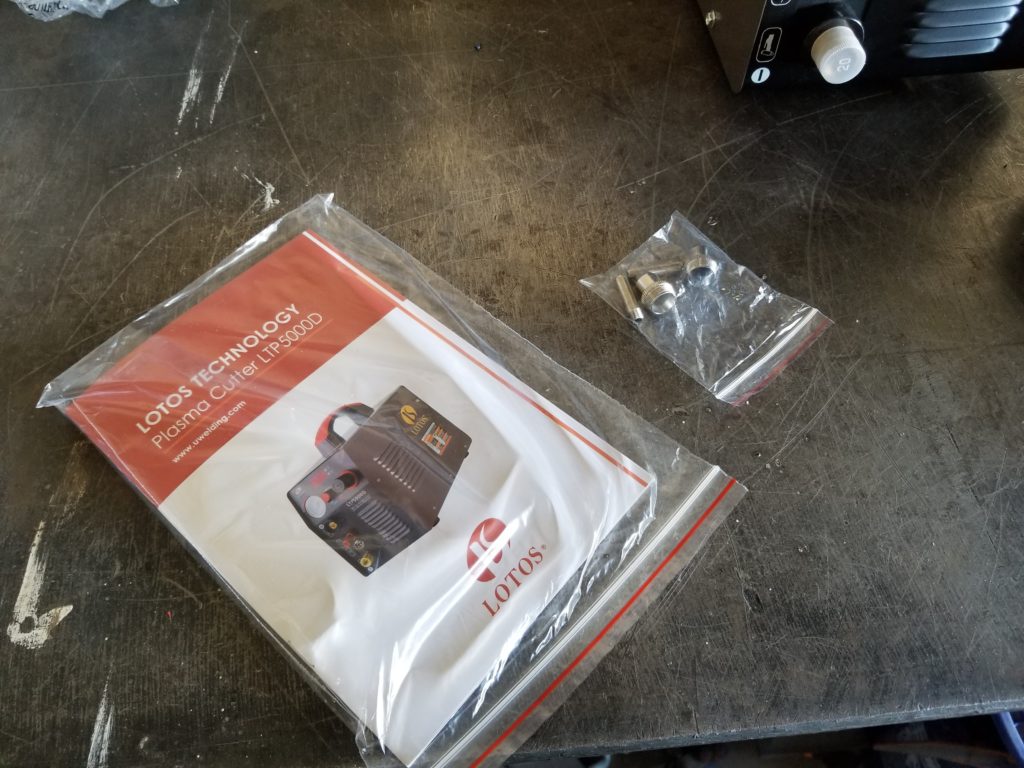
The LTP5000D advertises the following specifications. I understand the machine might not hit all of these specs as a budget machine and marketing wank being what it is. That is why I looked at reviews and picked a budget machine with higher specs than I plan on using.
- Non touch Pilot Arc
- 10-50 Amp
- 1/2″ clean cut at 240V (1/3″ at 120V)
- 3/4″ severance cut at 240V (2/5″ at 120V)
- 60% duty cycle @ 50A at 104 degrees F

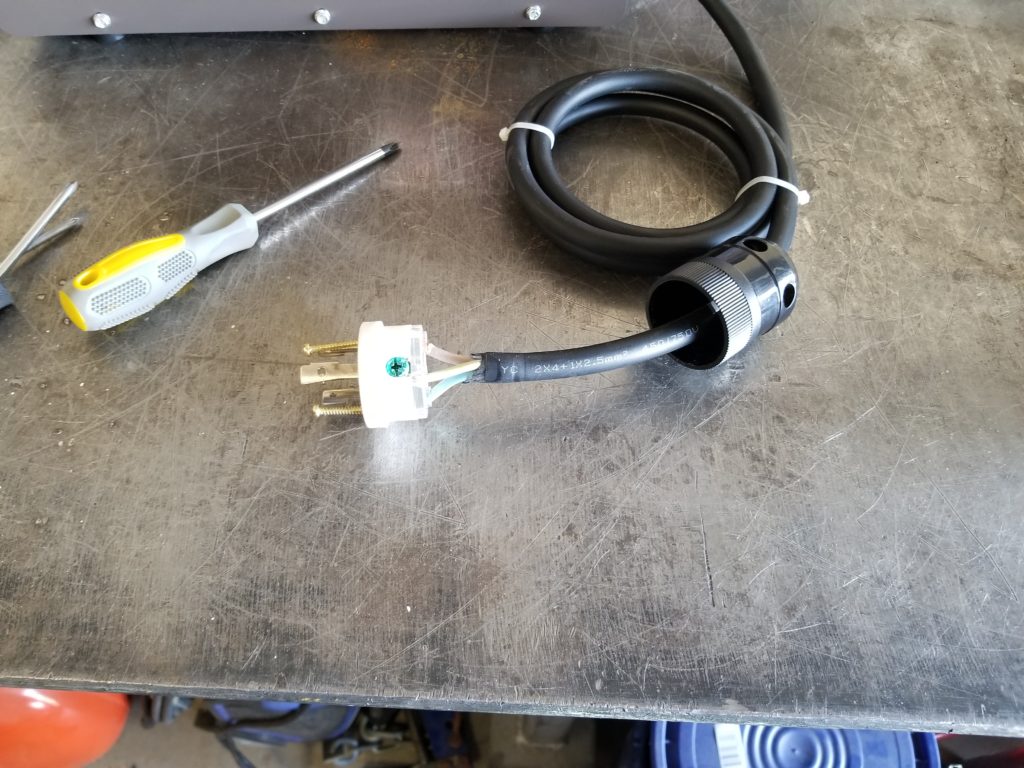
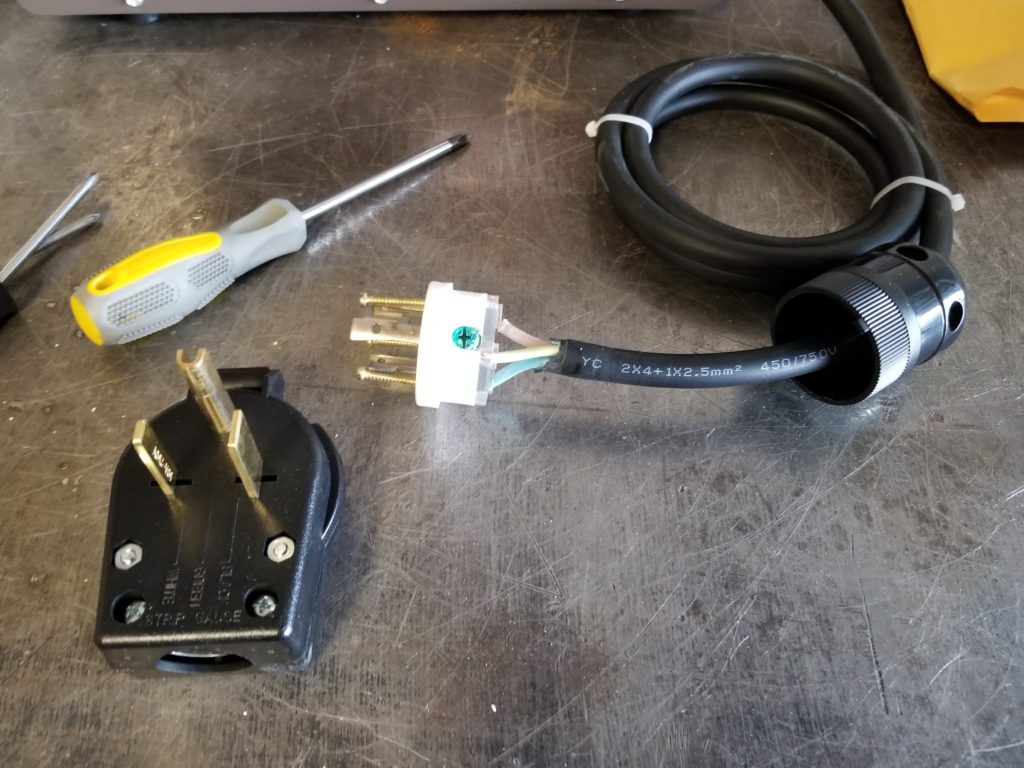
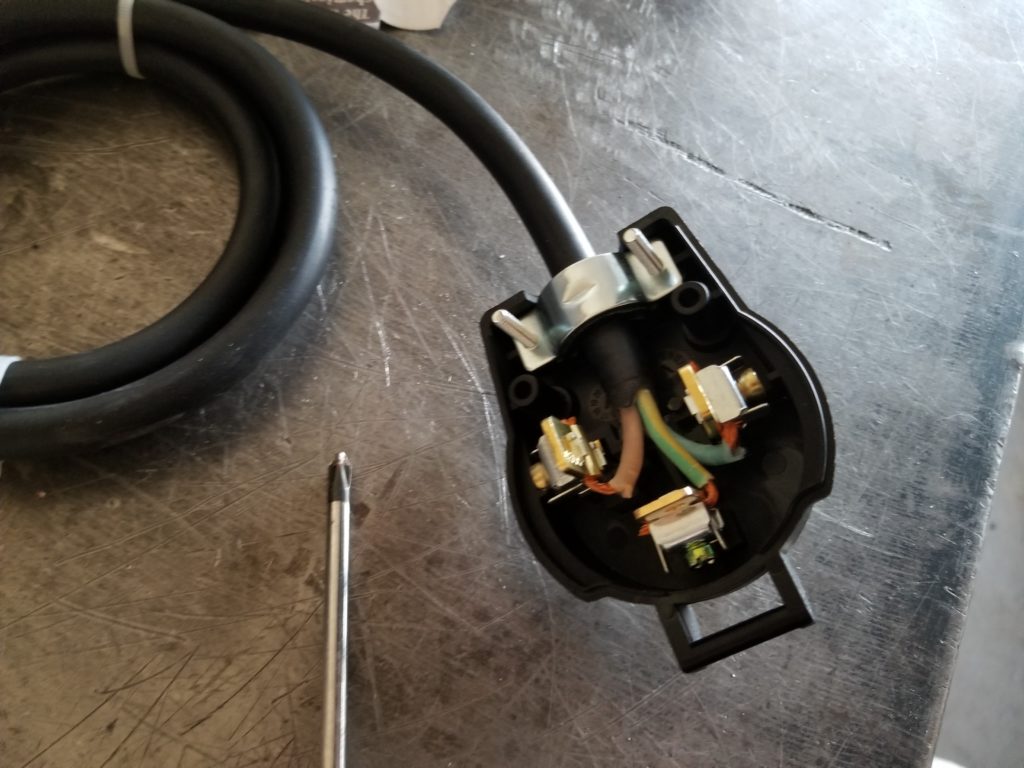
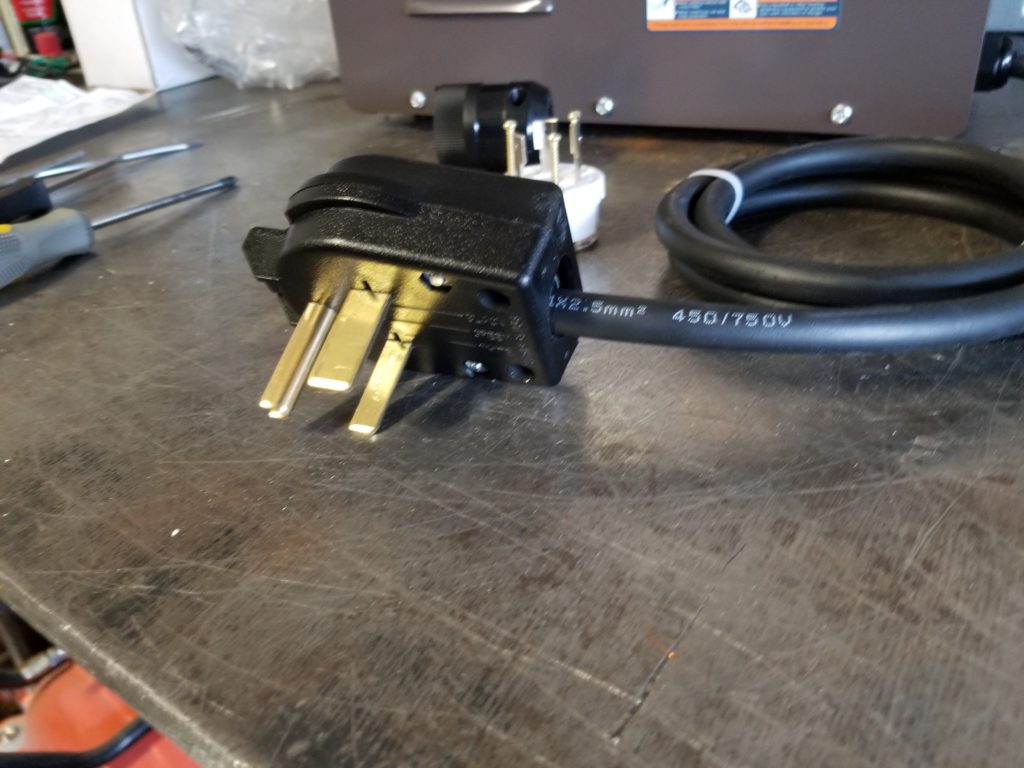
The first issue I had was that I do not have a 240V 30 Amp receptacle that matches the one that comes with the unit. I use a 240V 50 Amp connector for my welder. I decided to replace the 30 Amp connector with a 50 Amp so that the welder and plasma cutter can share the same socket (not at the same time of course). Please note this is not the safe way to do this. A 30 Amp device should use a 30 Amp plug that has wiring and a breaker rated for that load. The wiring for the 50 Amp plug will easily handle the current requirements, but now the device safety relies on any internal regulation to make sure it doesn’t pull more than 30 Amps from the wall. Removing the old connector was really easy. Loosen the strain relief, slide back the cover, and unscrew the wire terminals. With 240V both wires are hot so choosing which terminal to connect them to doesn’t make much difference as long as they aren’t connected to the ground plug.
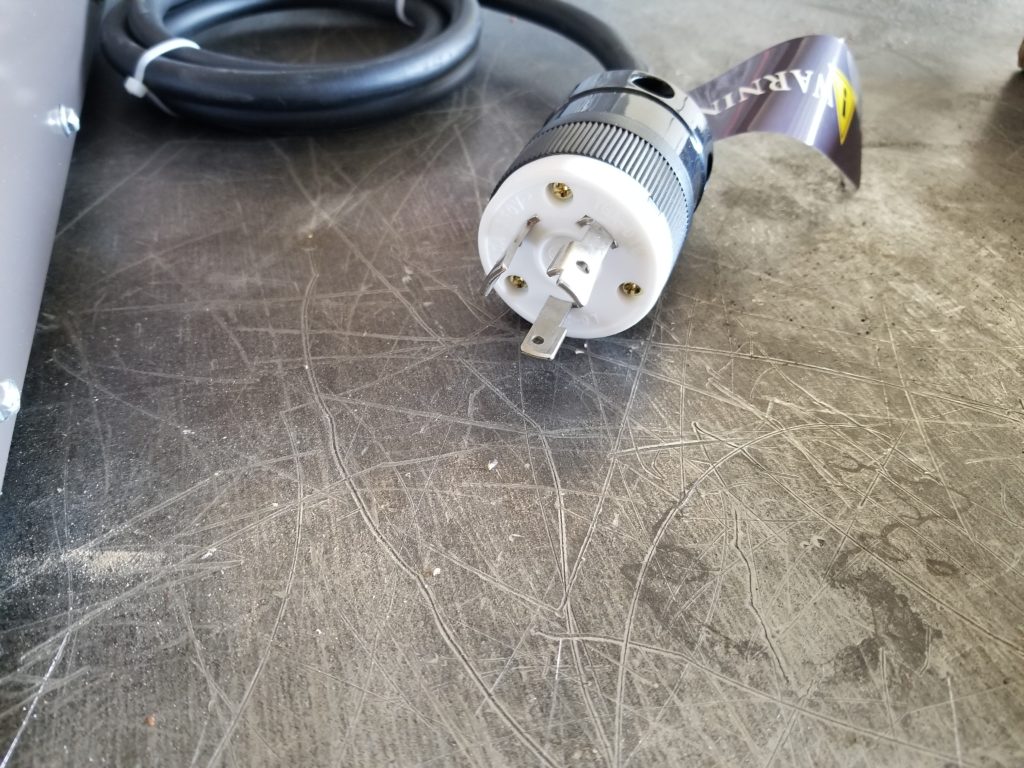
Original 30-Amp Connector 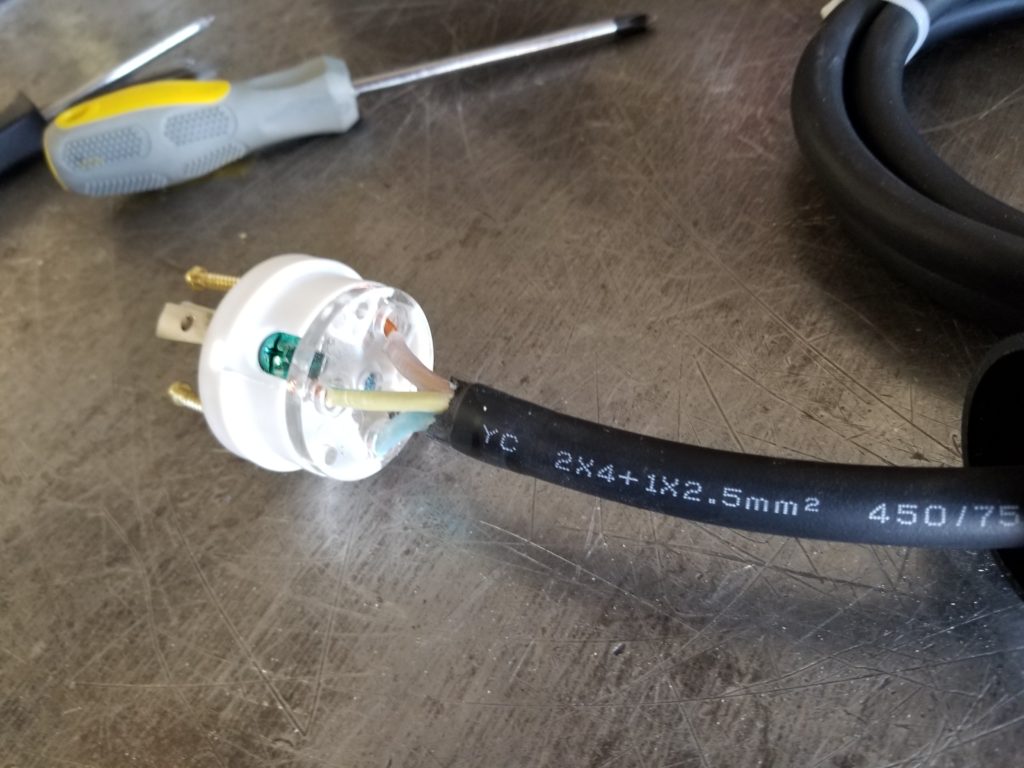
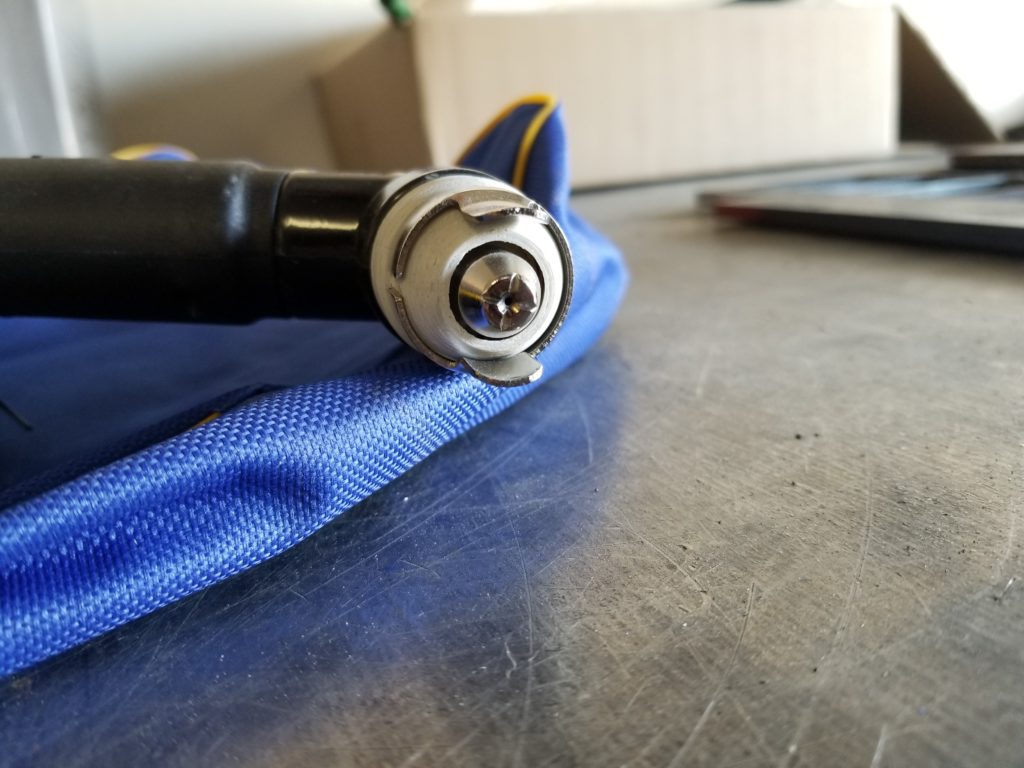
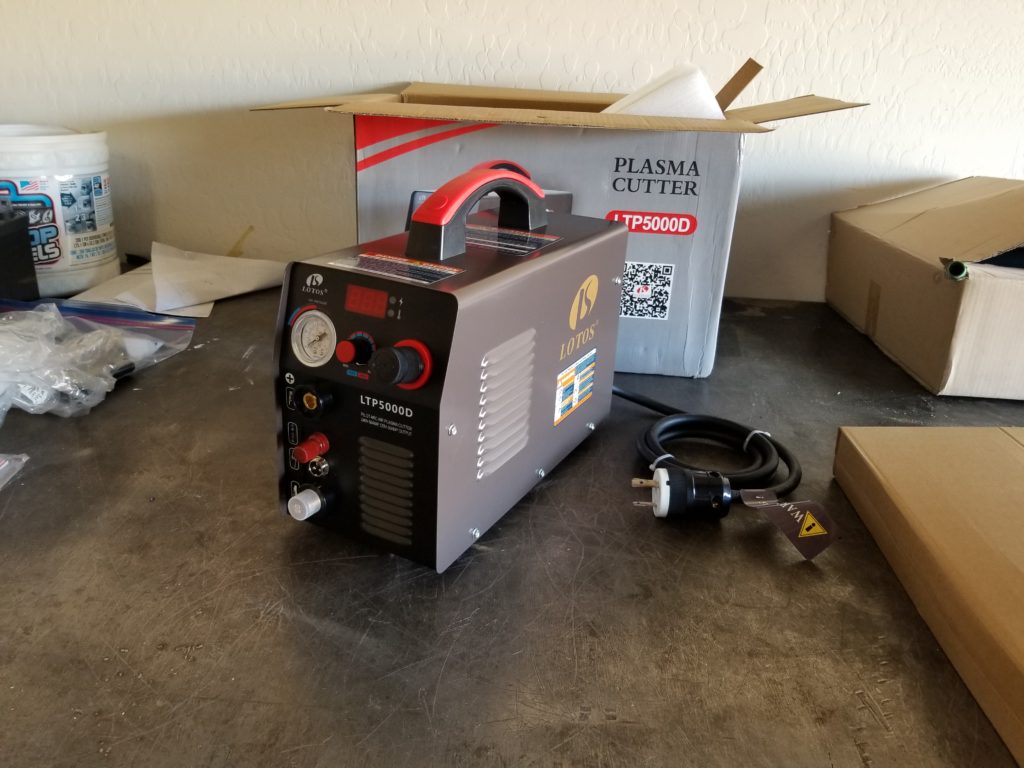
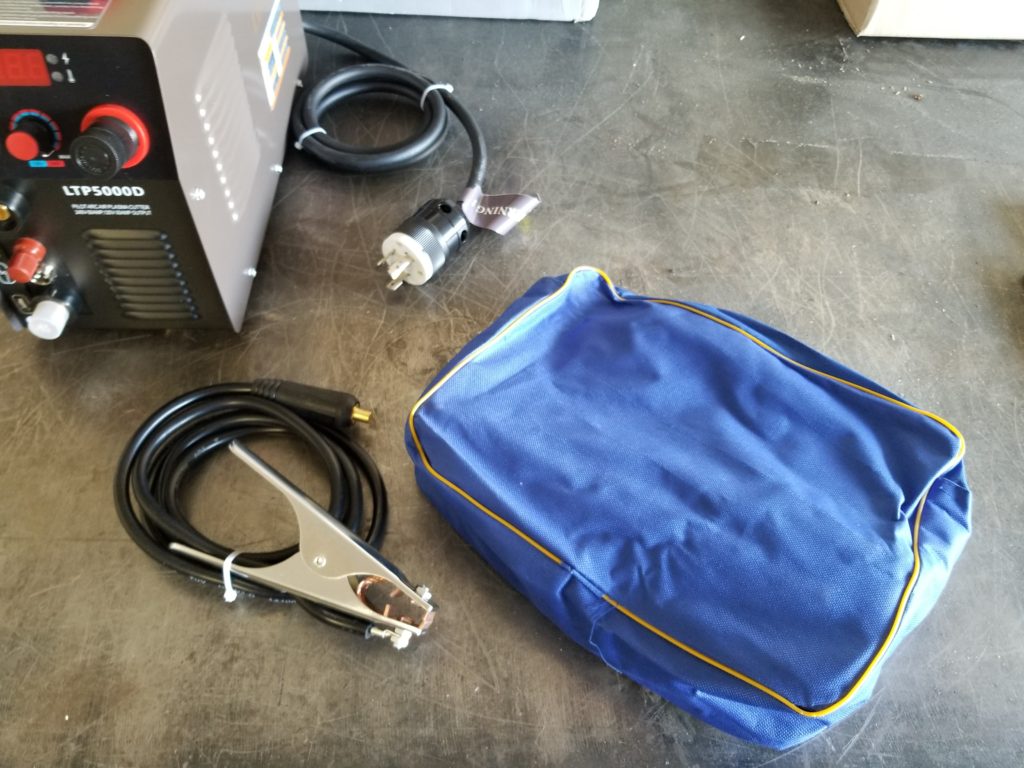
I did notice that the nozzle had some burn marks on it before I had fired up the cutter. The tip is a consumable and there were brand new ones supplied with the unit. I thought I took a picture of the burn mark, but I can’t see it in the picture above. This may have been from QC at the factory before packaging it up or it had been used before. I didn’t see anything else that would make me believe the unit was used. Either way it cut through metal like a hot knife through butter so I was happy. The torch felt fine in my hand and wasn’t heavy. The switch was easy to hold in the on position. The power cable for the unit was too short for my liking as was the positive clamp (torch is GND). These are things that I could fix, but aren’t worth the effort yet. My air compressor was able to keep up with the CFM requirements (Husky 33 gallon compressor). For reference that compressor cannot run a small die grinder for more than a minute or two even with it running full bore and the tank starting at full. I like that it has a built in pressure regulator. The screen on the front for showing the current is almost impossible for a camera to focus on, its alright looking at it in person. There is a separate connector on the front of the unit for the cable going to the switch. I hope this means it will be easy for me to set this up as a CNC plasma torch in the future.
After watching many people on YouTube using plasma cutters I thought running the torch was going to be pretty easy. I was mistaken. I was unable to get the settings to a point where I didn’t get dross on the bottom of the cut. I was using 1/4″ hot rolled steel for my test cuts. I eventually came to the conclusion that dross happens. It isn’t too hard to scrape off with a chisel or knock off with a hammer/throw on the ground. Below are some pictures of my test cuts. I am inconsistent with the speed I drag the torch and it makes the cuts look ugly. I am also unable to drag the torch in a straight line without a guide. I have a lot of practice to do before my cuts will look any sort of good.
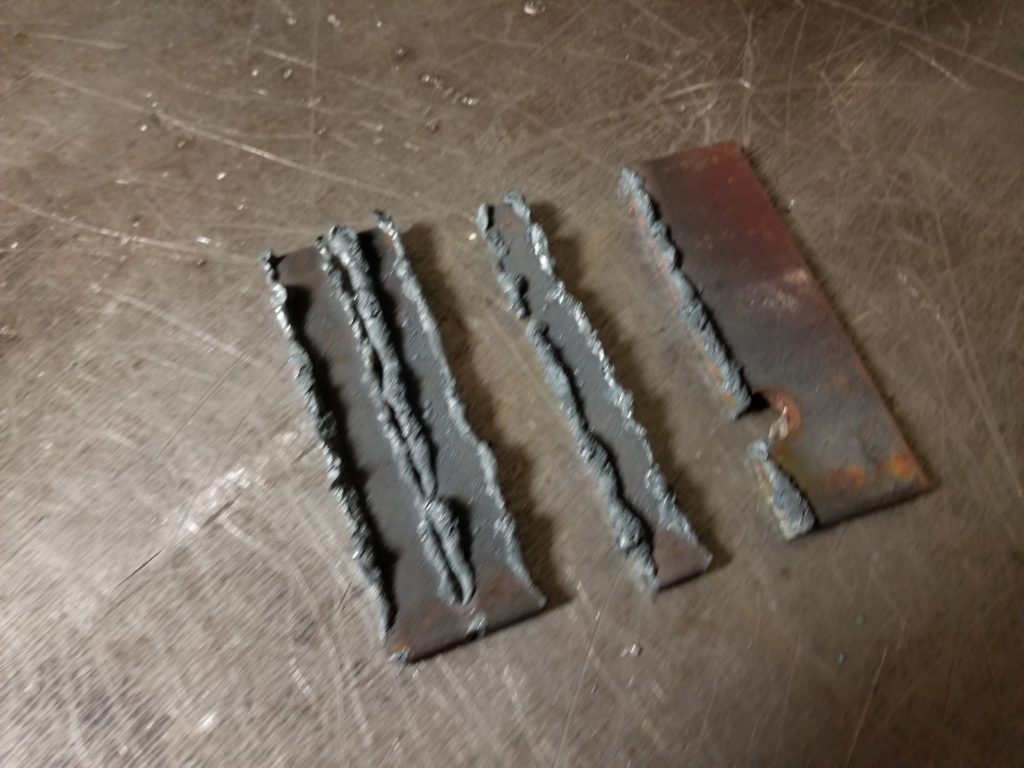
Bottom side of cut 
Side view 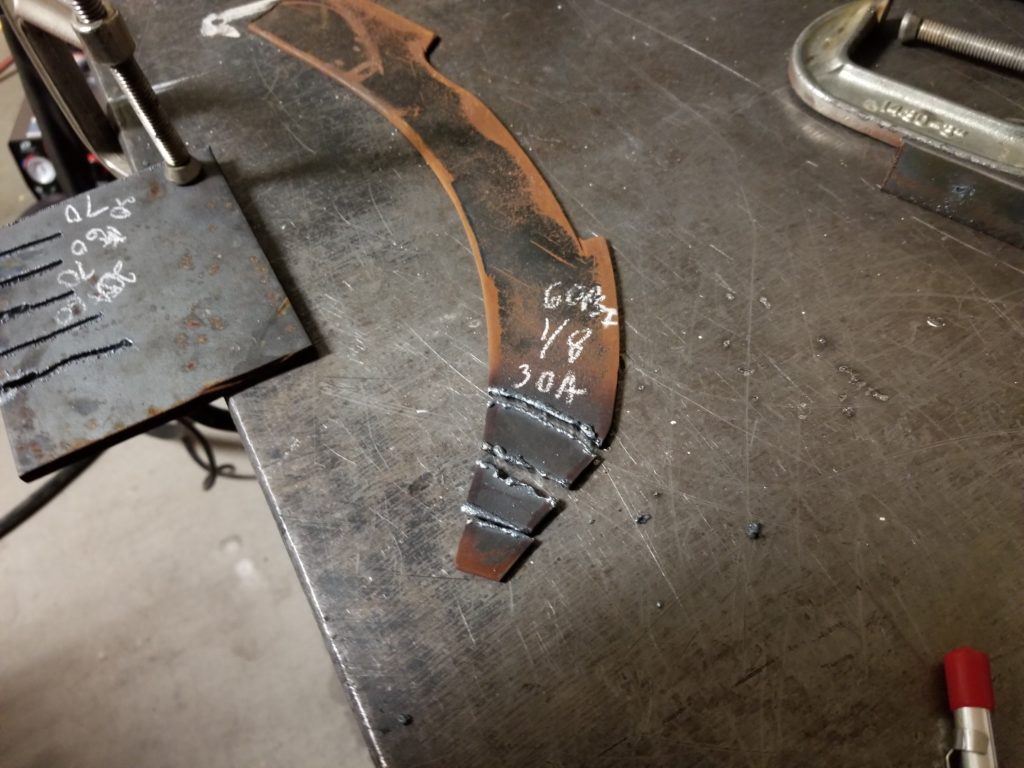
Bottom side of cut (right piece) 
Top side of cut