Back Firing Engine the Sequel
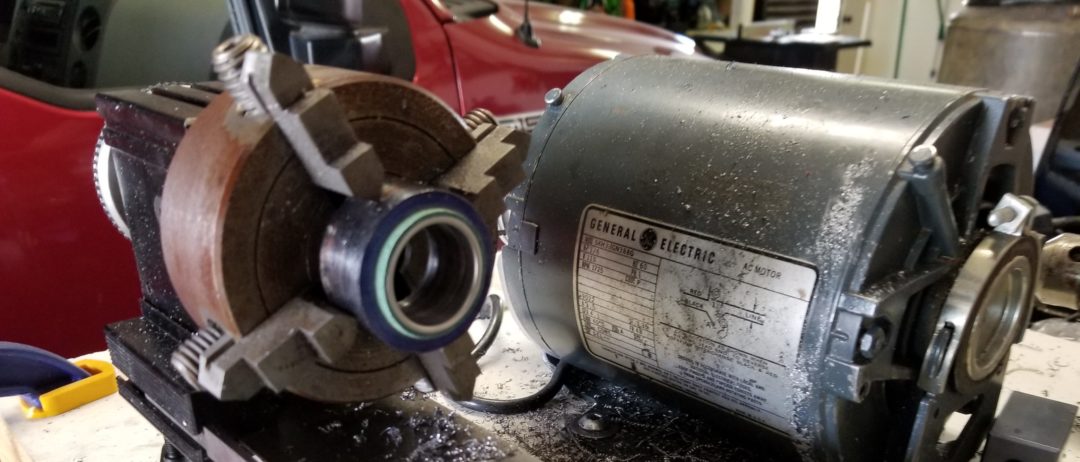
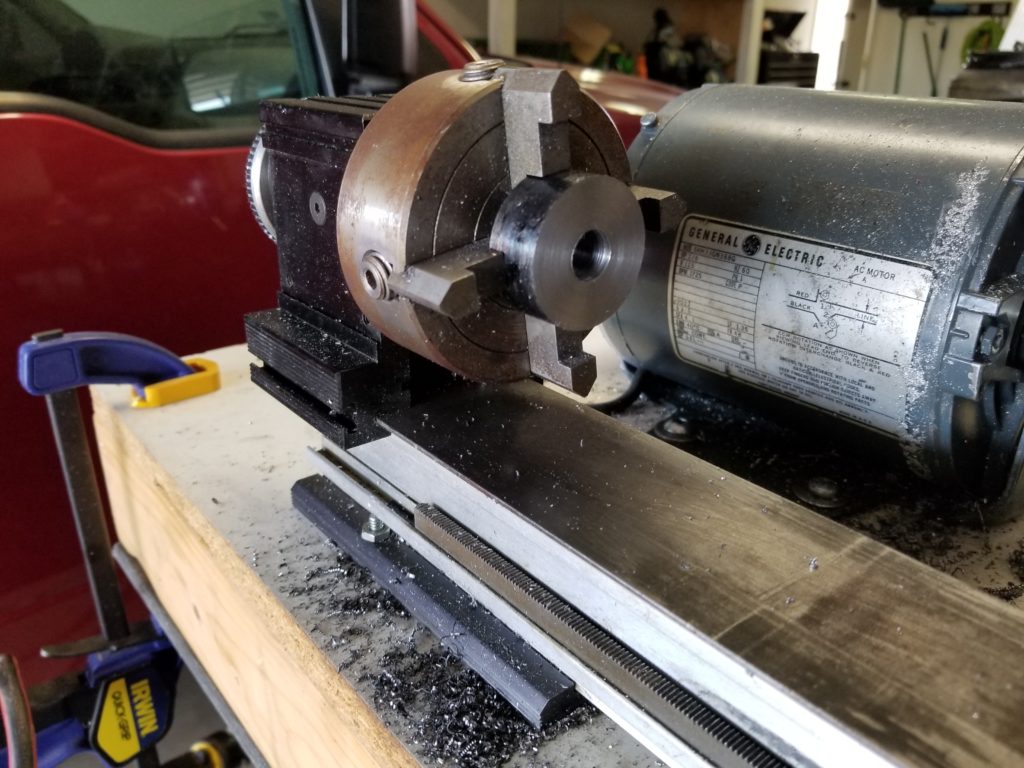
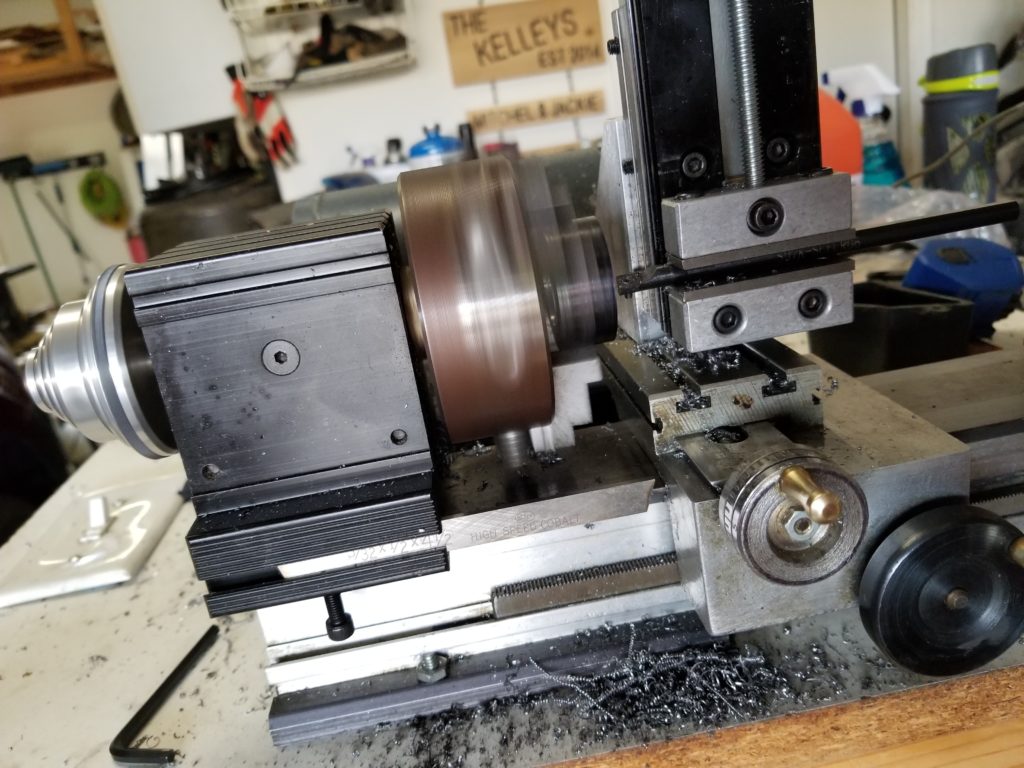
After an impatient search for a set of cheap boring bars that could ship quickly, and a brief wait for shipping I had my tools. However I did not have the correct tools. They were boring bars, but they were not boring bars made to fit the tool posts I had for my lathe. The proper thing to do, would have been to buy boring bars that fit my tool posts. I did not see any boring bars that Taig recommended. The next best thing would be to make a proper tool post for the boring bar I needed to use to complete the project. The set I purchased were three different sizes with different size shanks. Instead I used the milling attachment for the lathe as an adjustable height tool post.

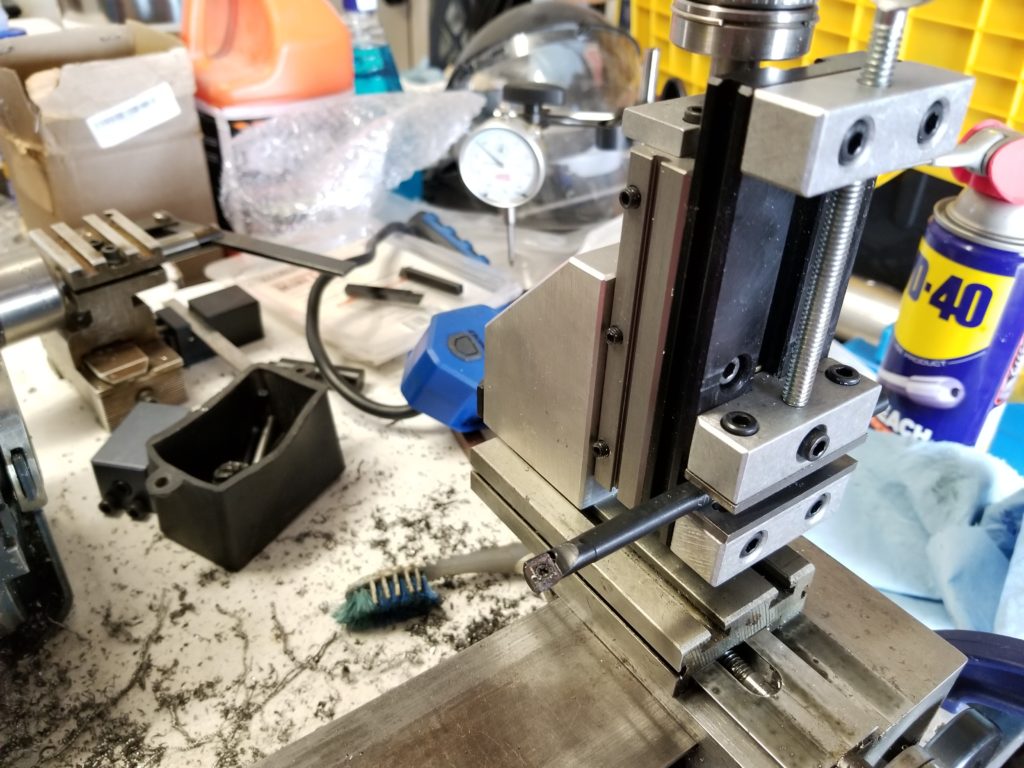
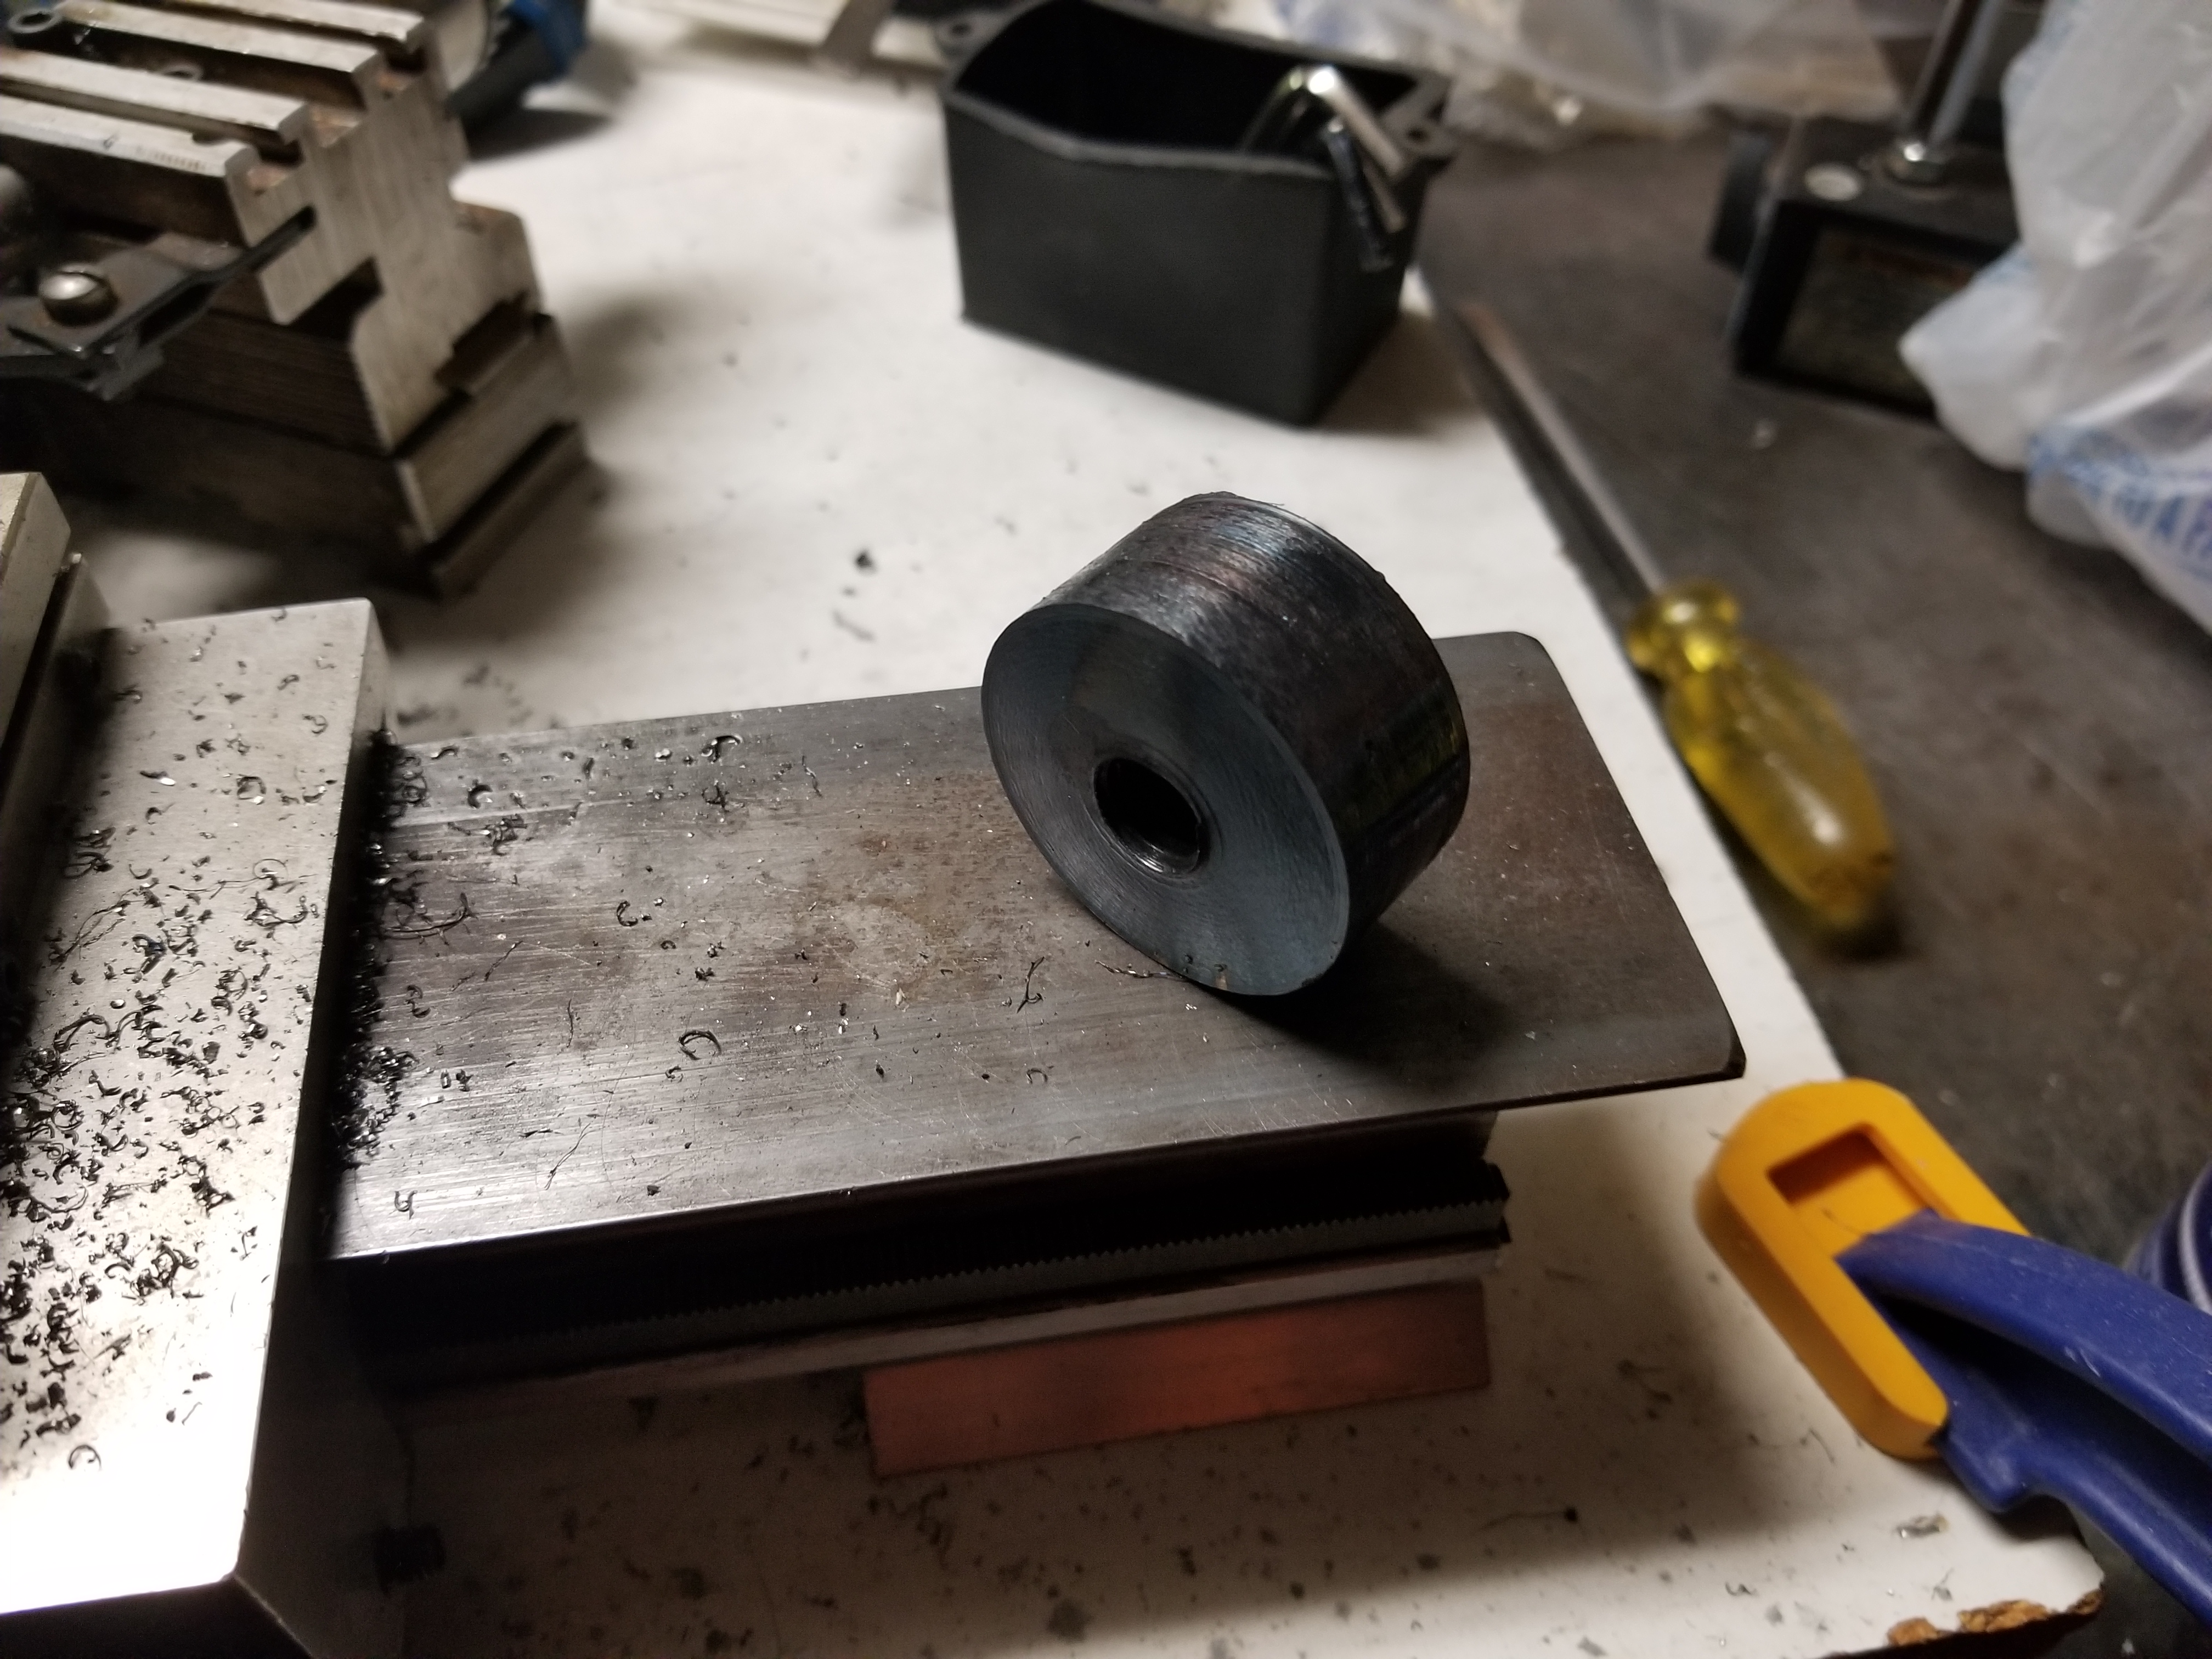
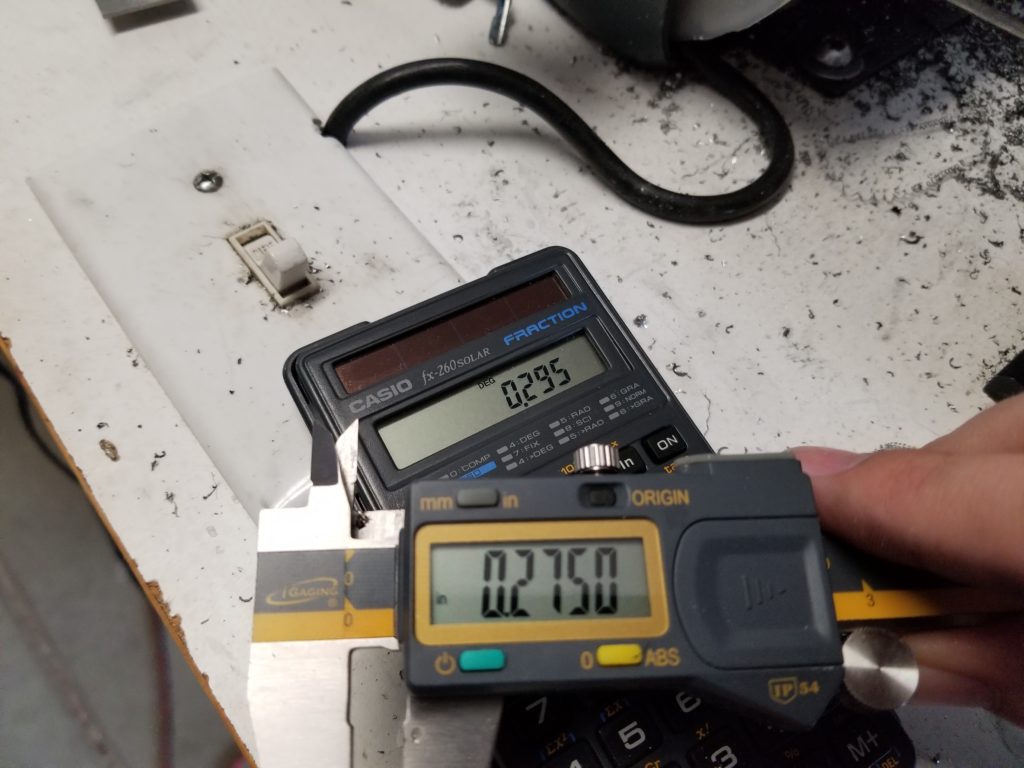
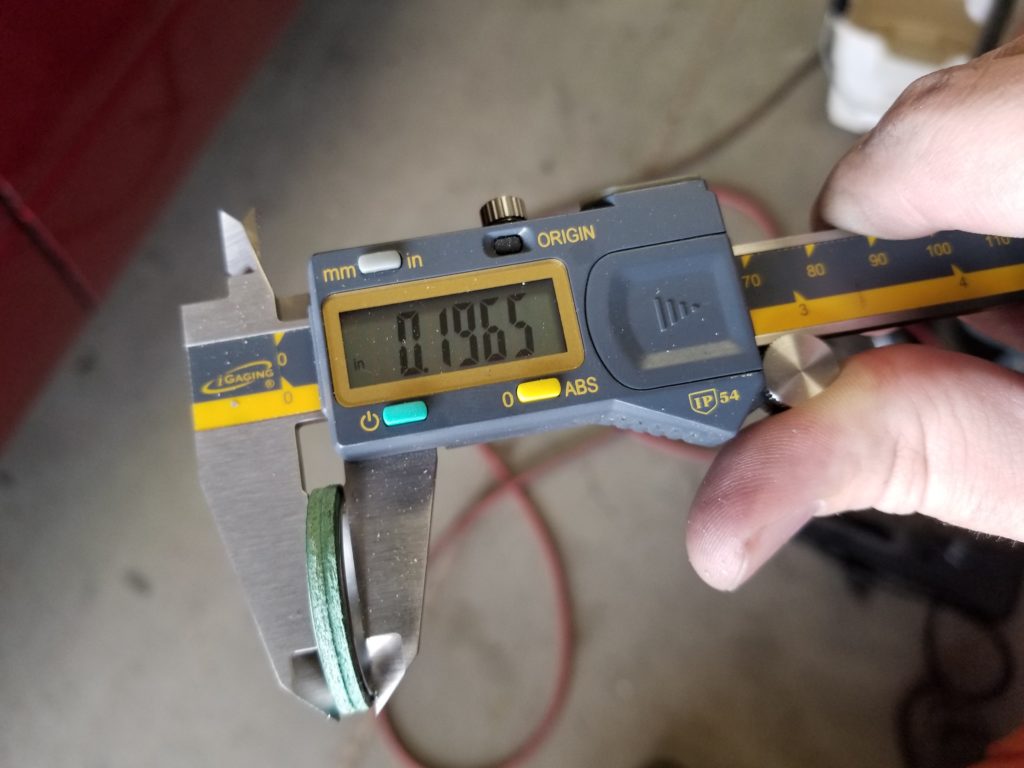
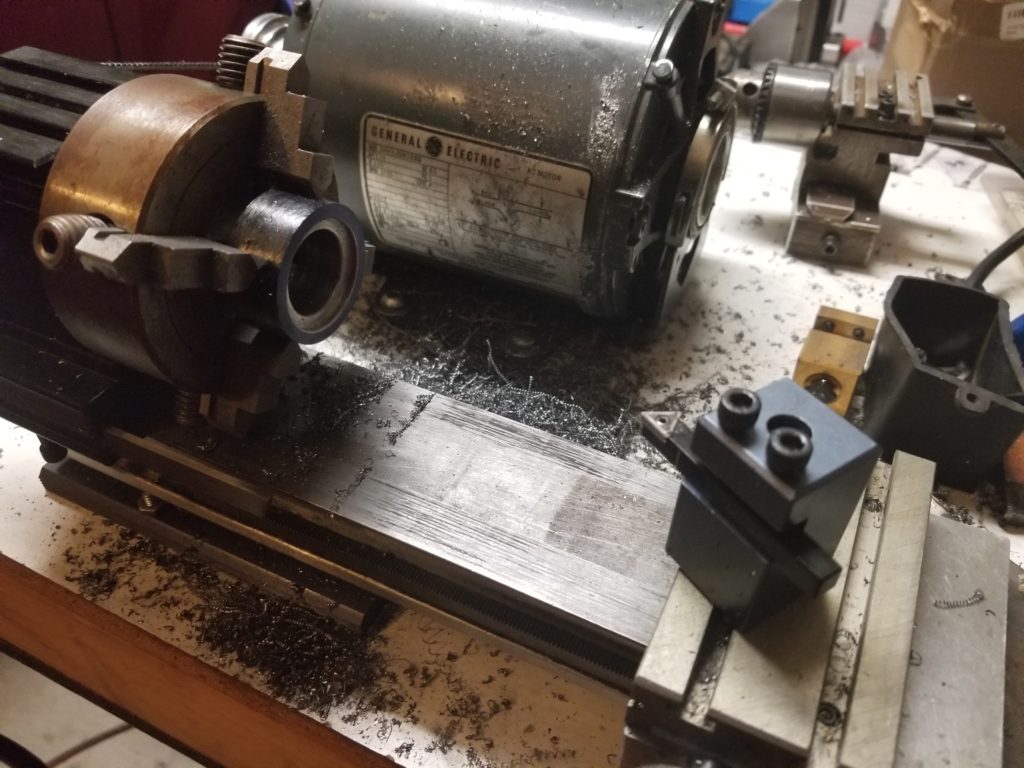
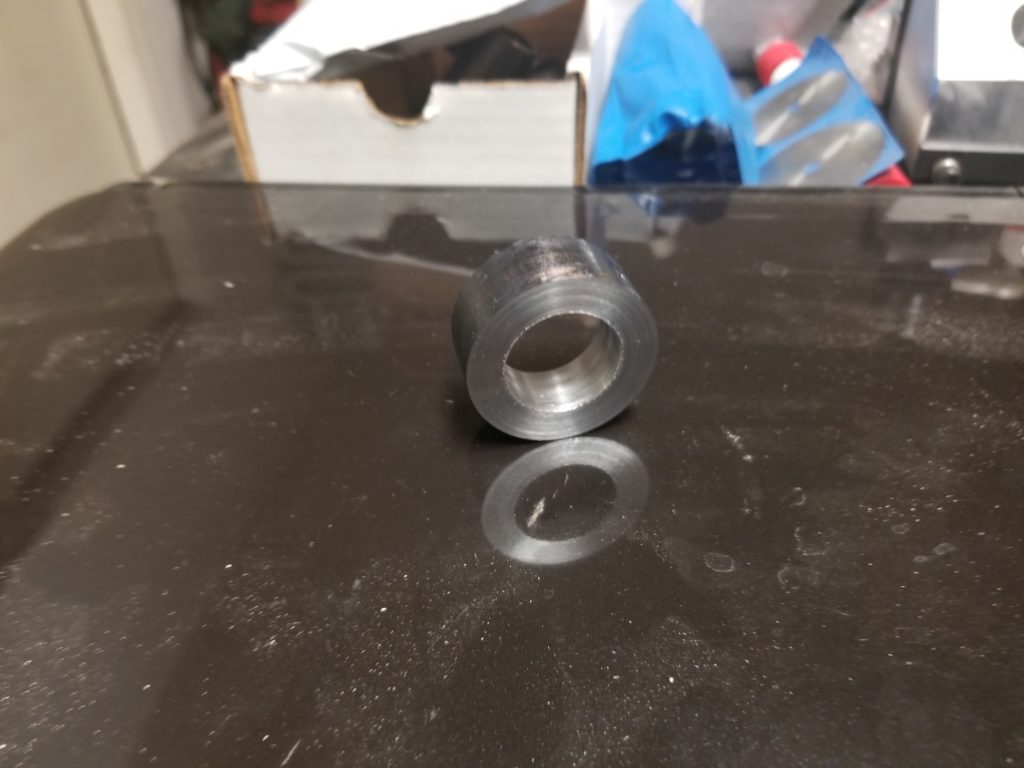
This setup allowed me to get the height of the cutting edge on the tool right on center. I locked the vertical travel in place after adjusting the milling attachment height and before making any cuts. I coated the face of the part with layout fluid and used calipers to mark where my boring operation should be. The first boring operation was to widen the hole through the center of the part to the same diameter as the inside of the gasket. I didn’t have a way to easily measure the radius of the hole from the center of the part to be cut. Instead I used the outside diameter of the part as my reference surface and measured in to the internal diameter that the hole needed to be. I measured more gaskets after making the first mark and found that some had a larger center hole than others (+/- 40 thou). I then made a new mark for a diameter 40 thou larger and bored the part to this dimension.
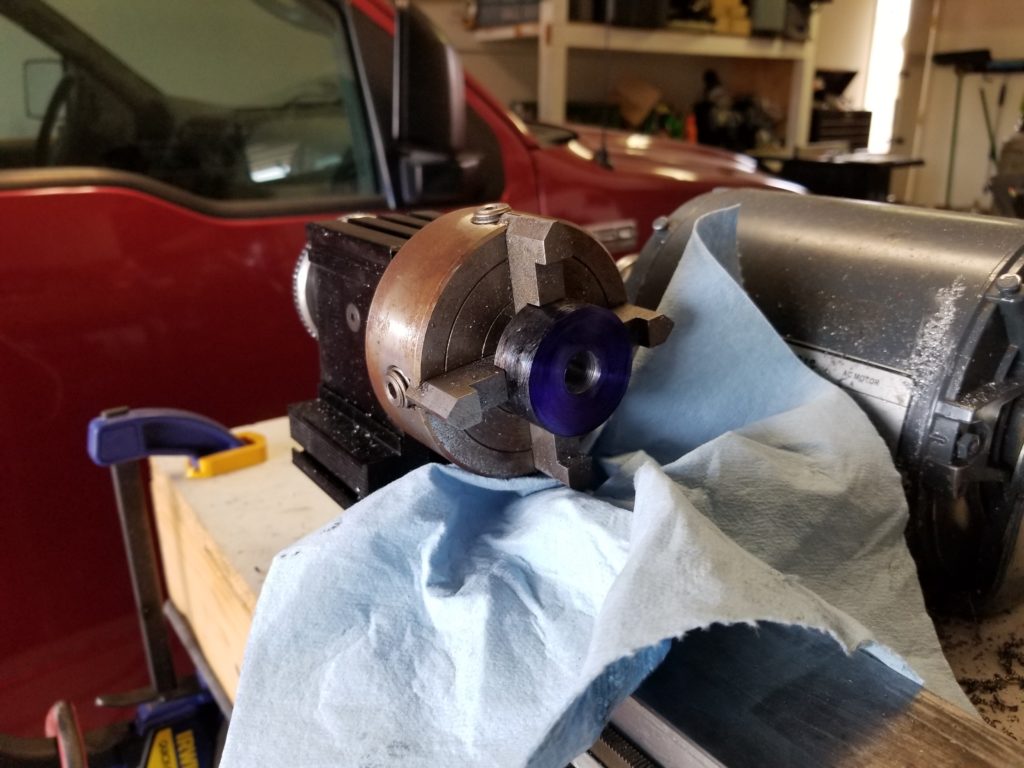


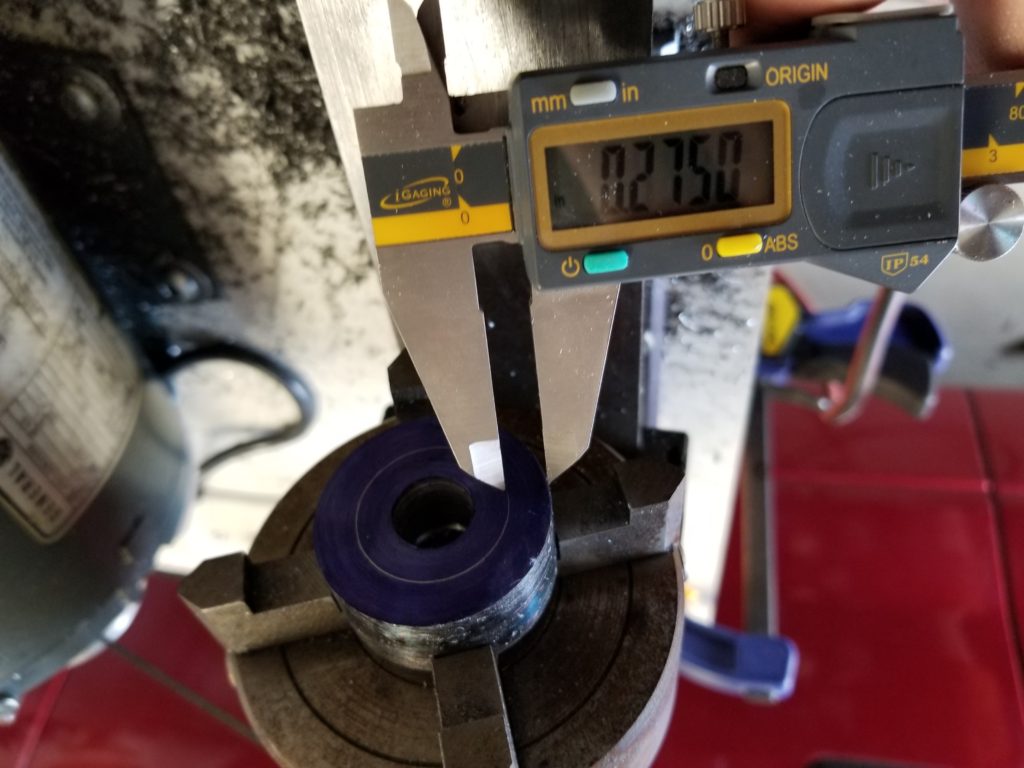

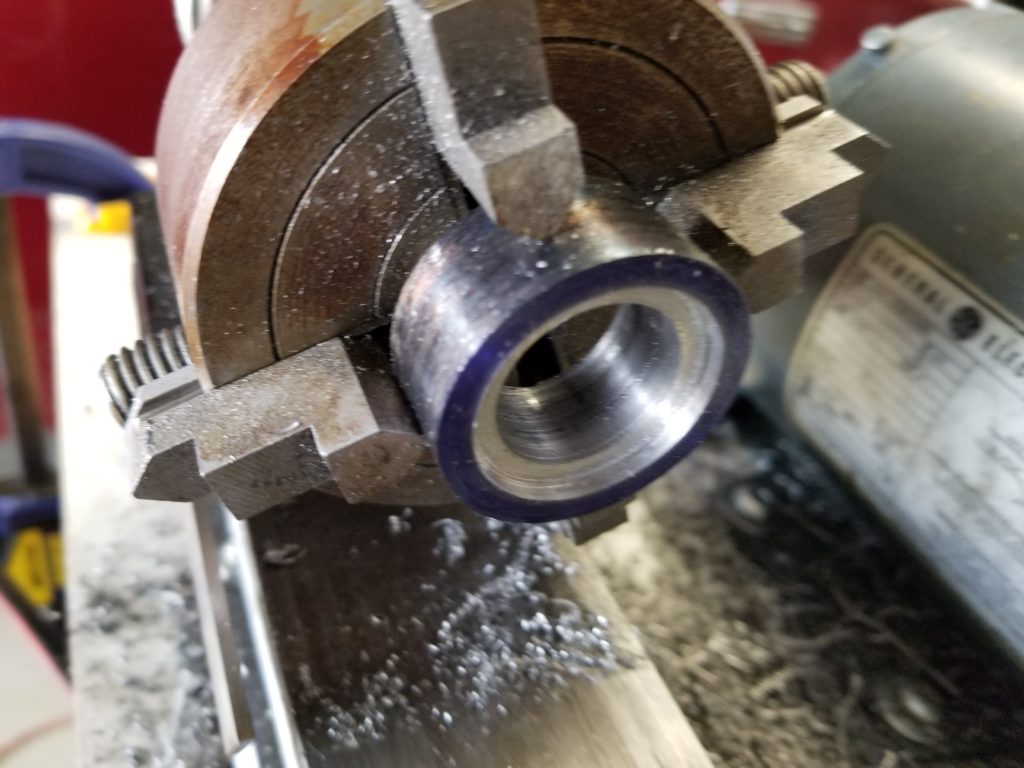
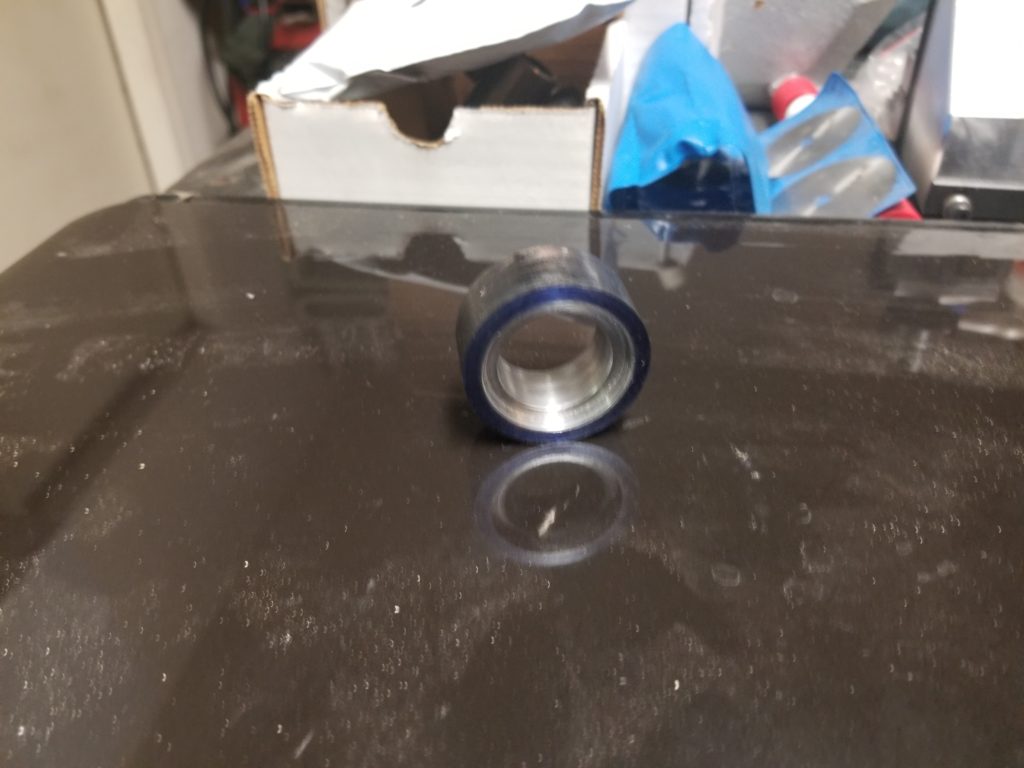
I then repeated the steps for the internal diameter to make the pocket for the gasket to sit in. This cut was different because it only needed to be roughly half of the gasket’s depth. I did not make the depth of cut exactly half of the gasket depth because all of the gasket’s did not have the same depth, and their job is to seal the imperfect mating surfaces anyway.
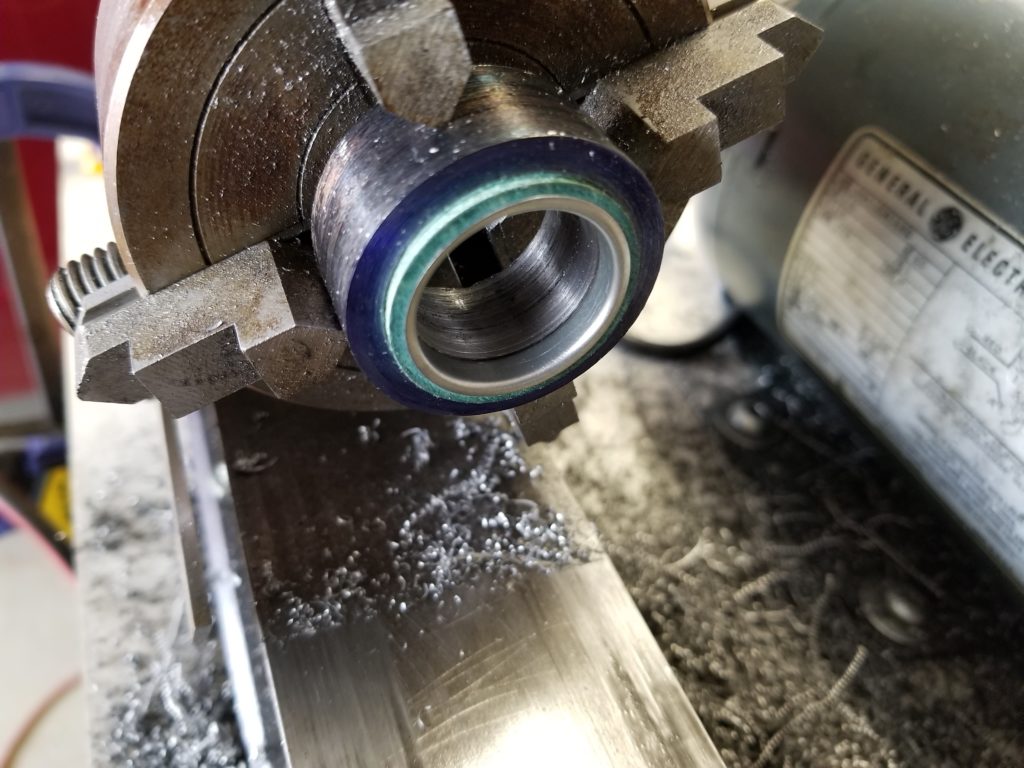
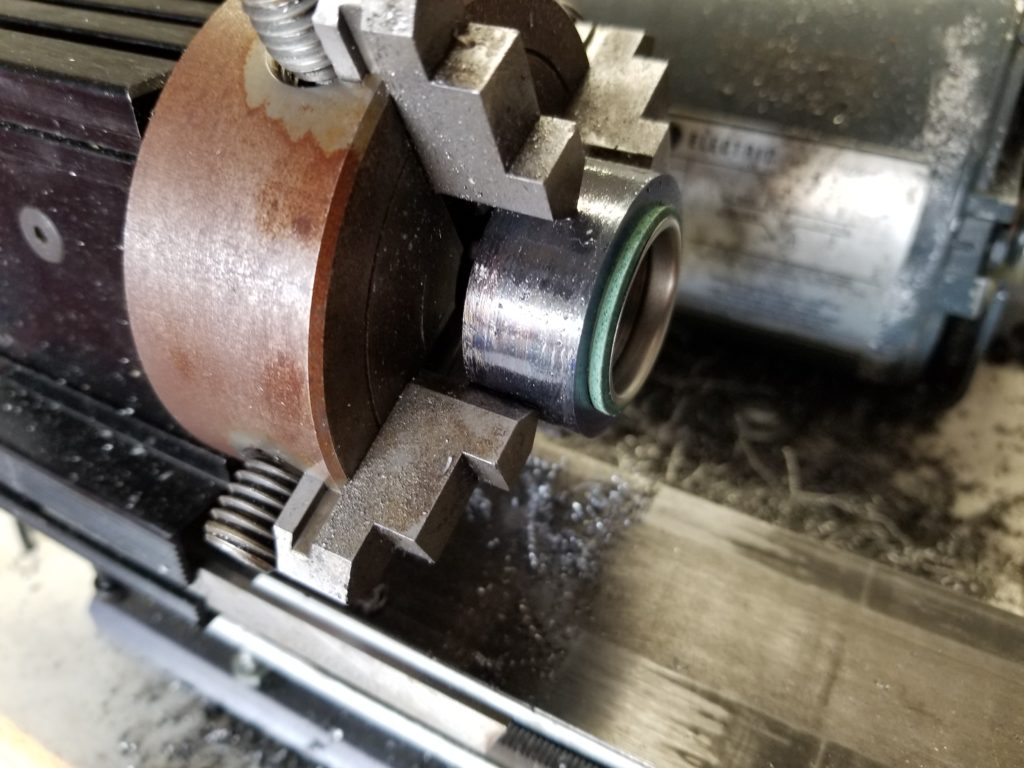
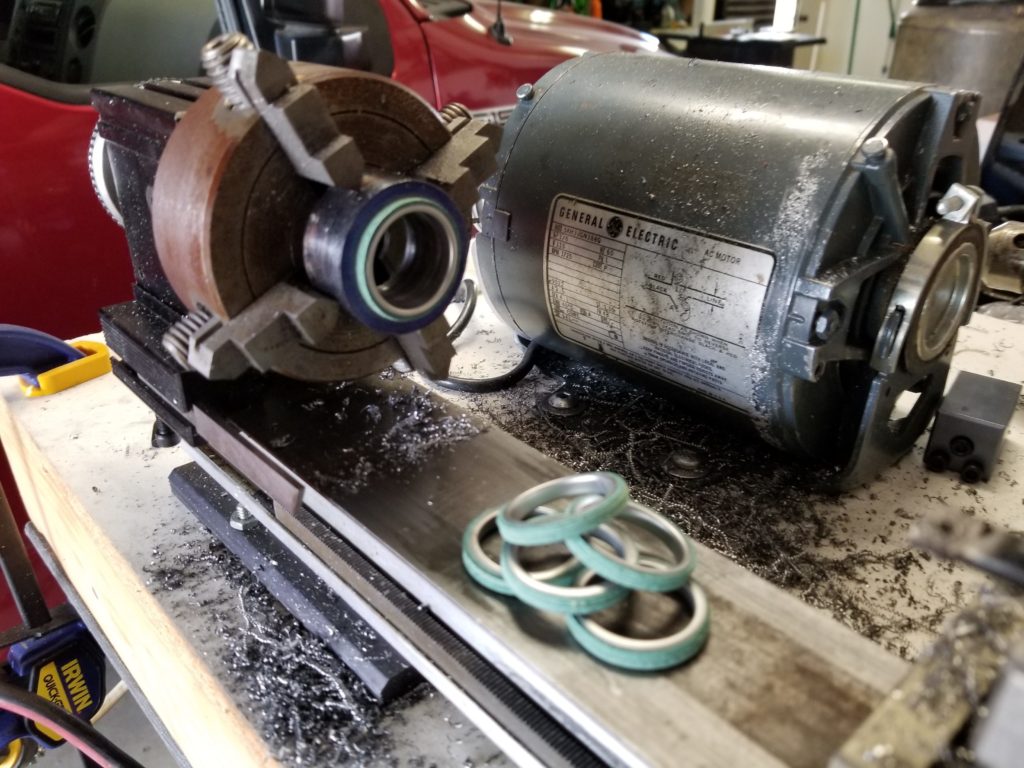
After verifying a few gaskets fit snugly I chamfered all of the edges. This helps airflow on the inside edges and makes the outside edges less sharp.

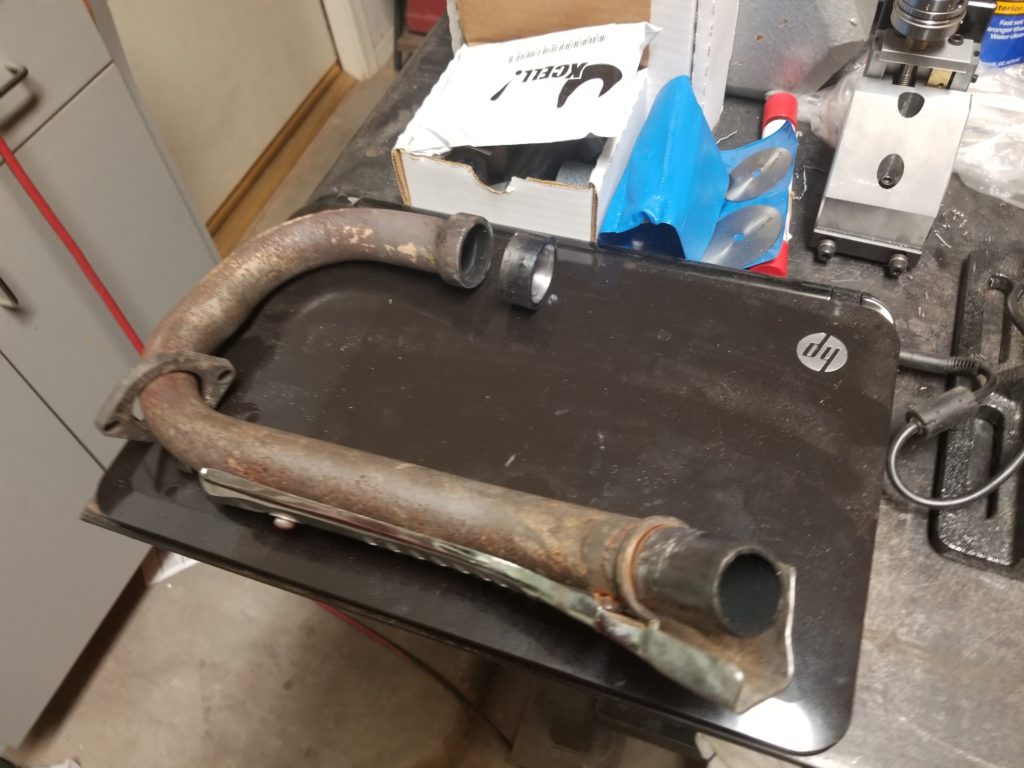
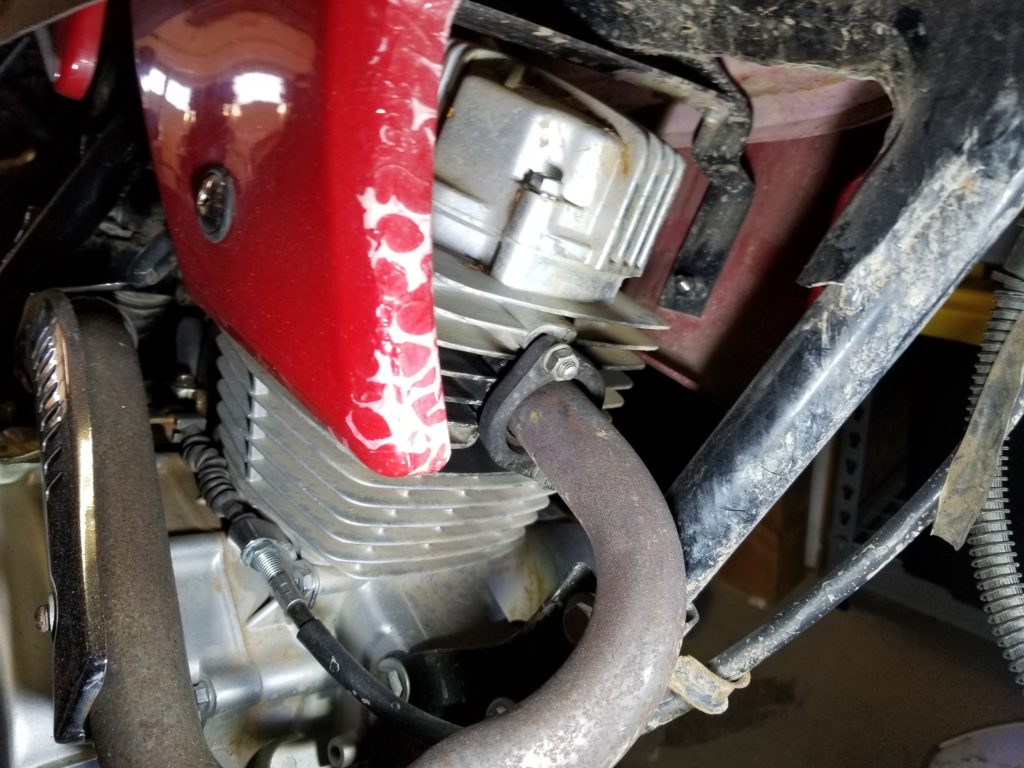
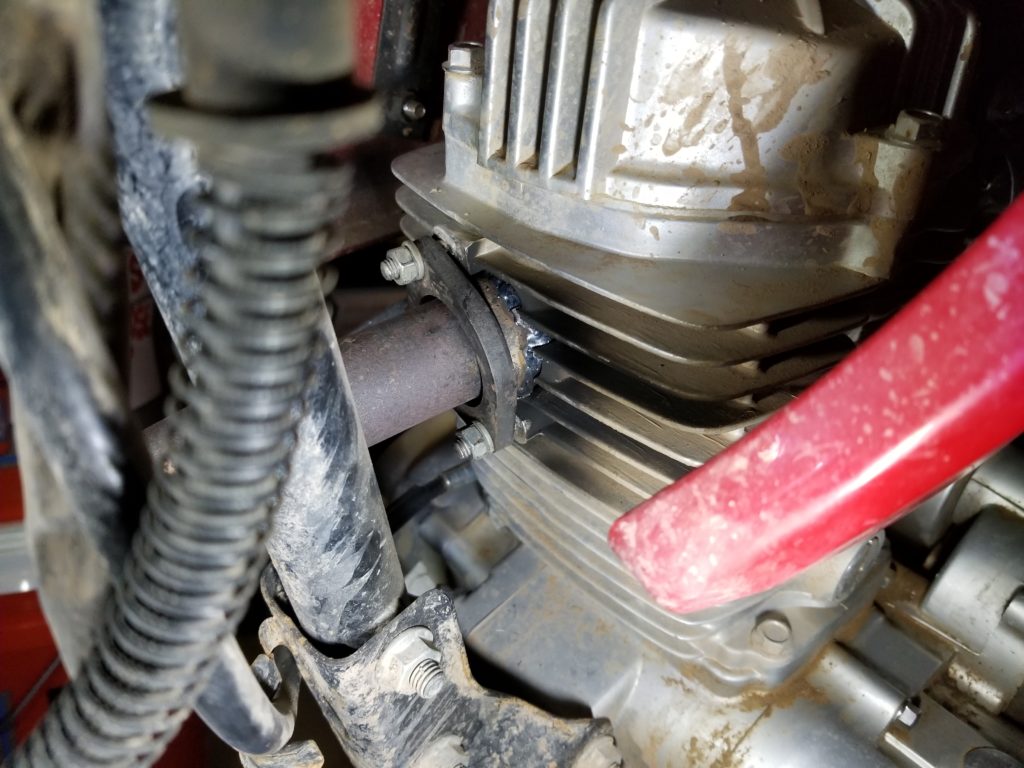
After welding the newly made gasket holder and manifold extender onto the old manifold, I bolted it back onto the engine. The bike started up on the first kick and I was off! I drove around about 5 miles with the engine up to operating temperature and had no issues with the engine backfiring anymore. I could not detect any exhaust leaks coming from the welds or where the manifold bolted onto the engine. My bad for not taking pictures after I welded it and before bolting it back on the bike.