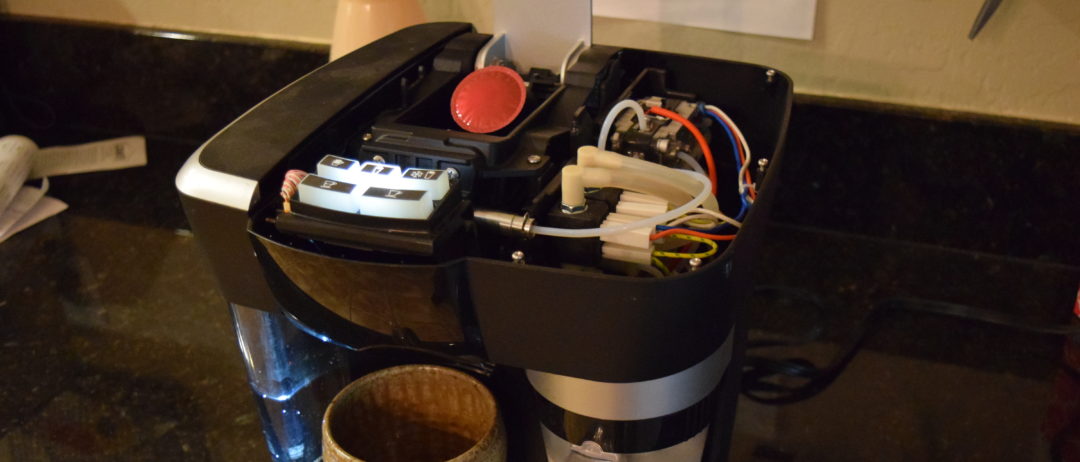
Keurig Revo Repair
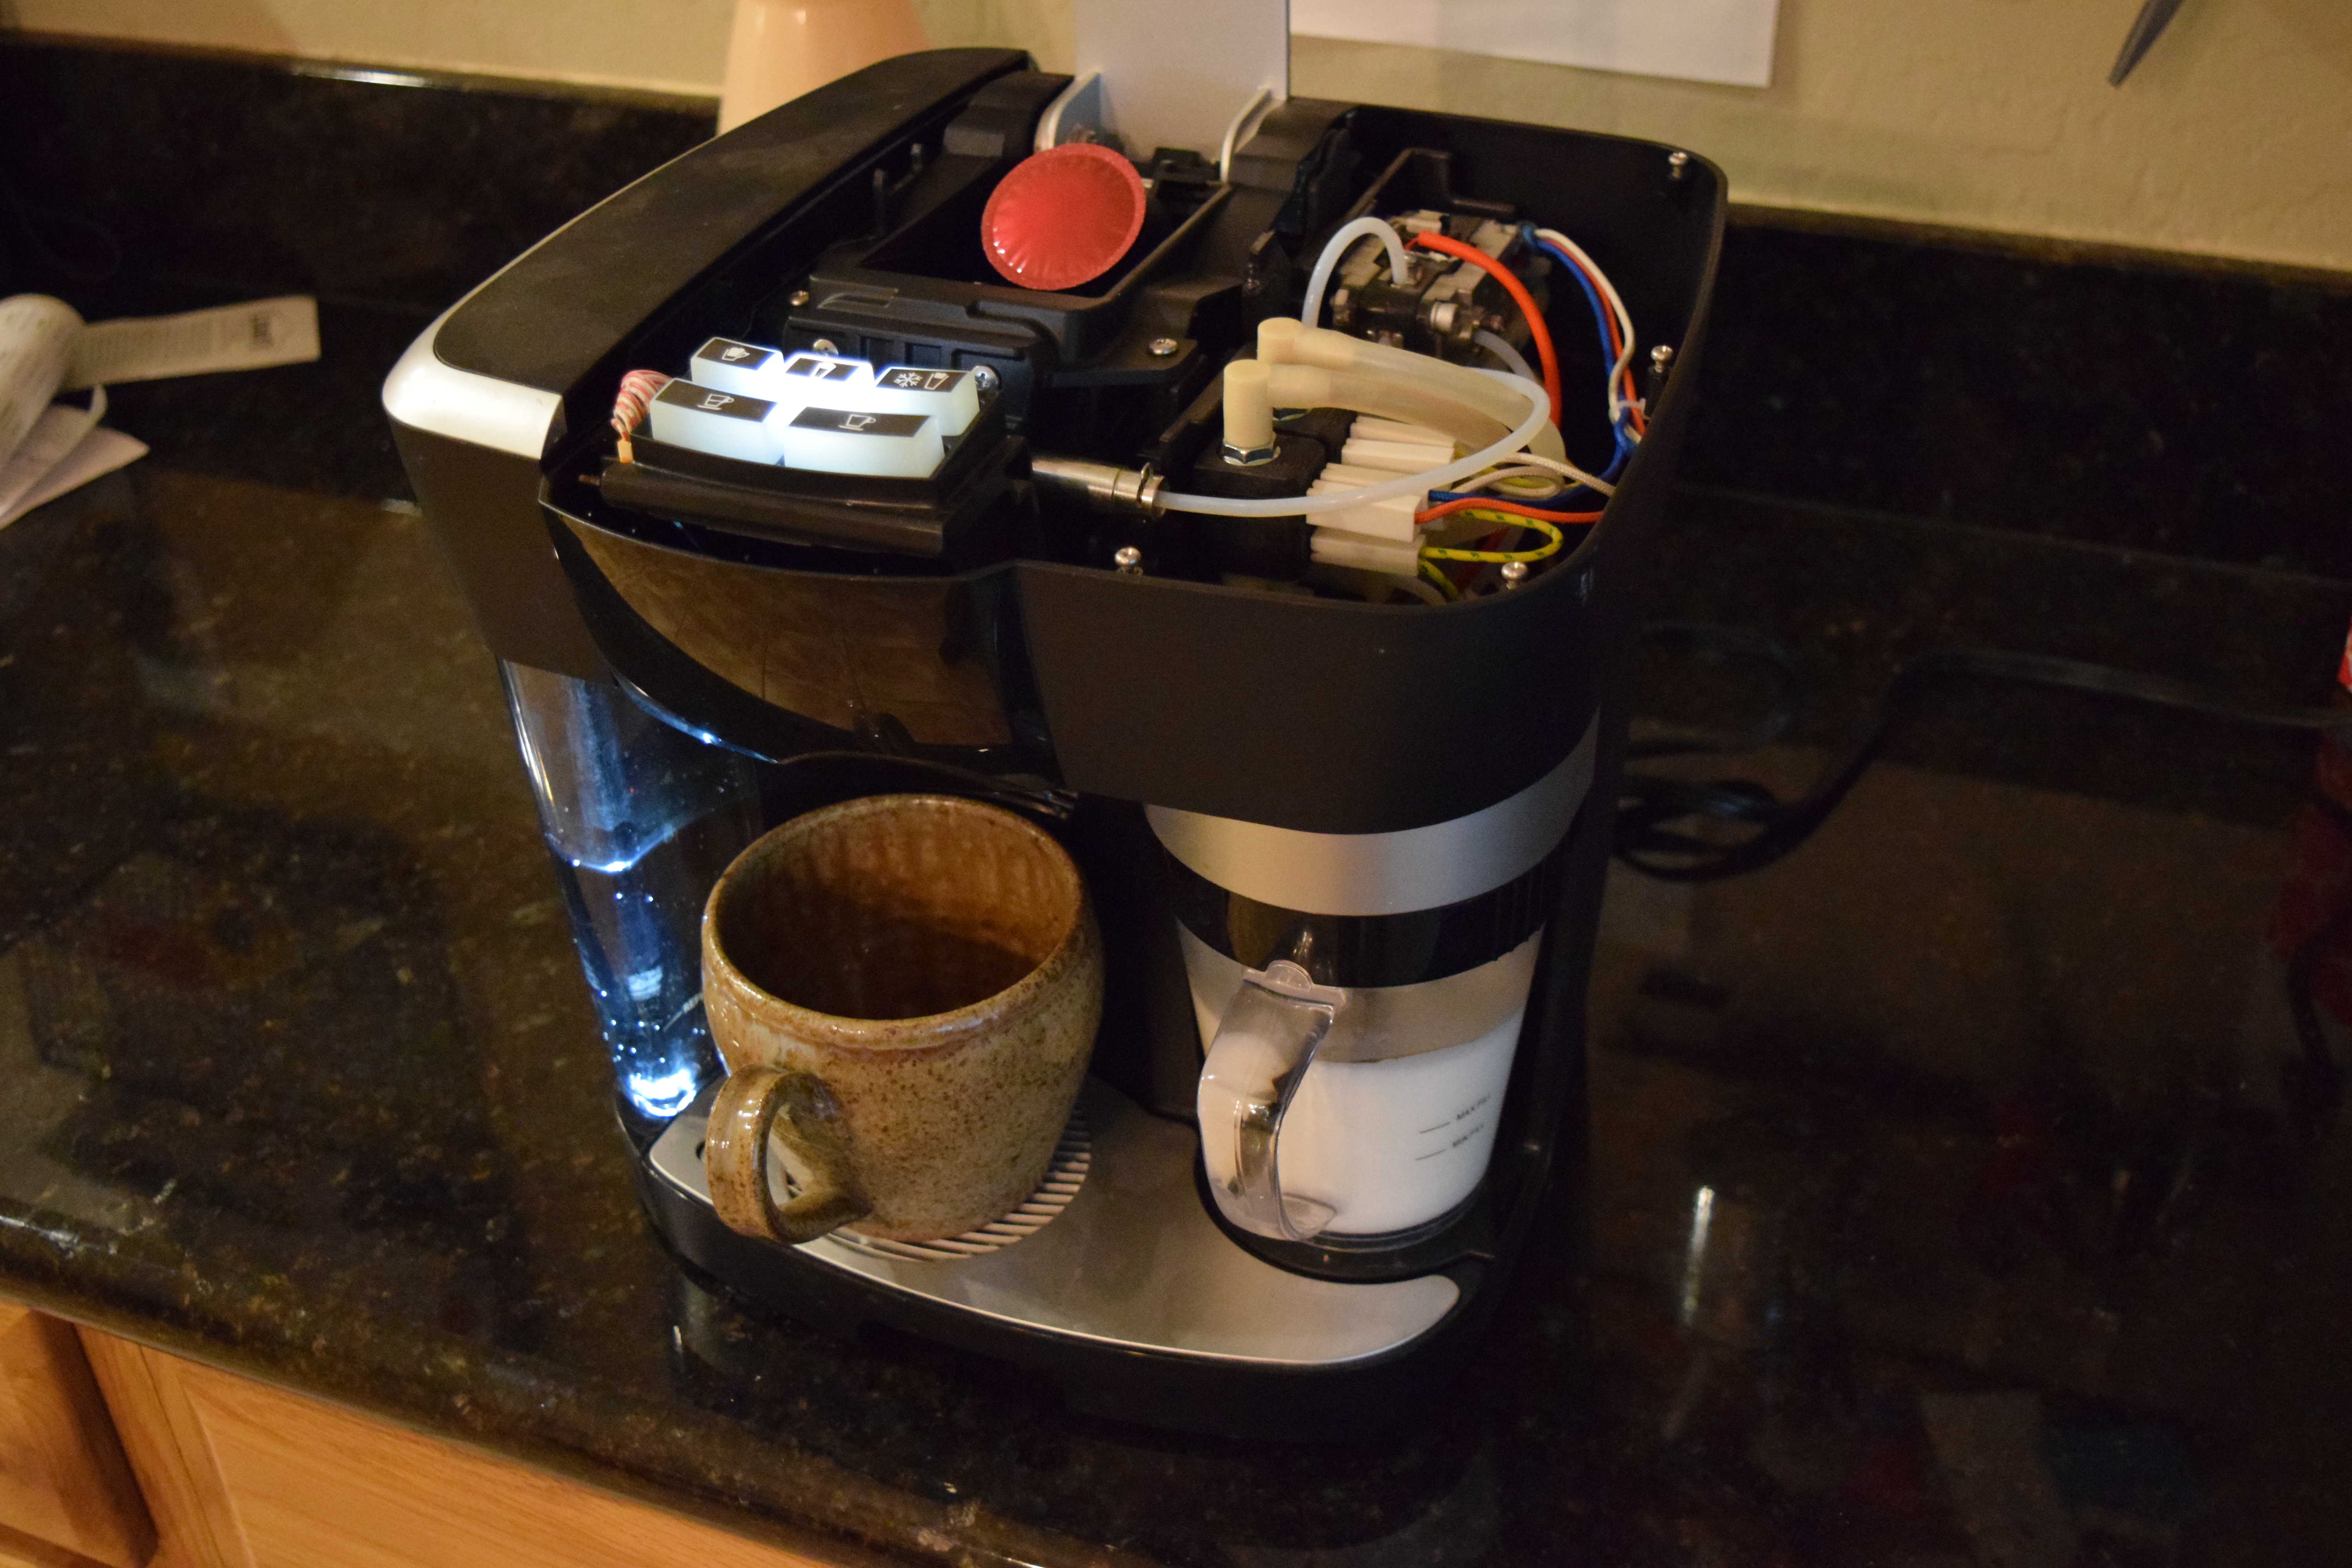
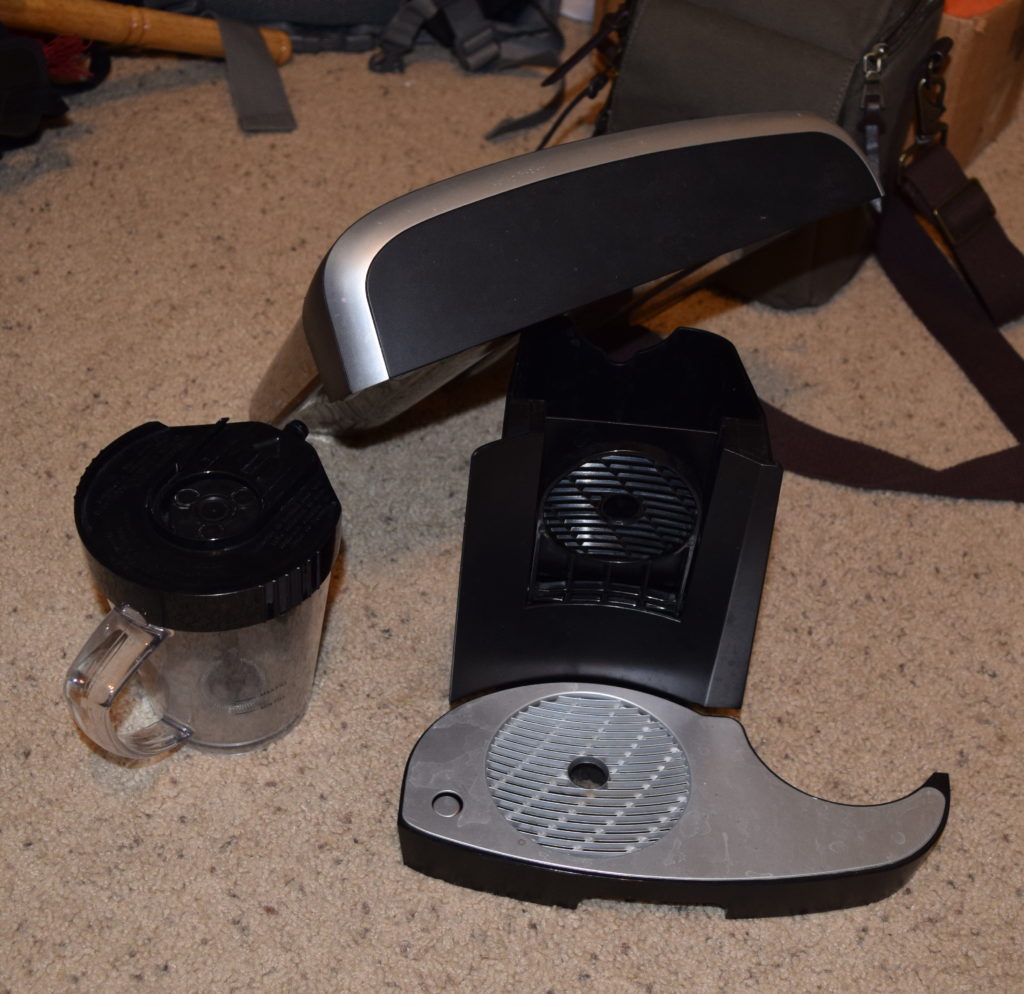
Once upon a time, in a thrift store not to far away, an abandoned espresso machine was waiting to be rescued. I had the luck to be that brave rescuer. Some people may argue that it isn’t a true espresso machine because it is a Keurig, but I don’t really care. It froths milk and shoots out coffee. At least it did when I bought it for $10. It lasted about a week before I started having issues getting the actuator to push the pod into place. I could push the handle back and try again and it usually worked until one day it didn’t. It was a sad day when I realized the coffee that I couldn’t put in any other machine except this one was worth more than I paid for the machine. This coffee was now sitting on my counter mocking me. After a brief look over of the device, I decided to take it apart to try and tighten the bolts that hold the actuating mechanism in place.
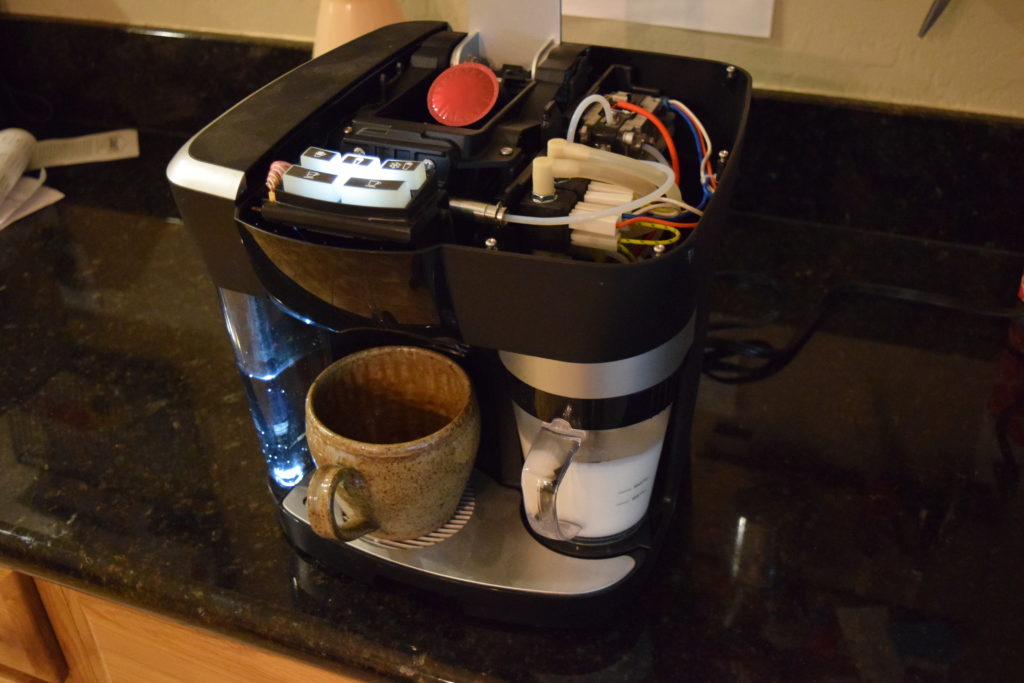
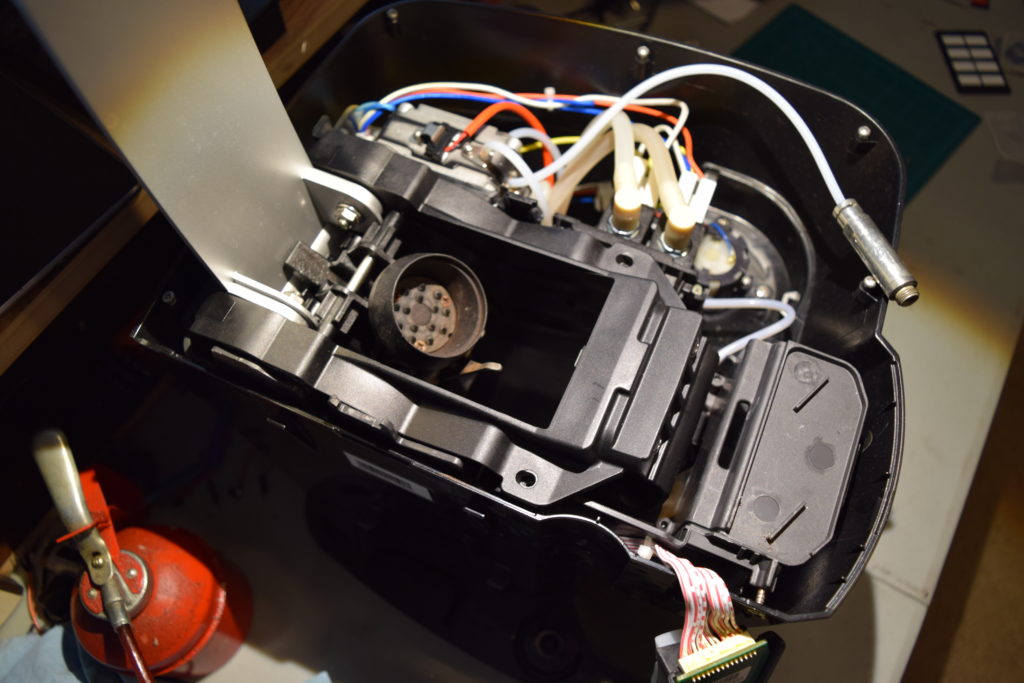
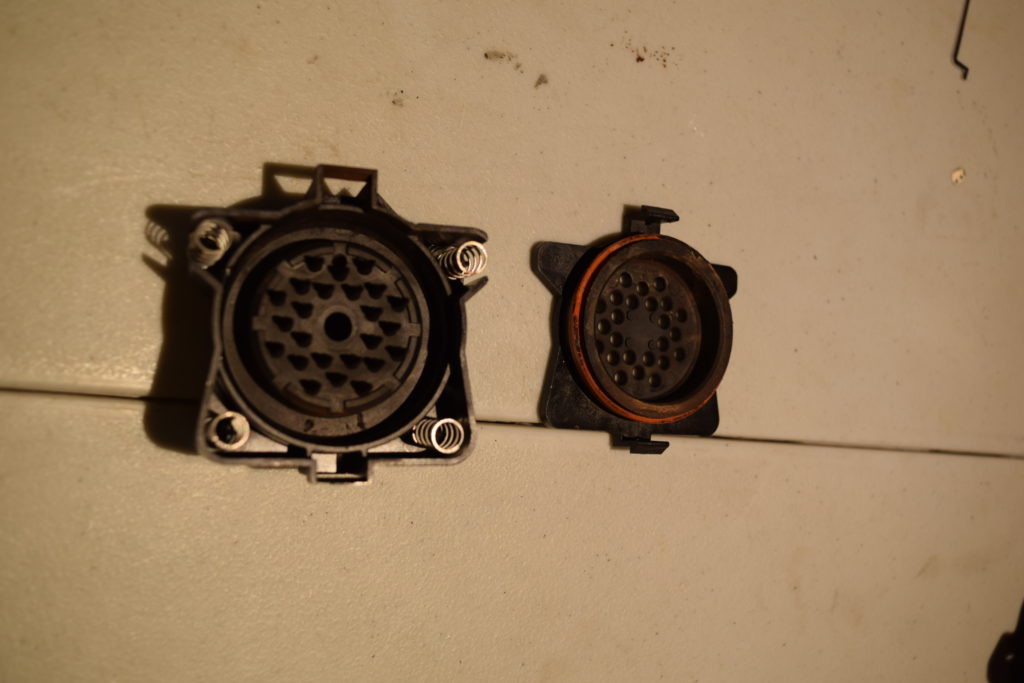
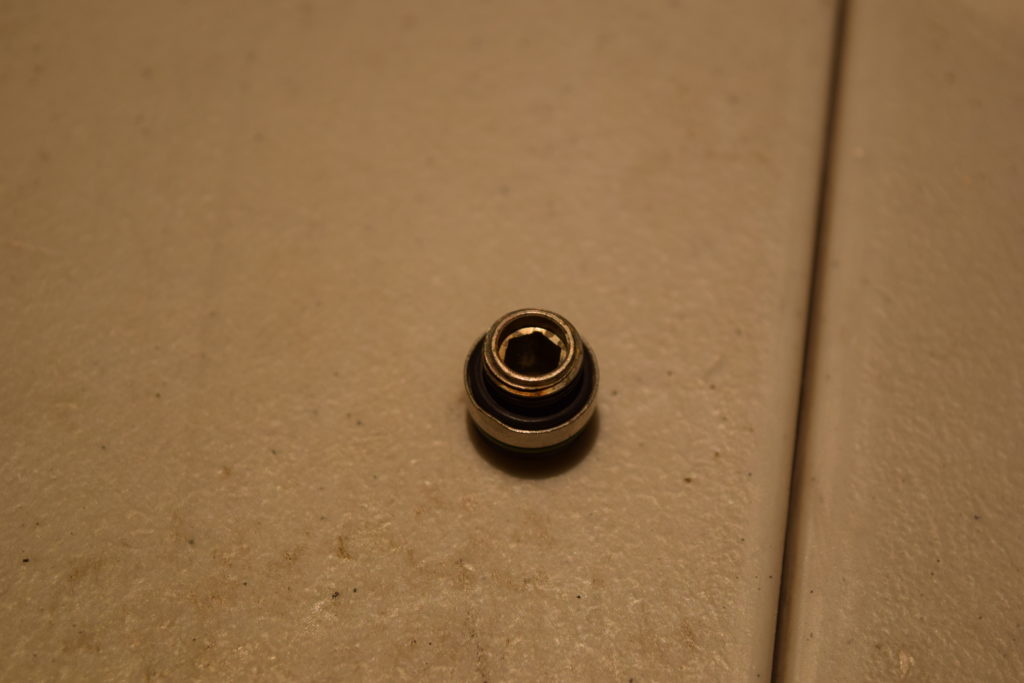
I was successful in tightening these bolts…but I was also successful in stripping the metal pressure regulator from the side of the plastic housing. Below on the left was what the insides were supposed to look like, below on the right was what they did look like. A snake that spews steaming hot water under pressure that doesn’t stay where it is supposed to does not produce coffee.

The threads on the pressure regulator were in tact so it had to be the plastic hole it screwed into. I thought about drilling out the hole and making an insert to screw into the now larger hole. But there was not enough plastic to do this while having a hole large enough in the insert to screw in the pressure regulator. I decided to take out the plastic piece and partially disassemble the regulator to see how this could be fixed.
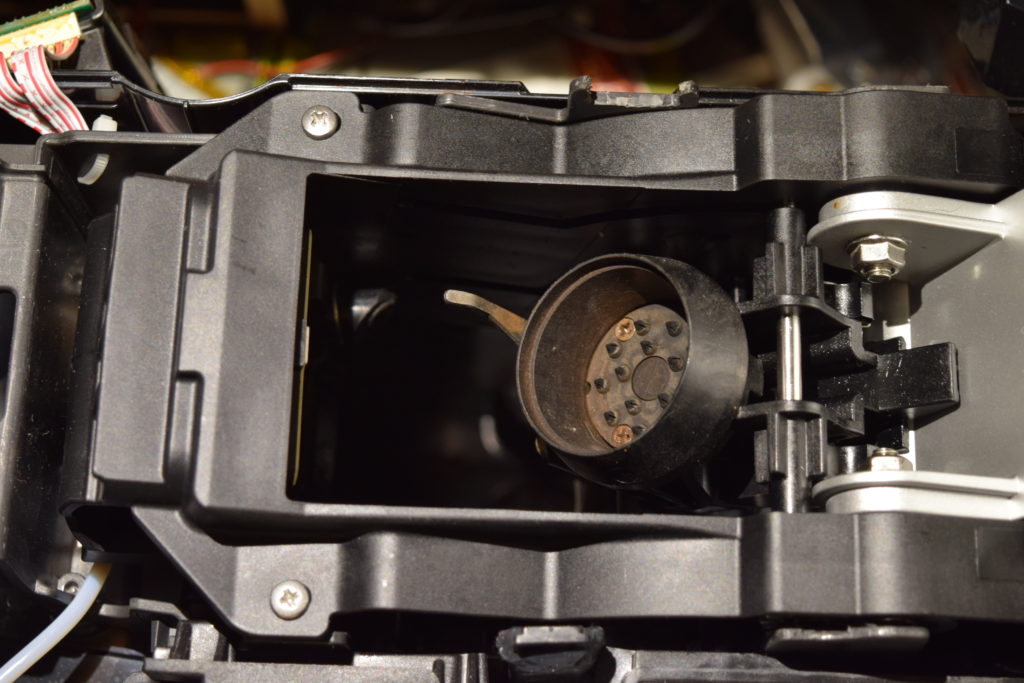
The cause of the problem
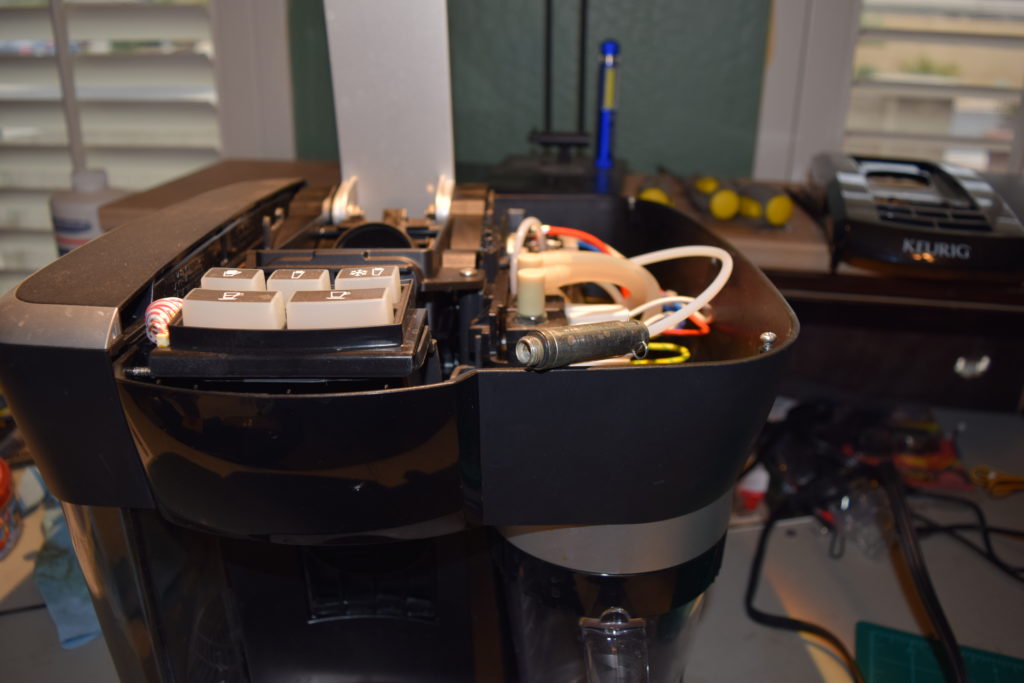
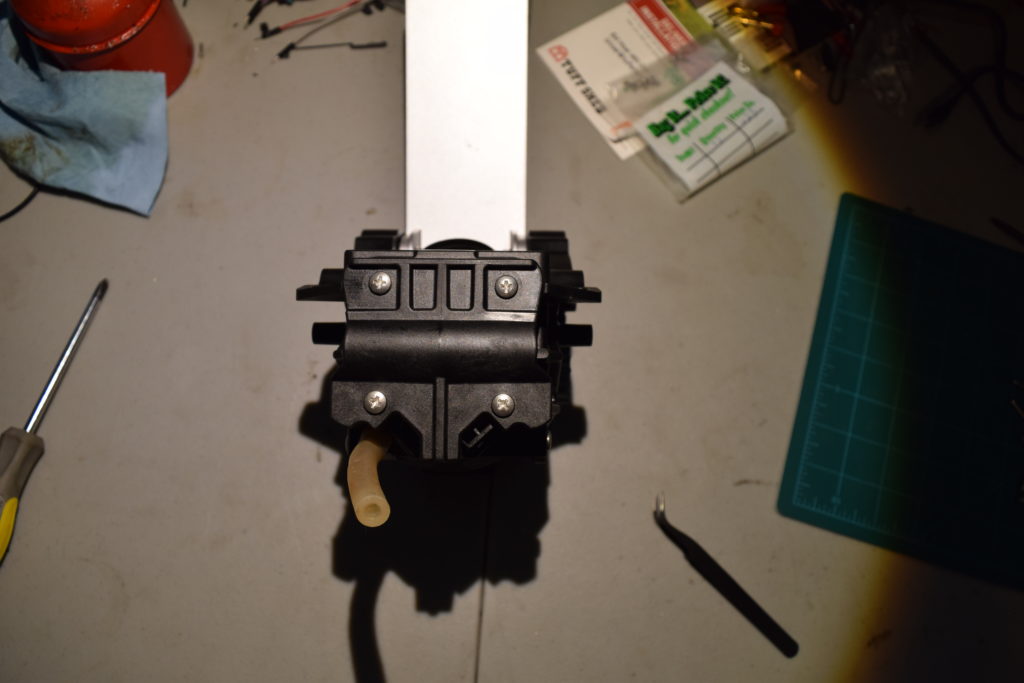
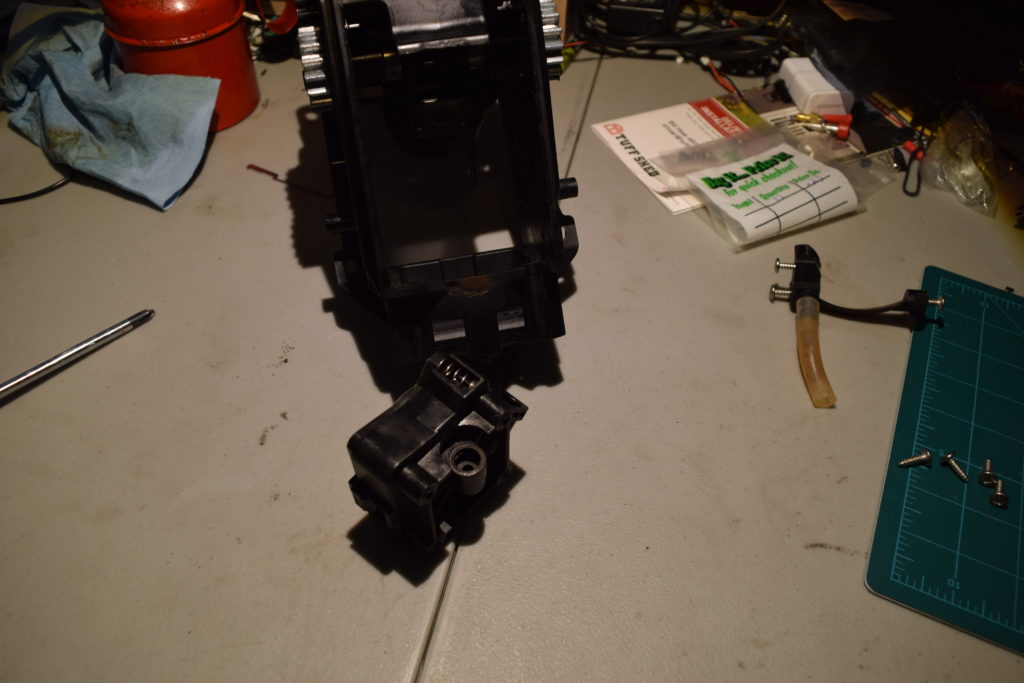
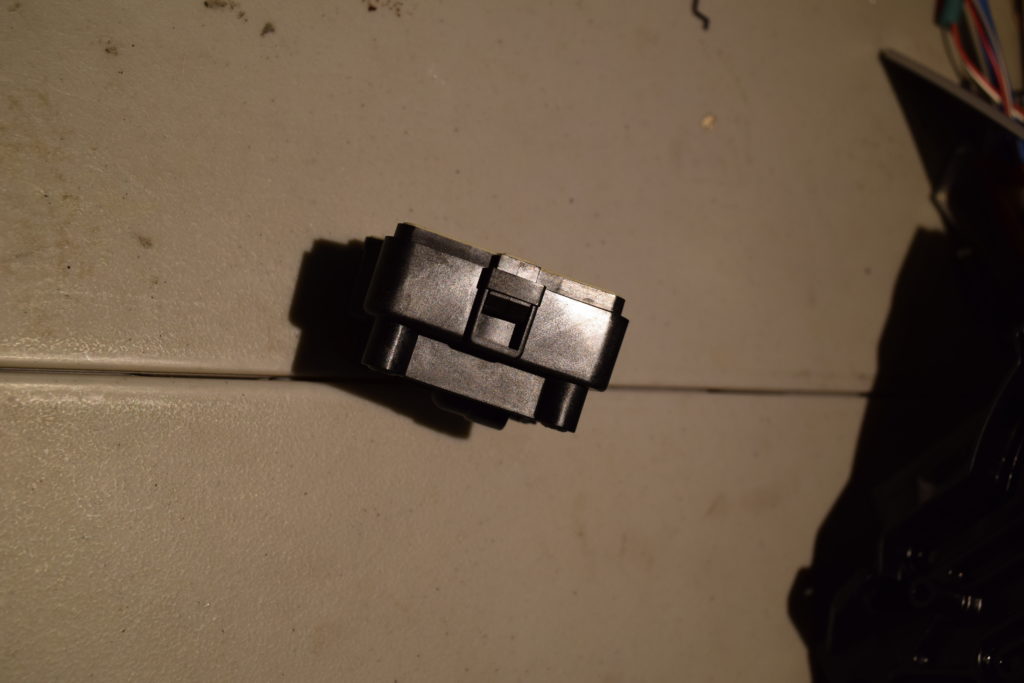
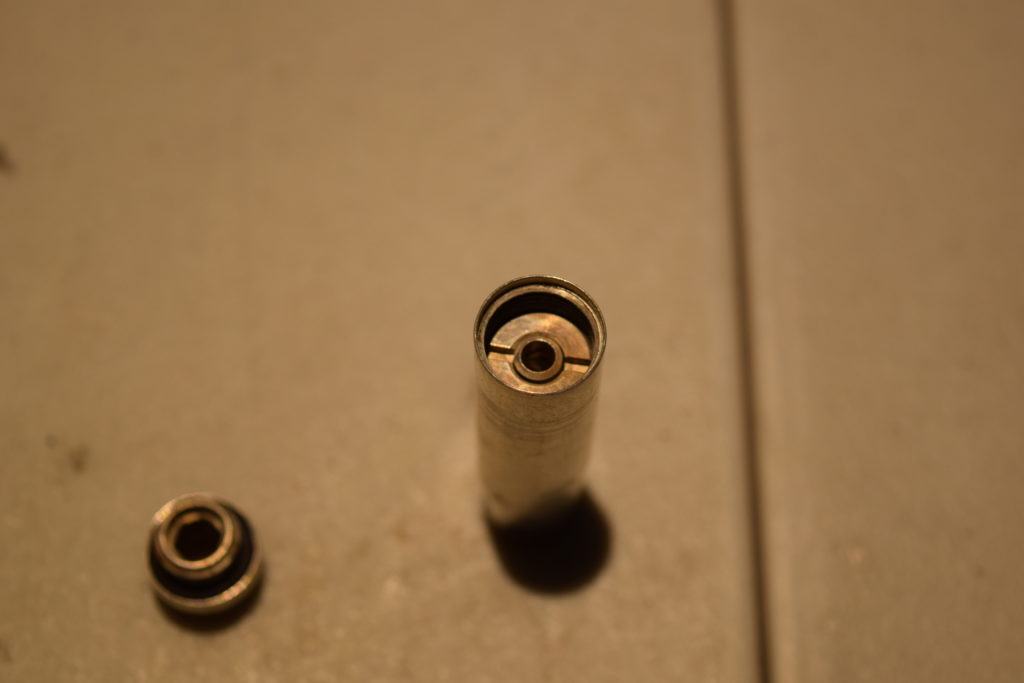
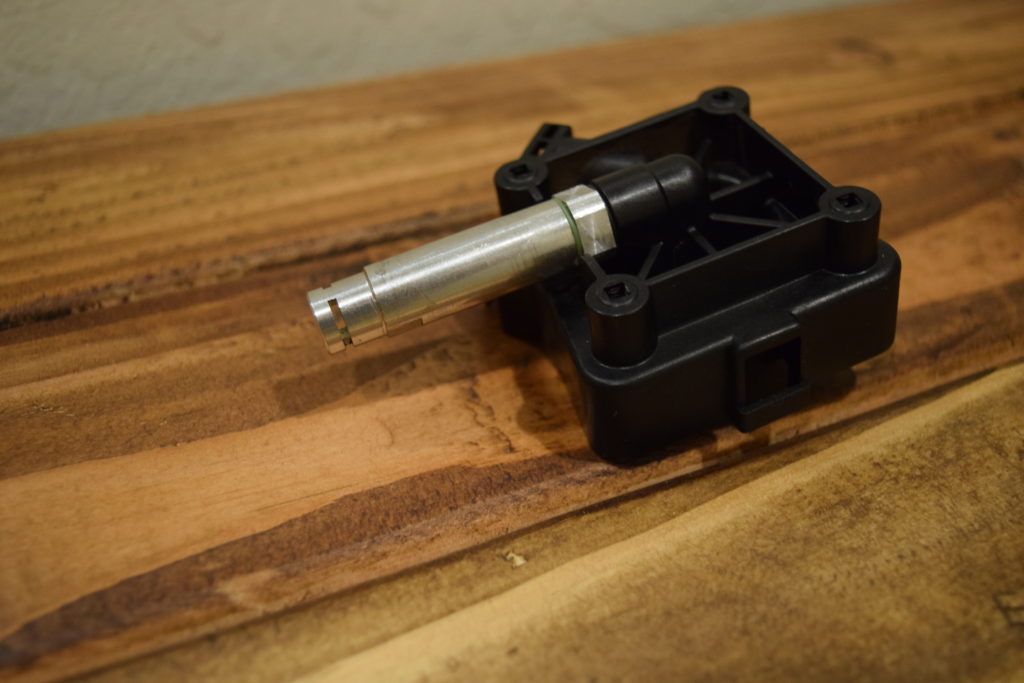
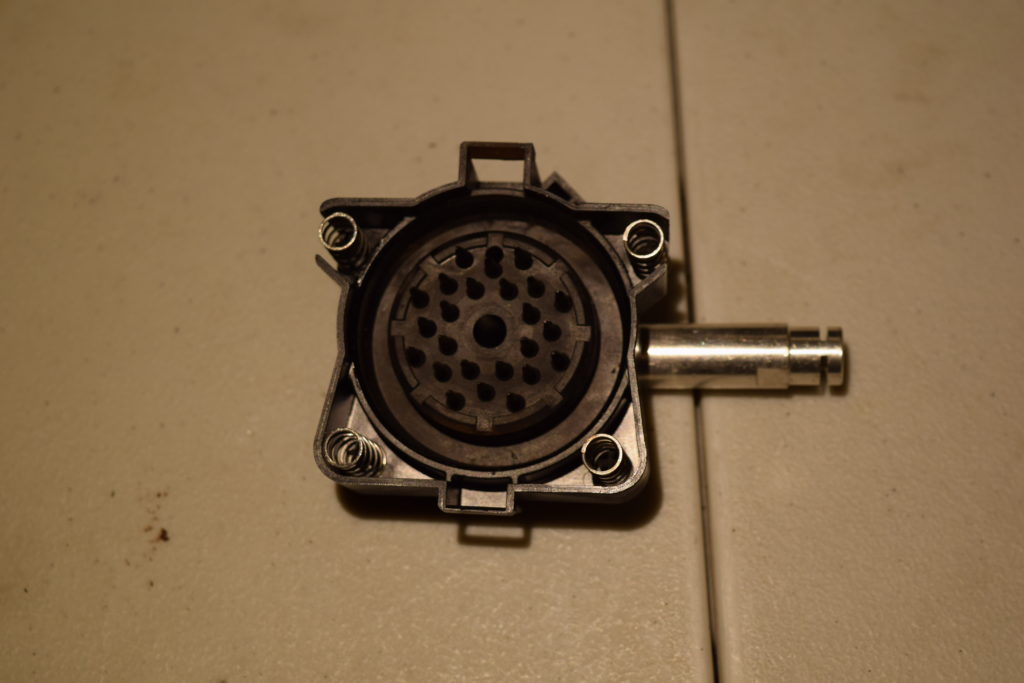
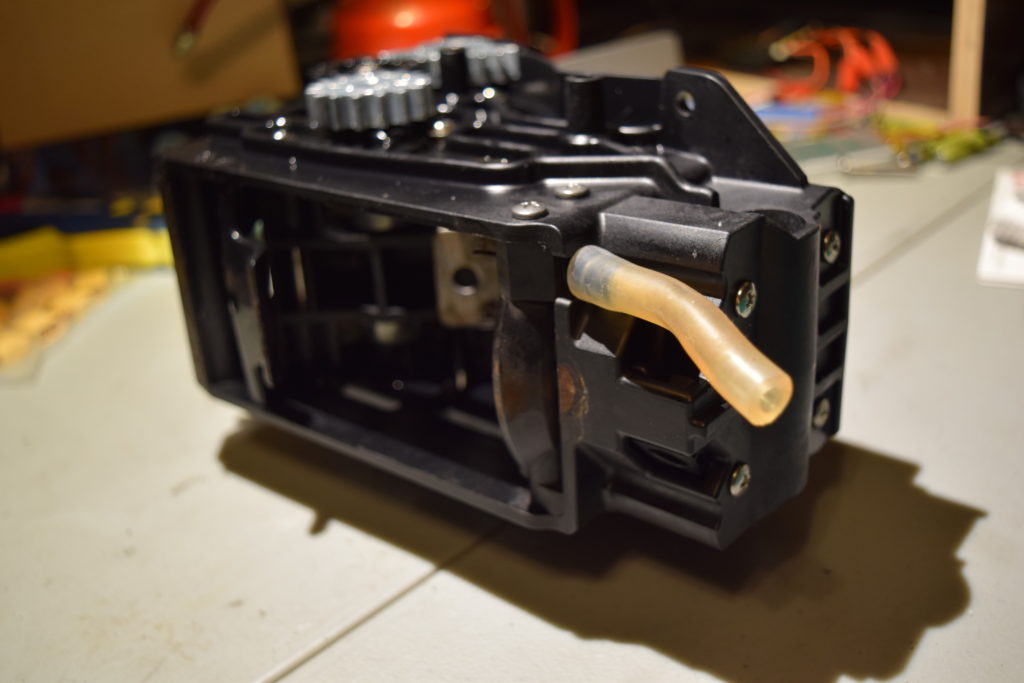
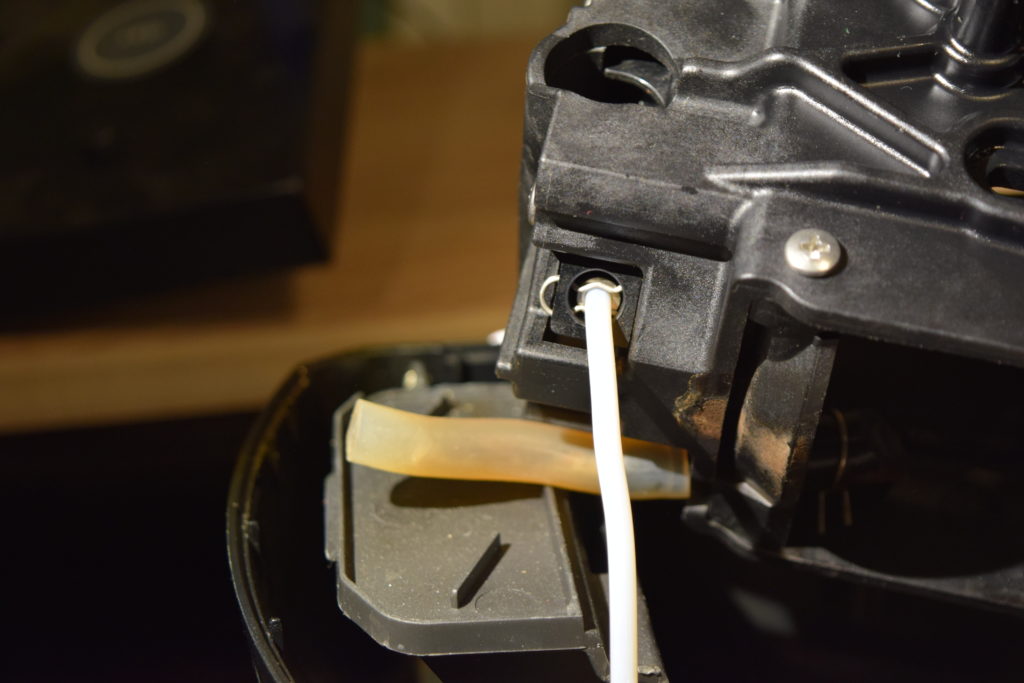
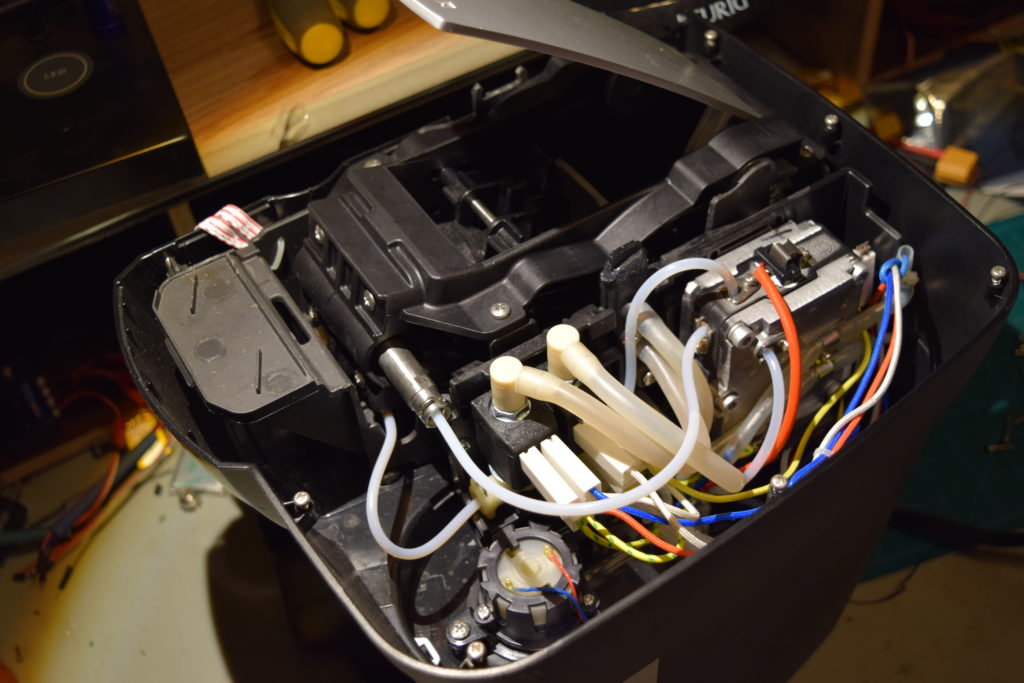
There were 4 screws holding the actuating assembly to the main body and 3 hose connections (2 if your regulator was ripped out). The output hose is the largest and easily slides off its connector on the main body. This hose can be seen out of focus in the above picture on the right side. The above picture is focused on the hole where the regulator used to screw in. After removing the last hose, the actuating mechanism and stripped out plastic came free. That hose can be seen in the below two pictures. There is a retaining clip that needs to be removed to pull the hose out. After that last hose the actuating mechanism and pod holder can be removed from the rest of the machine.
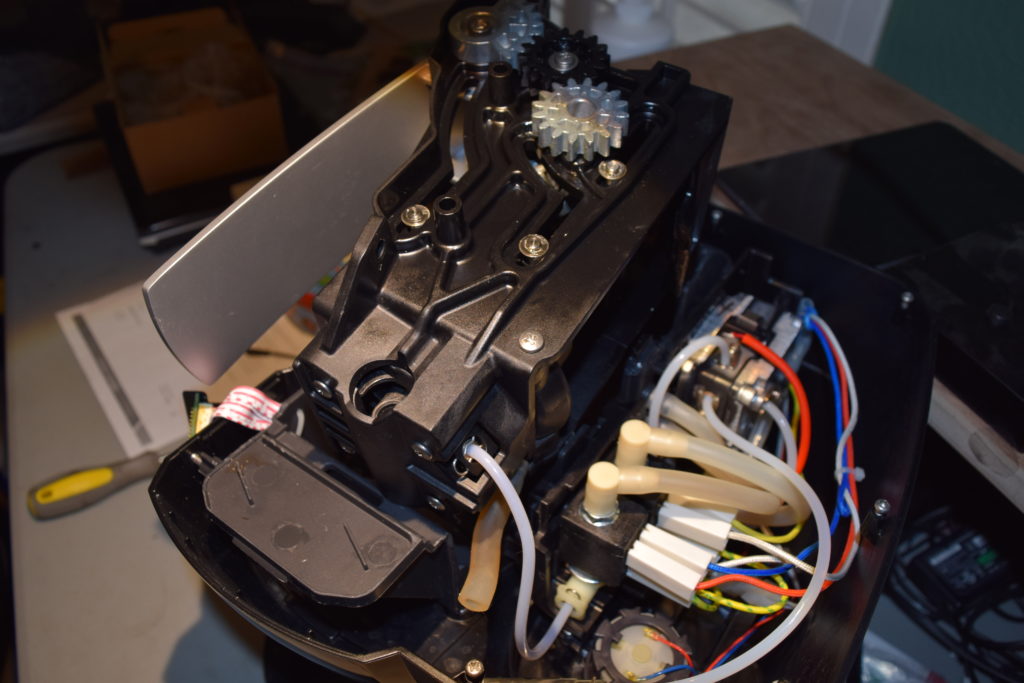

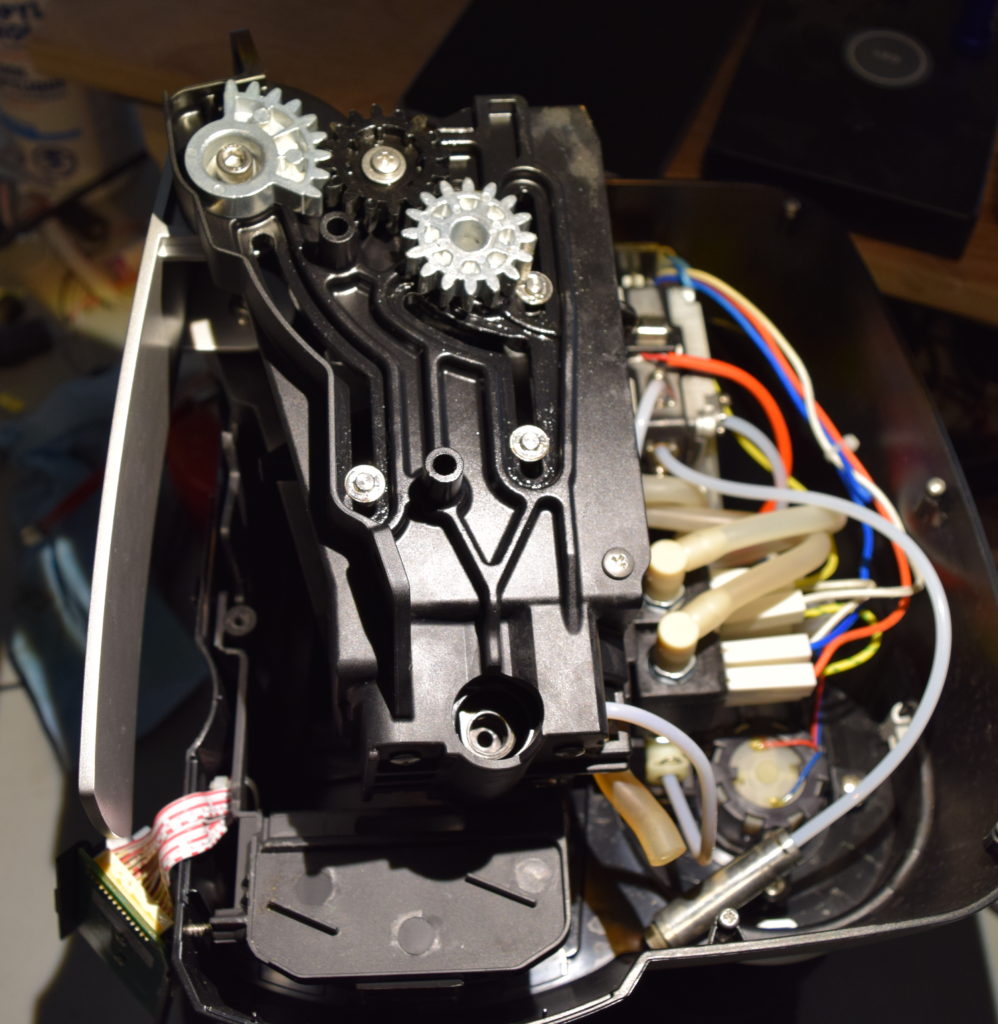
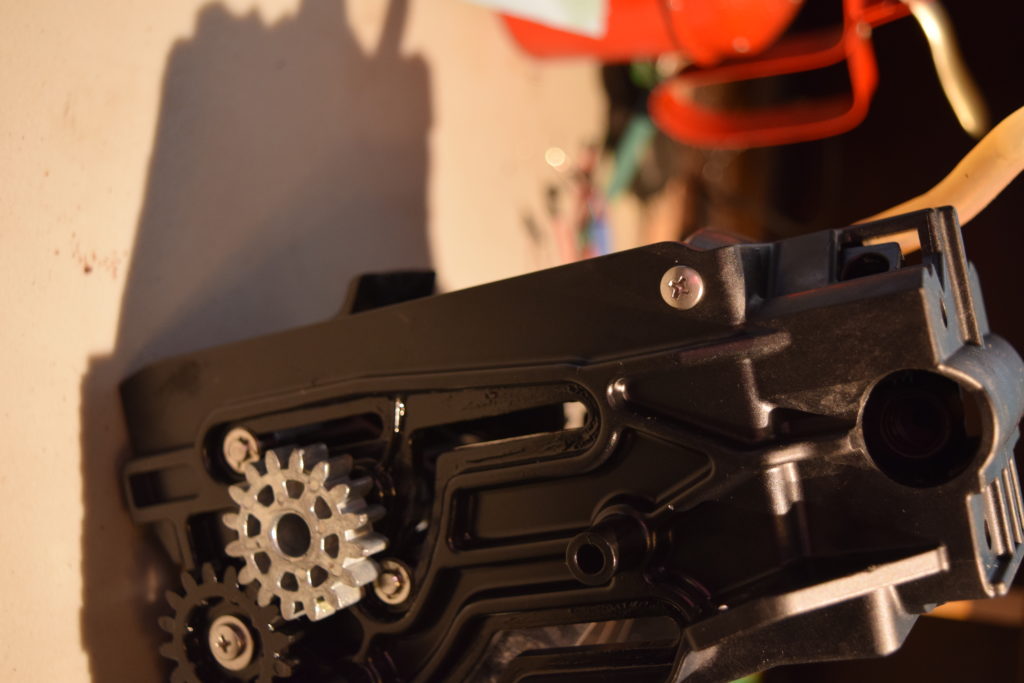
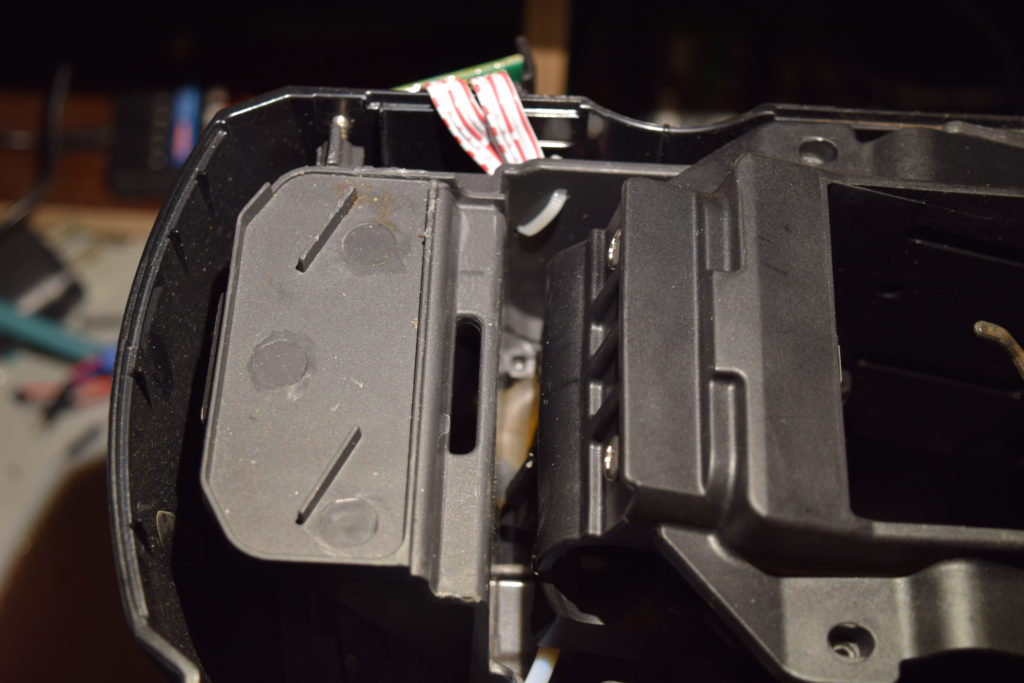
With the actuator section removed I could see that the problem piece of plastic was screwed into this subsection. The below pictures show the 7 screws that needed to be unscrewed to remove it.
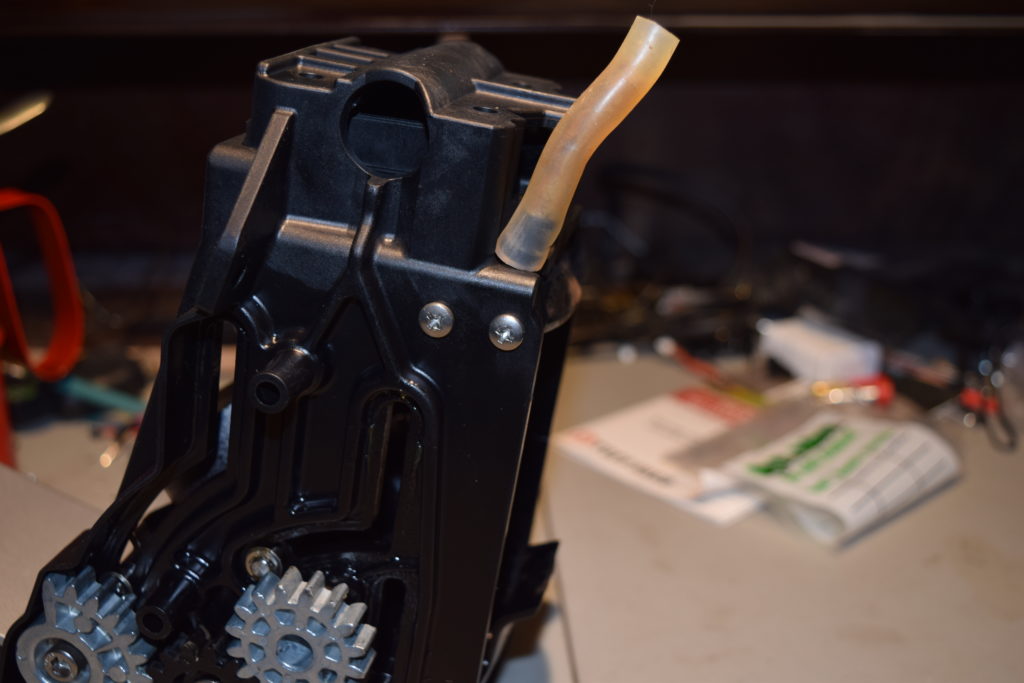
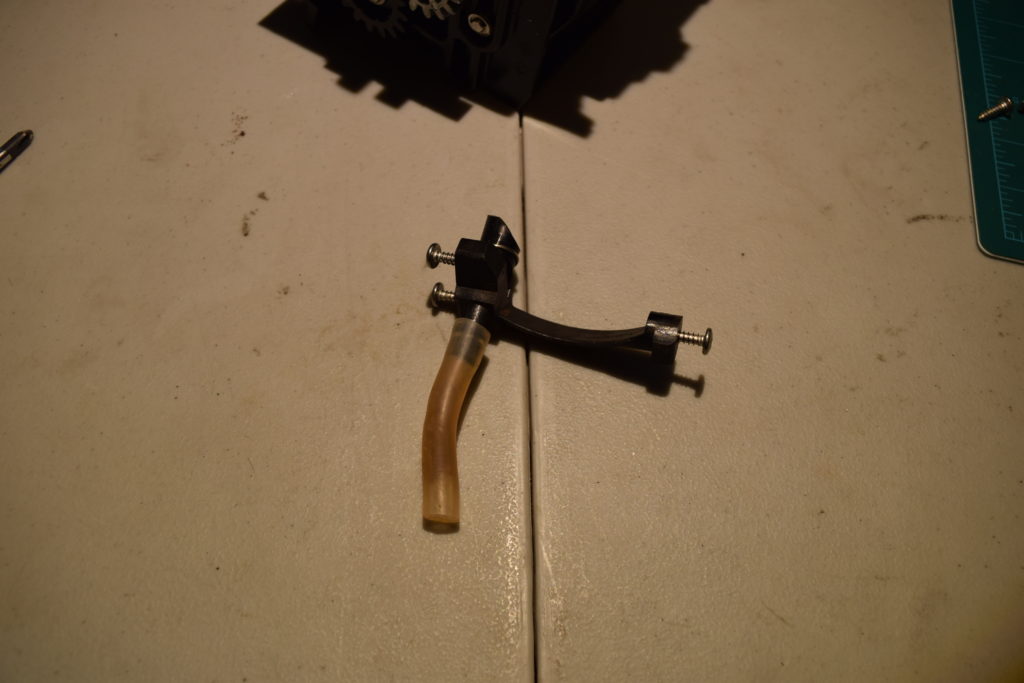
Output hose for coffee to come out of 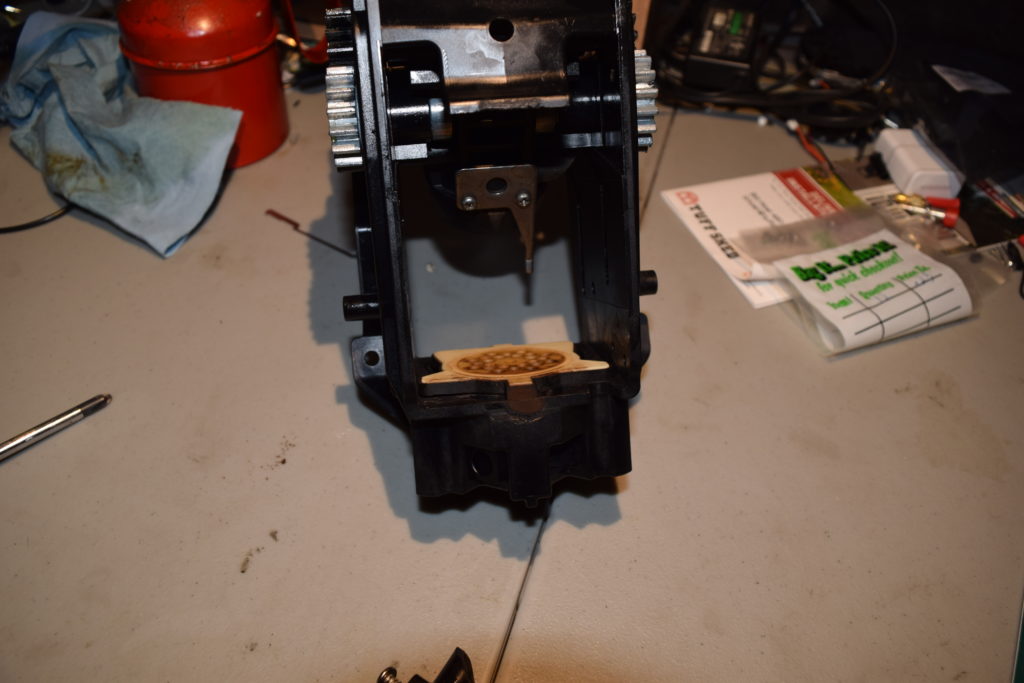
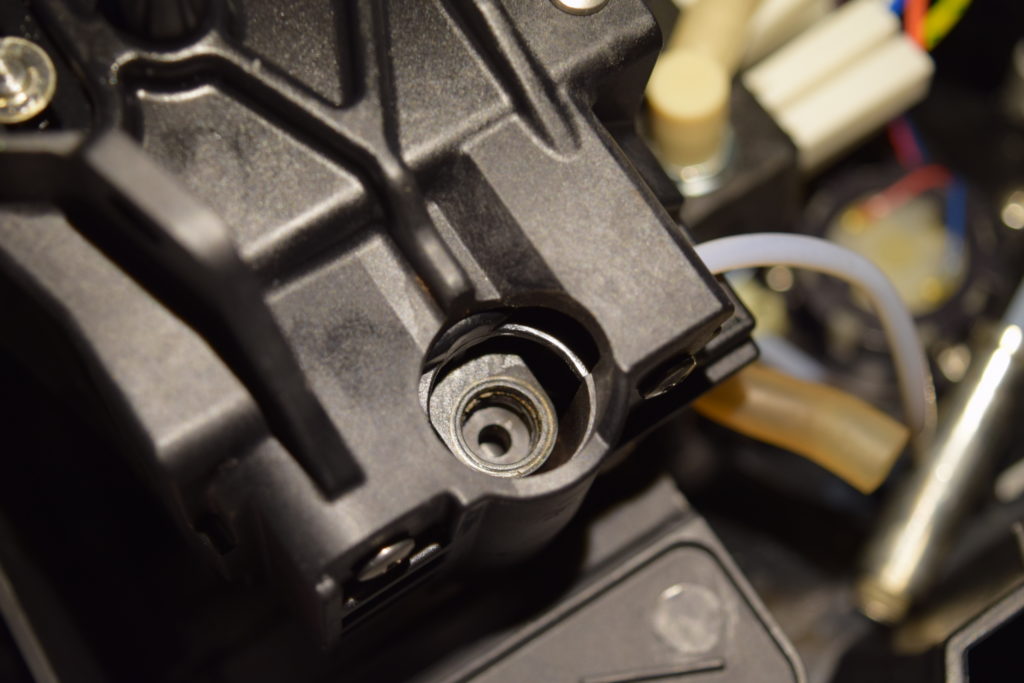
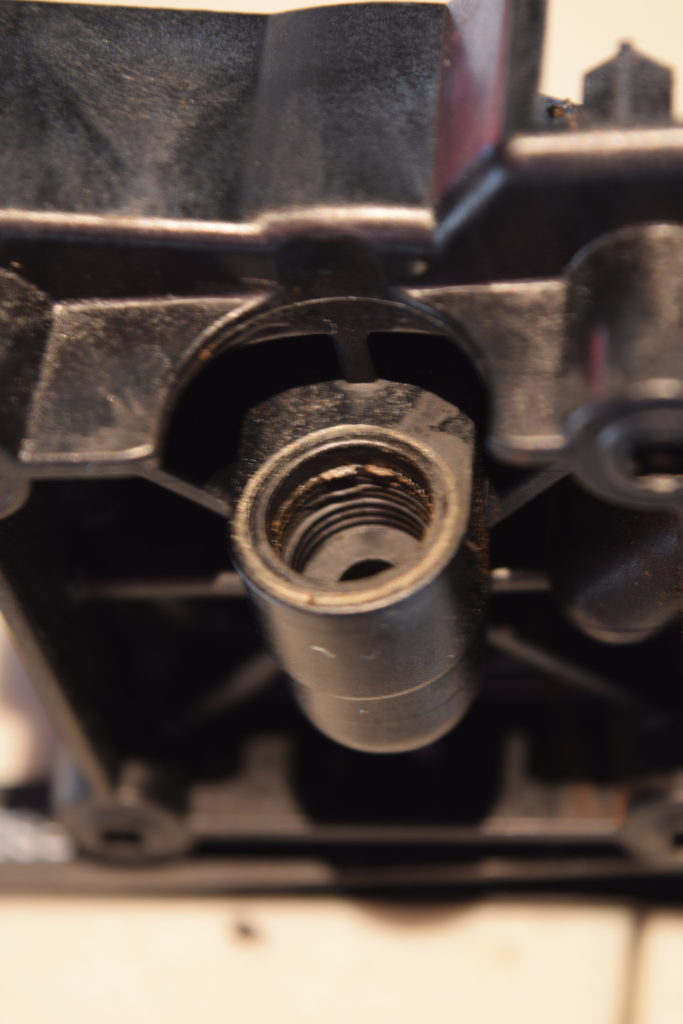
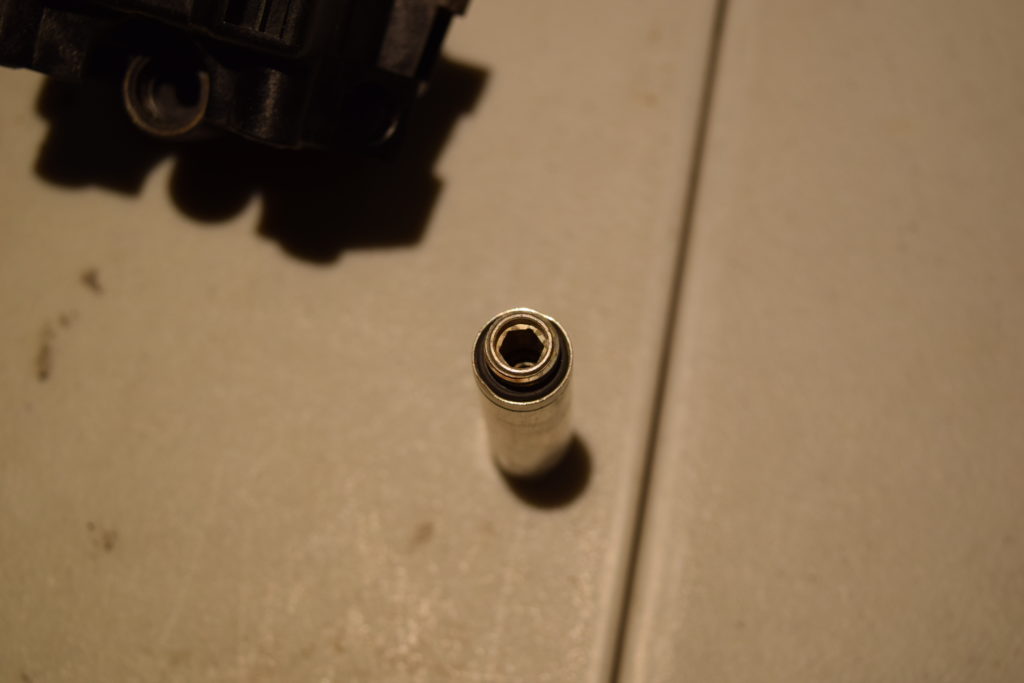
After removing the defective piece I was able to determine that all hope was not lost. I shouldn’t have judged the whole part based on only the few threads that had let me down. There were still good strong threads in the hole. Or something like that. Really what it looked like is that the pressure regulator’s threads weren’t long enough to screw all of the way into the hole. You can see the good threads at the bottom of the hole in the below picture.
The pressure plate and and springs were easy to remove after depressing the two plastic tabs on either side of the stripped plastic part.
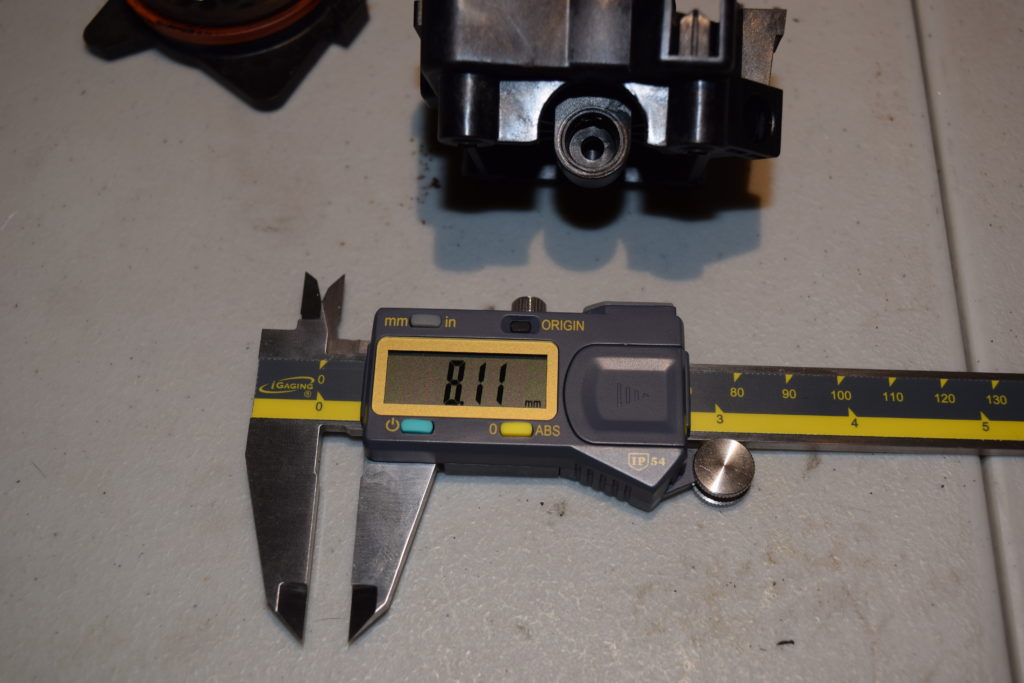
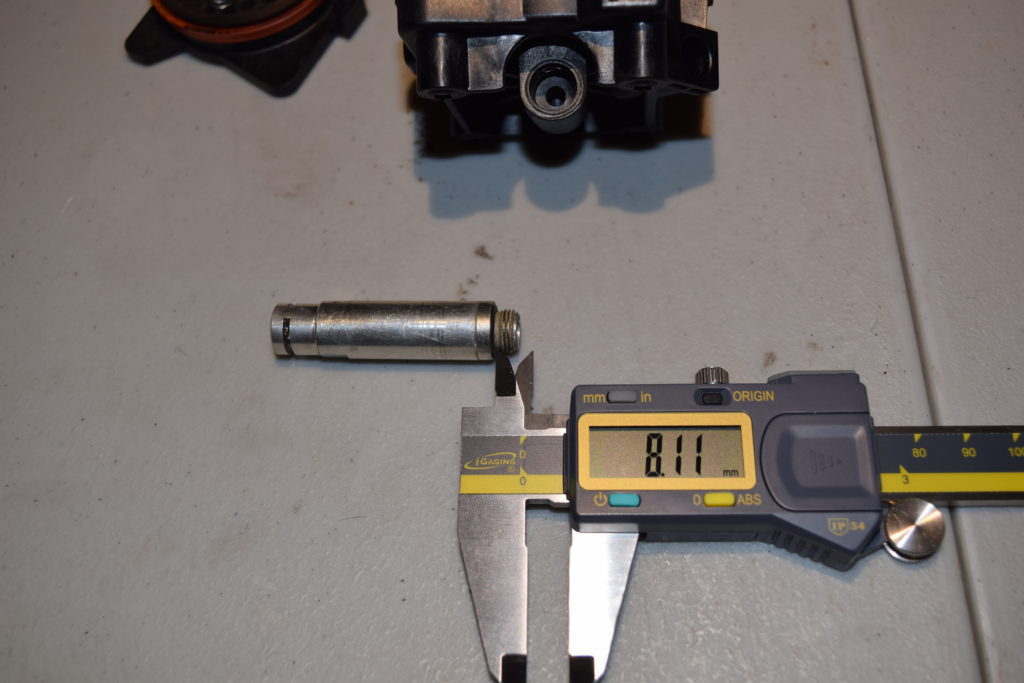
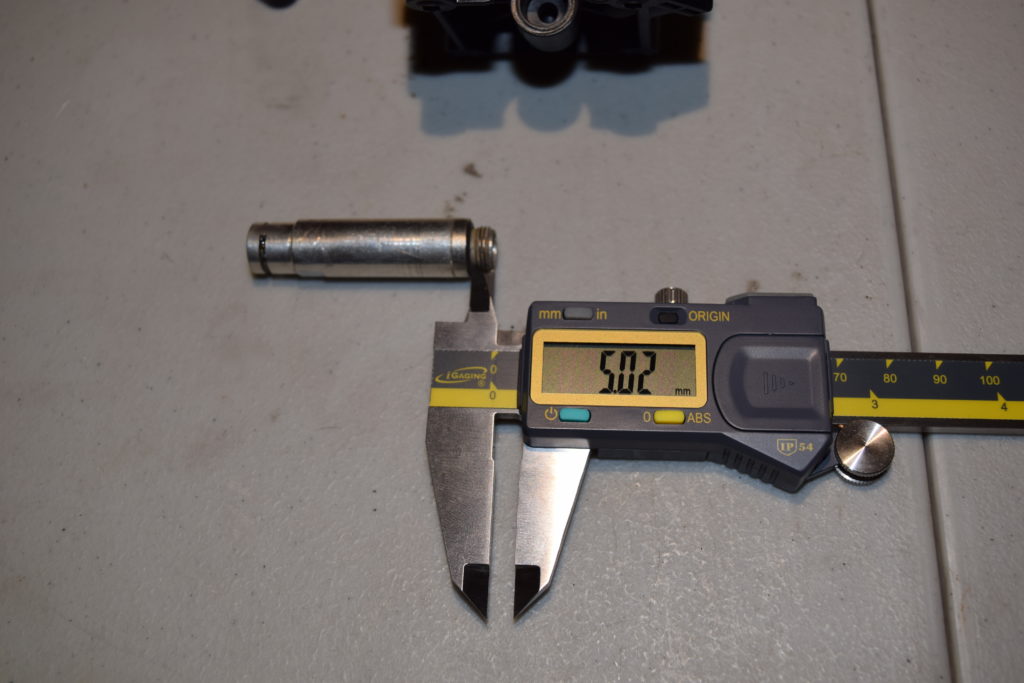
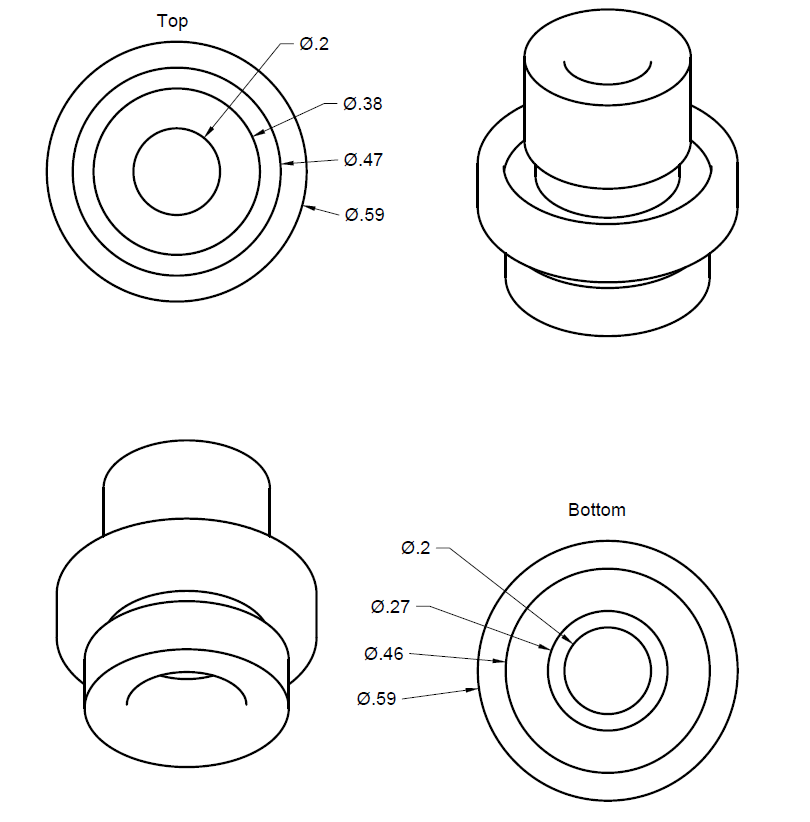
I did not have a 3D printer and did not want to learn how to create a mold, so making a new plastic piece was out. I decided the good threads at the bottom of the plastic hole were my best bet. I measured the depth of the hole to be 8.11mm using some calipers. By the way for any that don’t know the thin piece of metal that slides out the ruler end of the calipers is used for measuring depth. Comparing my depth measurement to the pressure regulator’s threads showed quite a bit of extra room for threads on the regulator’s side.
Since I could not make the threads longer on the current piece I would have to fabricoble something together. Since there was a hex cut out in the top of the regulator I figured I should stick something in there and twirl it about to see what happened next.

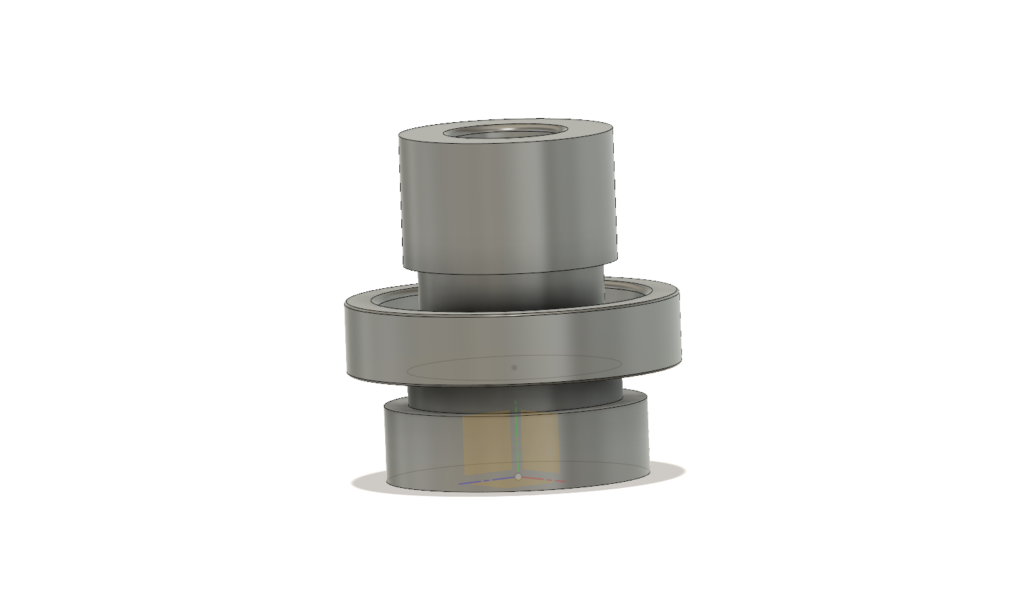
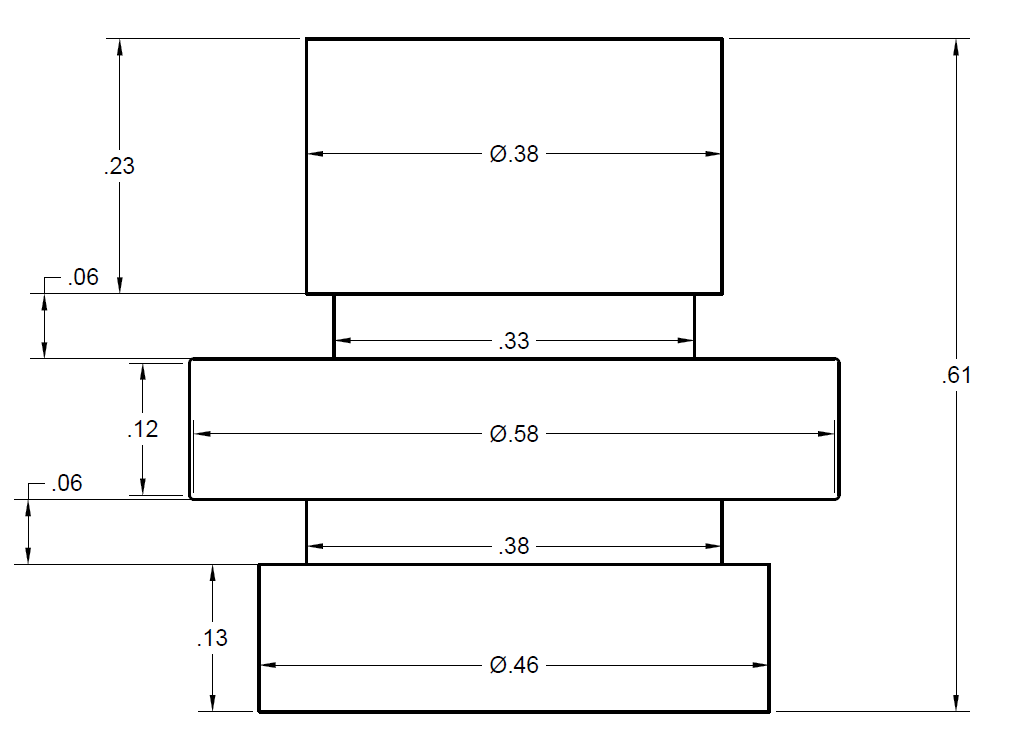
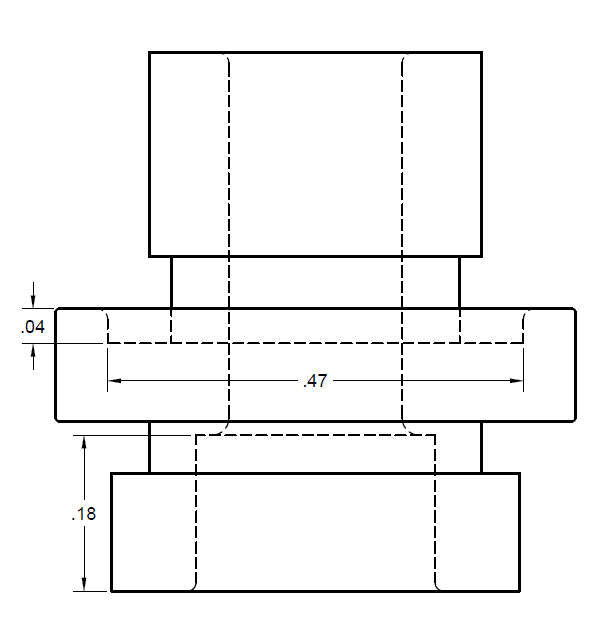
Lucky for me the threaded part was much smaller and less complex than I anticipated. I made a cad model of the part with a longer threaded section to go into the plastic (+2mm) and also a longer center section (
15mm instead of 13mm) that I could grip with a wrench. I preferred the wrench over trying to broach the hex in the middle of the water passage because there was room in the enclosure and it would be much faster to make. I did not add the threads themselves into the model. I wasn’t sure if I was going to try to make a hex or square section for the wrench to grab onto, so I left it as a circle in the cad model.
At this point I went and attempted to make a decent video of the machining of the part. As you can see by the fact that there is no video linked here it didn’t go so well. It mostly failed when I tried to edit the video and didn’t like how it was turning out. The footage is saved so someday when video editing is the project I want to work on I can figure out how to make an hour and a half video show the 10 minutes of actual machining.
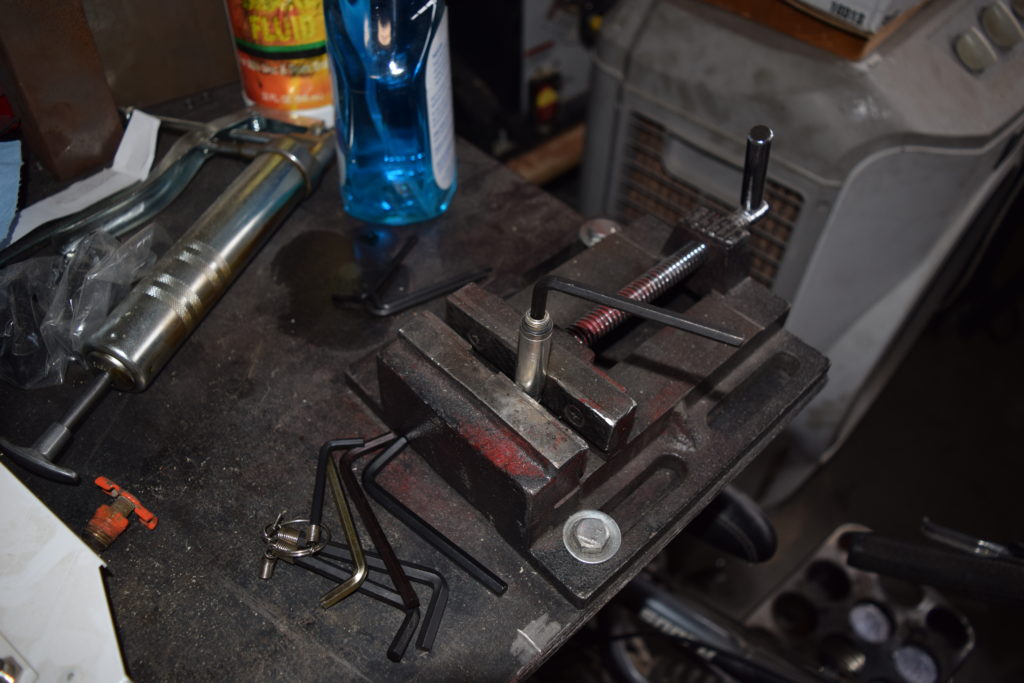
All machining was done on a micro lathe with a 4 jaw chuck. I kept the part in the lathe chuck while threading both ends. After the lathe work I cleaned off the part in an alcohol bath to remove the layout fluid and oil.
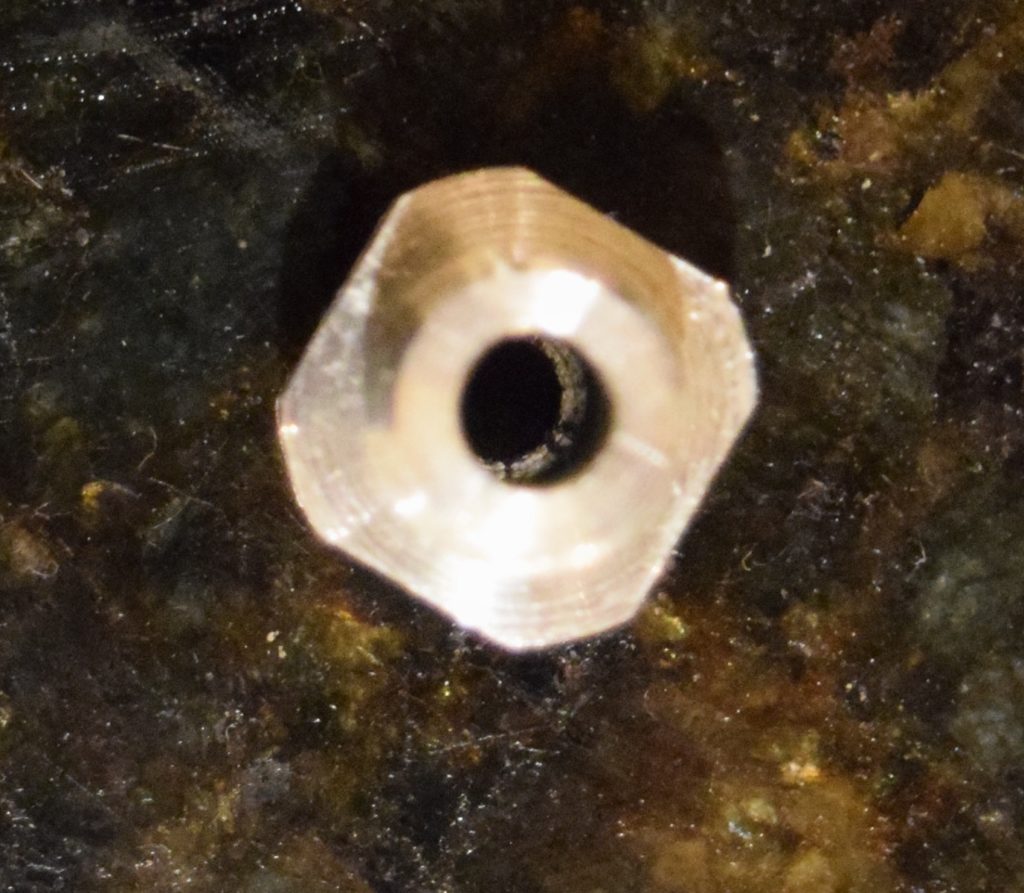

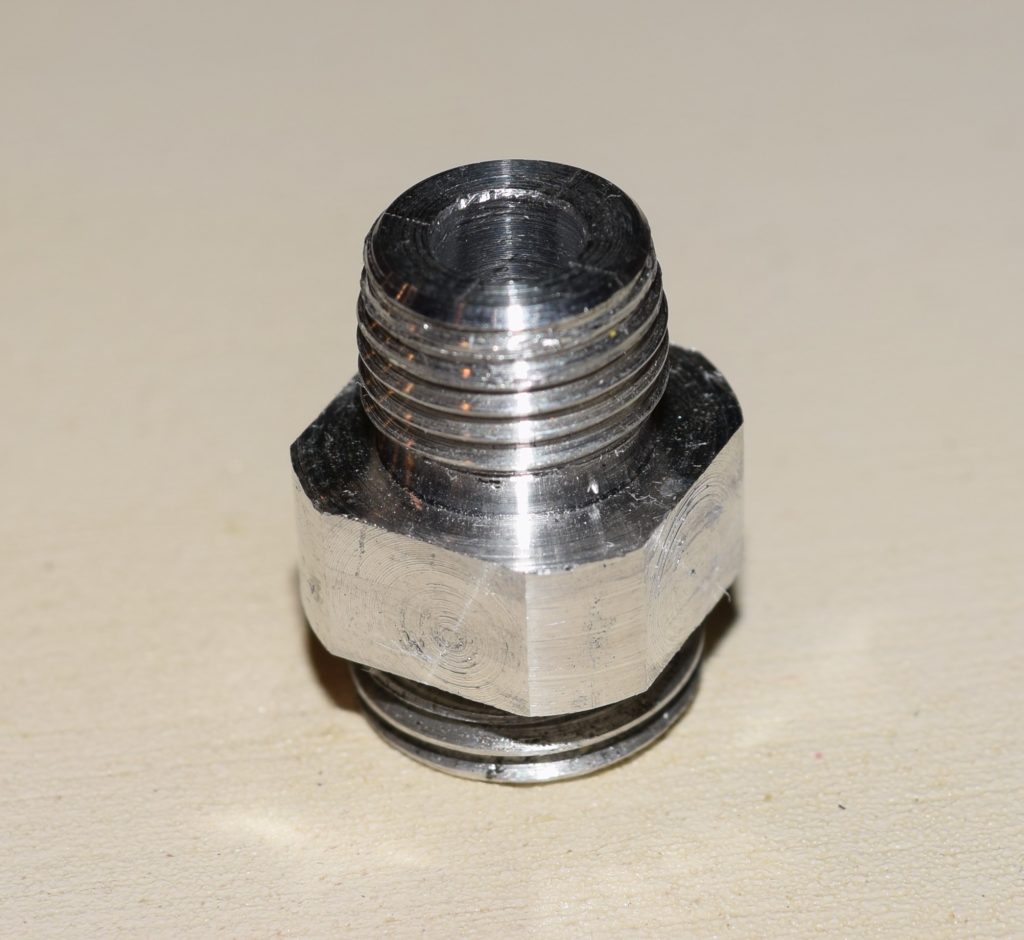
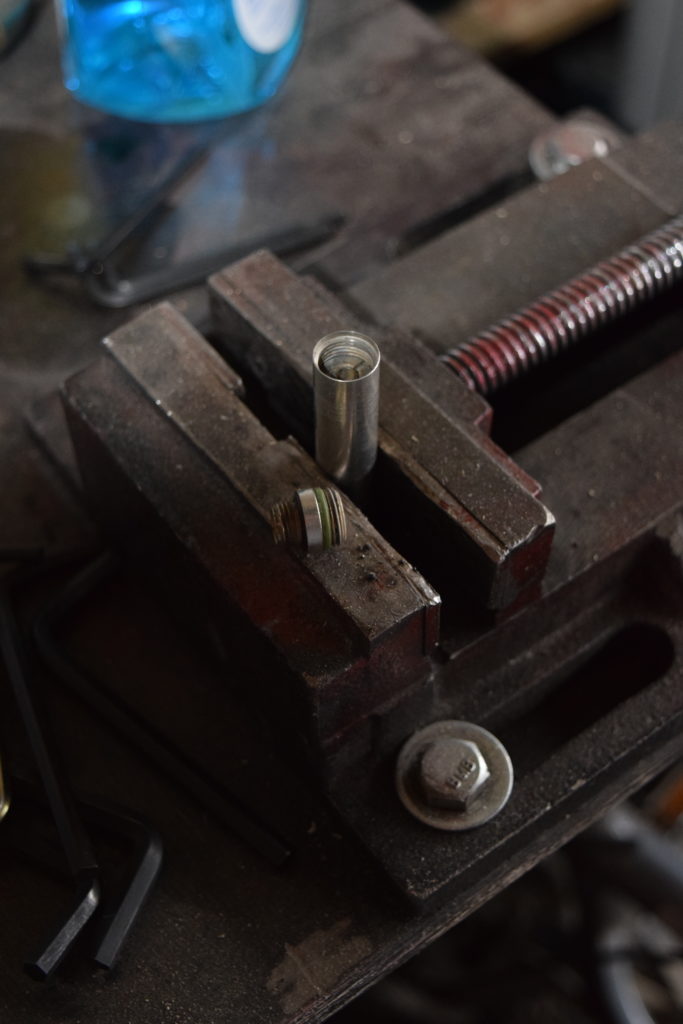
I reused the o-rings from the previous part. The test fit looked good enough, I wasn’t able to machine the o-ring groove like it was in the drawing, that is why the green o-ring can be seen in the below picture.
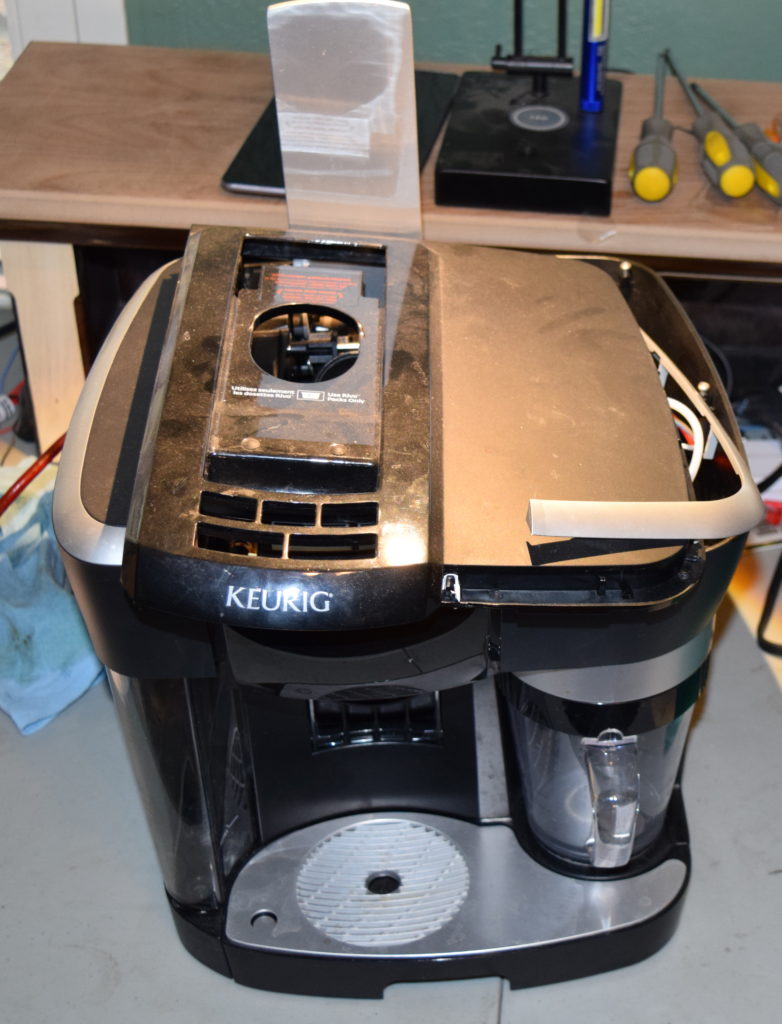
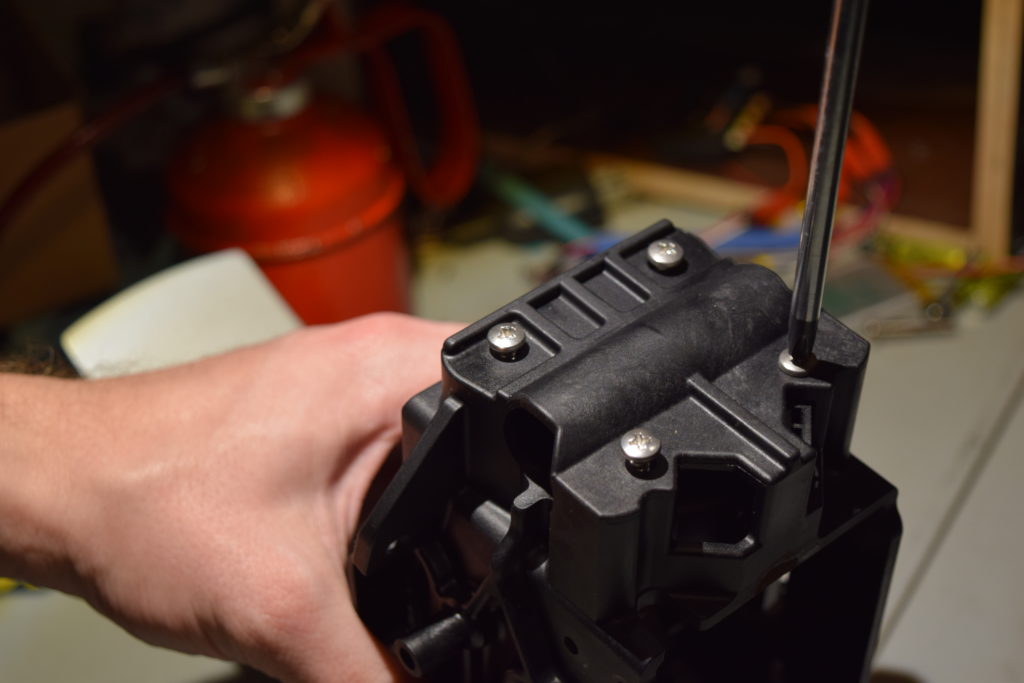
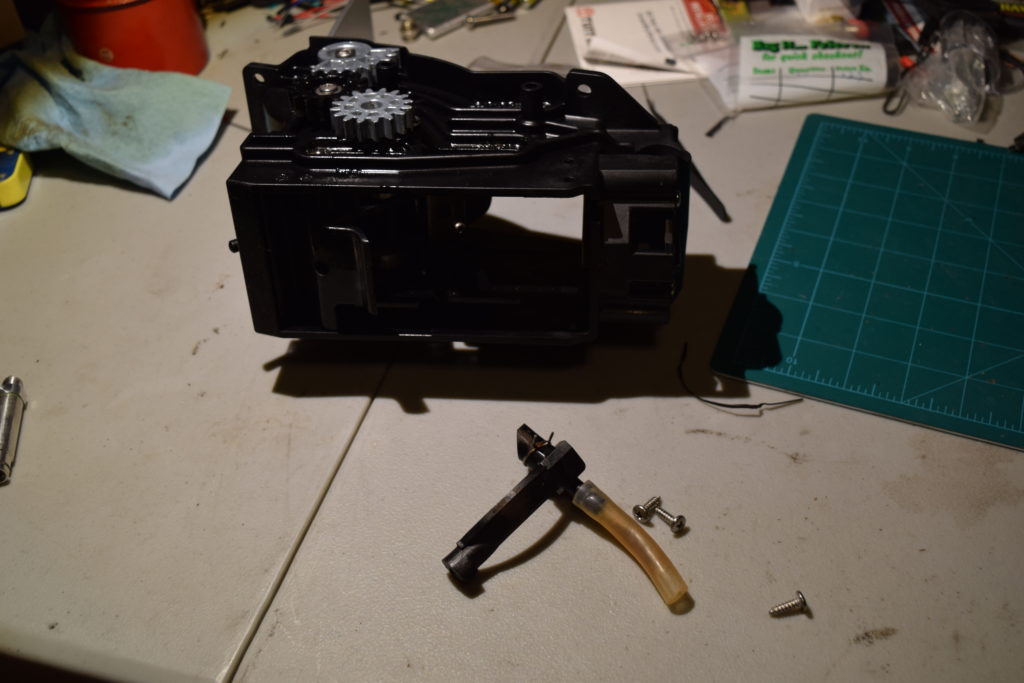
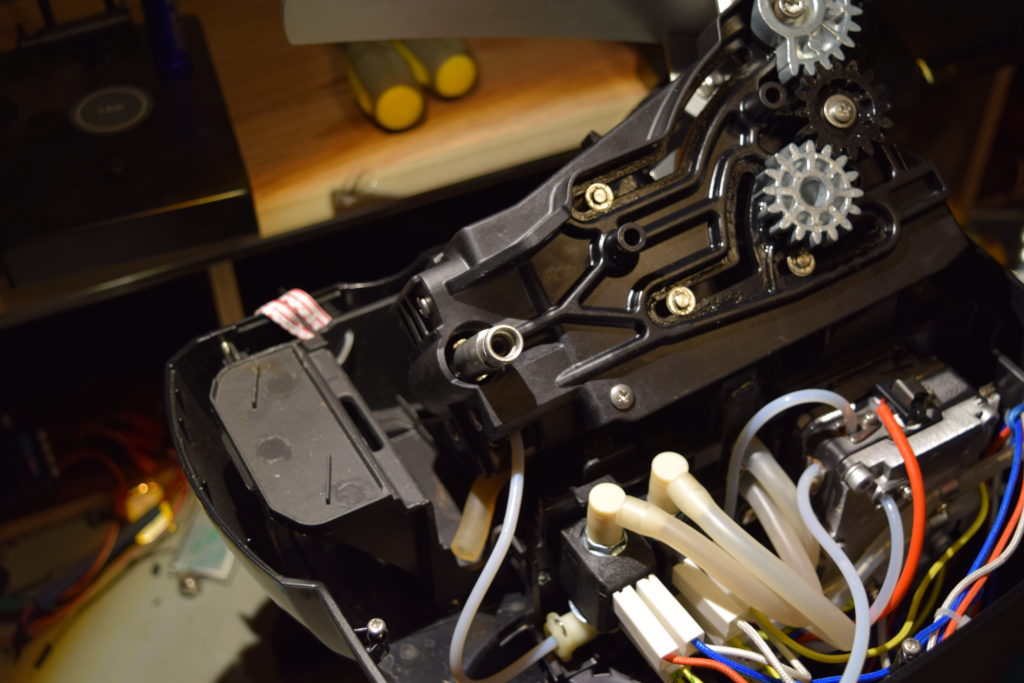
The part had to be removed after the test fitting to reassemble the coffee maker. A fact that I didn’t realize until later. Below are the pictures of the assembly process.


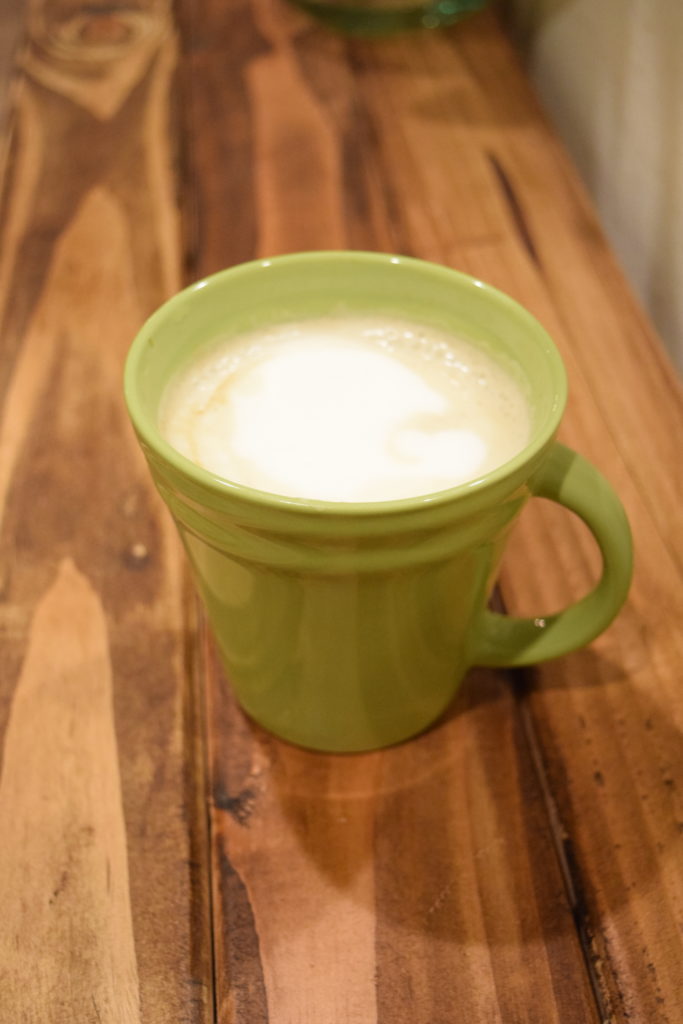
After re-assembly I learned that the device needed to be primed before it would work. It would heat up and make noises but would not dispense any water (was testing without coffee at first). I ended up having to remove the water hose going into the pressure regulator and run it dumping the steam and hot water out into a nearby cup. If you do this your self be very careful as the hose is under pressure and has boiling hot water in it. After getting the air out of the line I reattached the hose to the pressure regulator and ran the coffee maker again. It worked perfectly after that. I left the top off to let the water that leaked out when re-attaching the hose evaporate overnight before attaching the plastic covers. I made my coffee with the covers off the next morning to make sure there were no leaks. Everything checked out so I attached the covers and now have my poor man’s Starbucks in my own kitchen.