Wife’s New Work Table
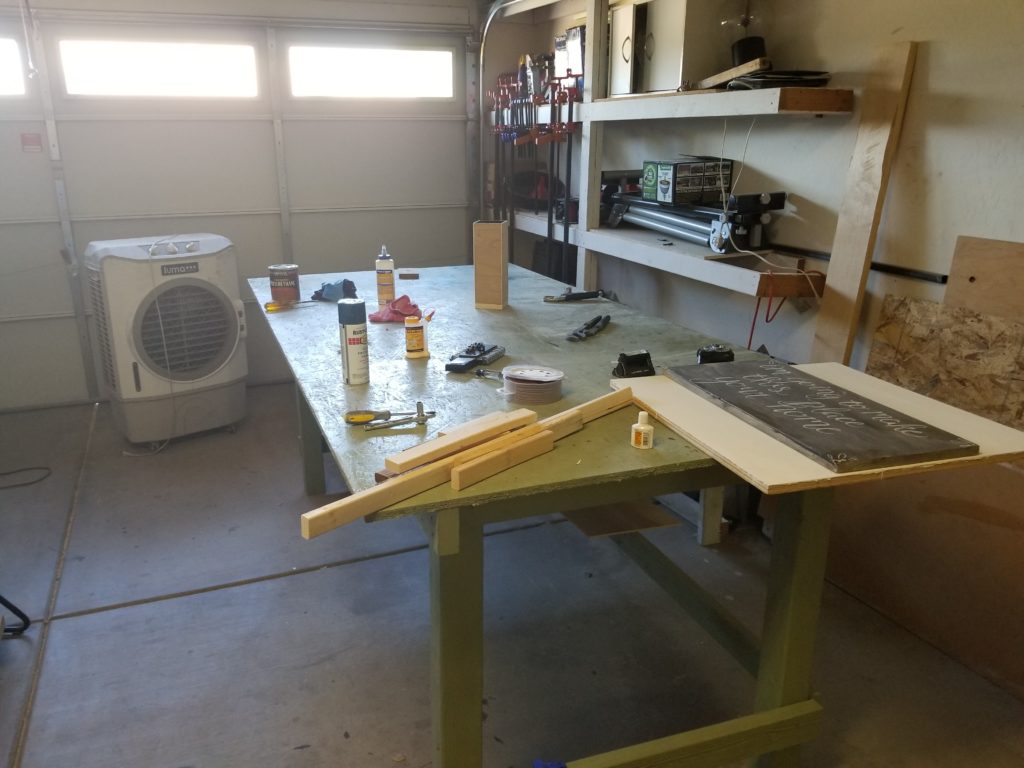
My wife has started her own hand made wooden sign business, as such she needed room to work on her signs. We currently have two workbenches in our garage, a 3’x6′ wooden one that’s work space has been buried under an ever changing pile of projects for probably 2 years and a 4’x8′ welding table that is half storage space half current project I am working on space. Neither of these tables are painted and I wanted to keep it that way. My wife needed a space to paint her signs and clamp them together while waiting for the glue to dry. I realized I am not good at sharing my two workbenches so I built her a new one. She had been using my truck’s tailgate previously. This made it very difficult to use the truck because it had to be unloaded before going anywhere.
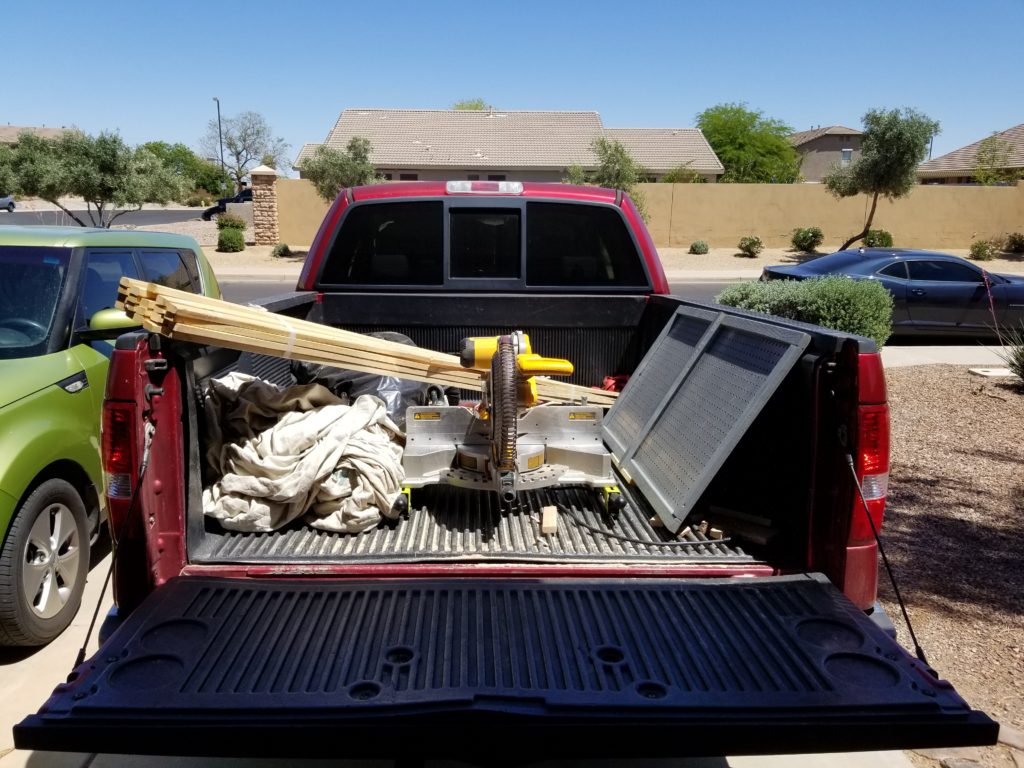
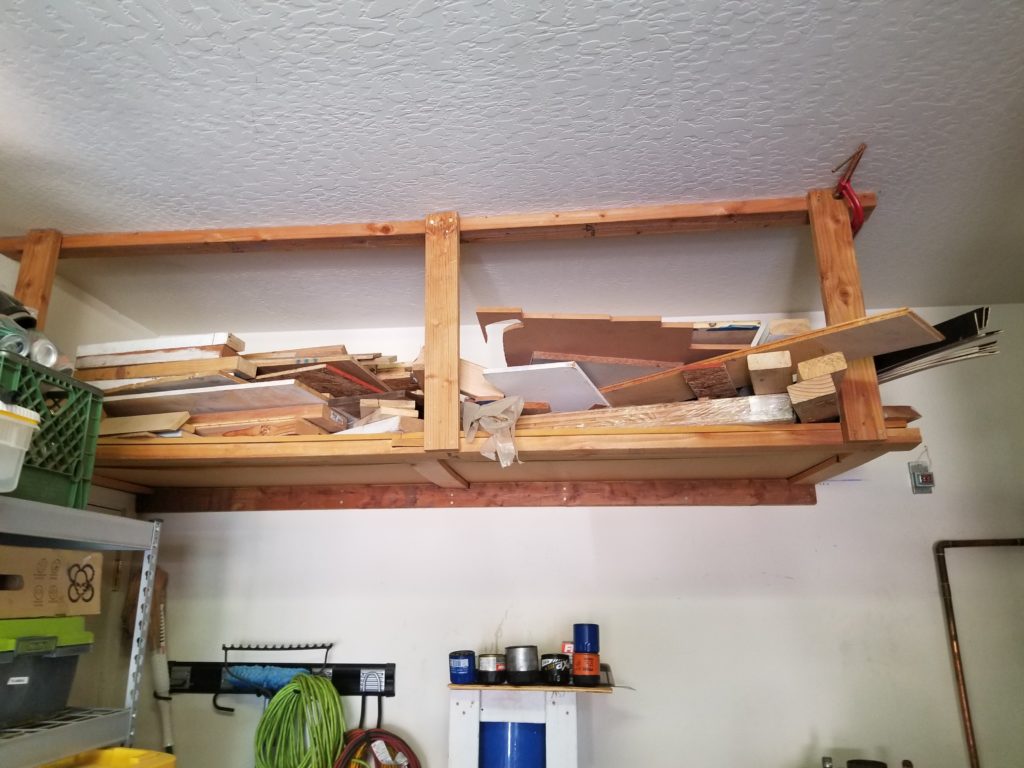
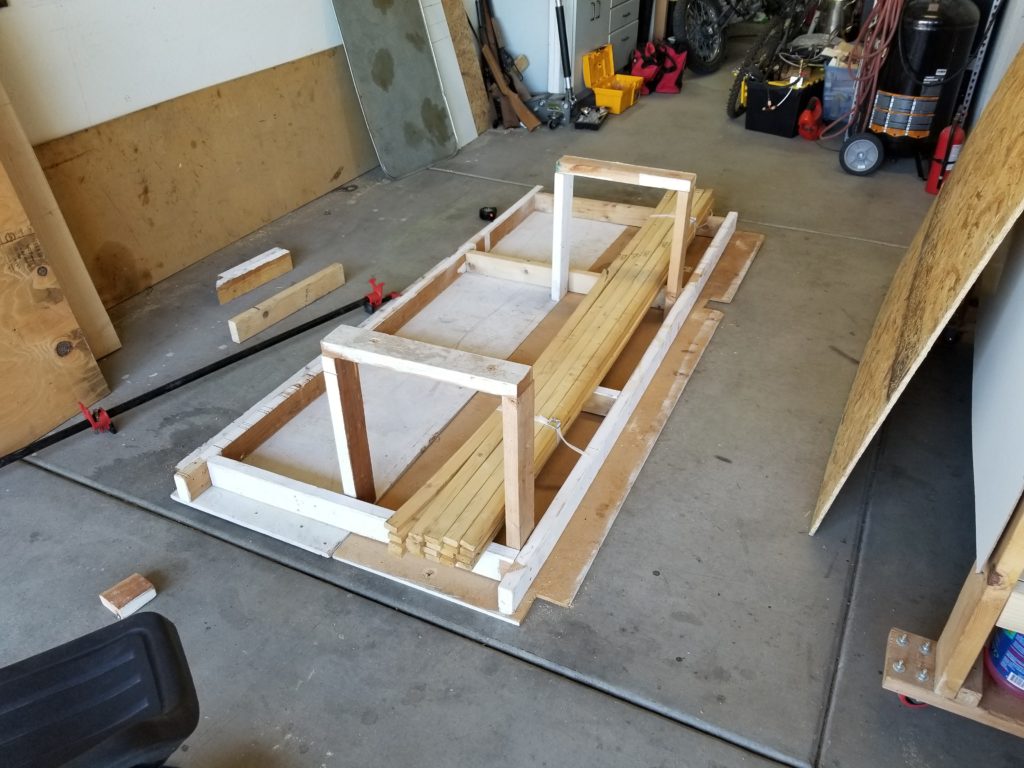
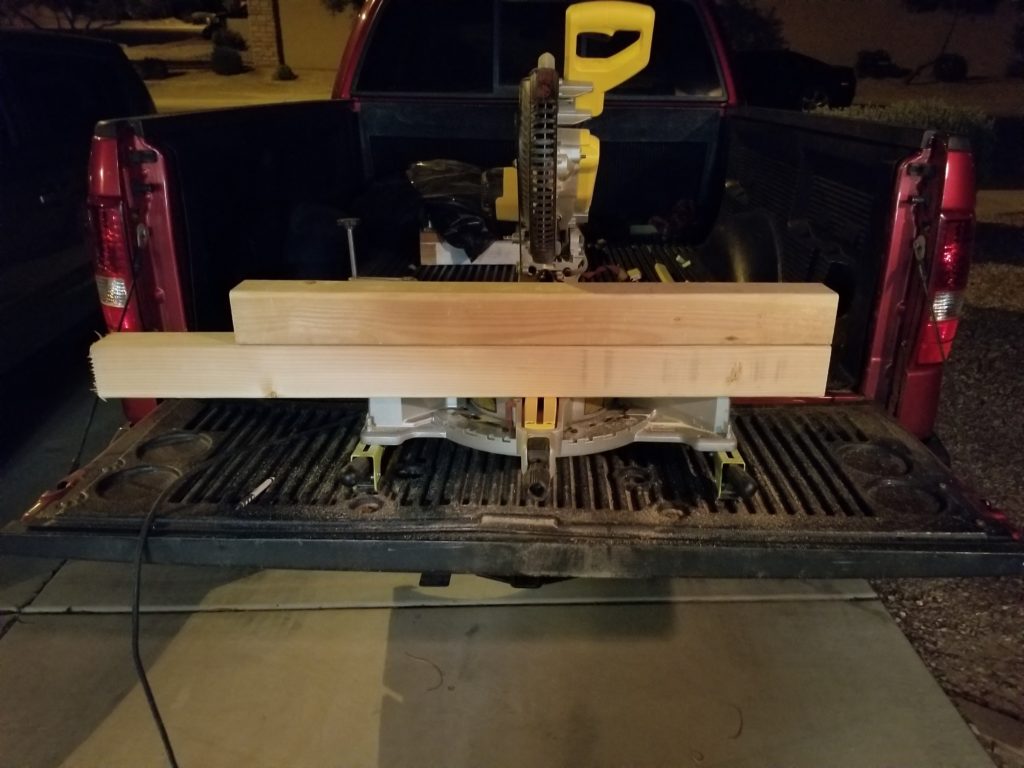
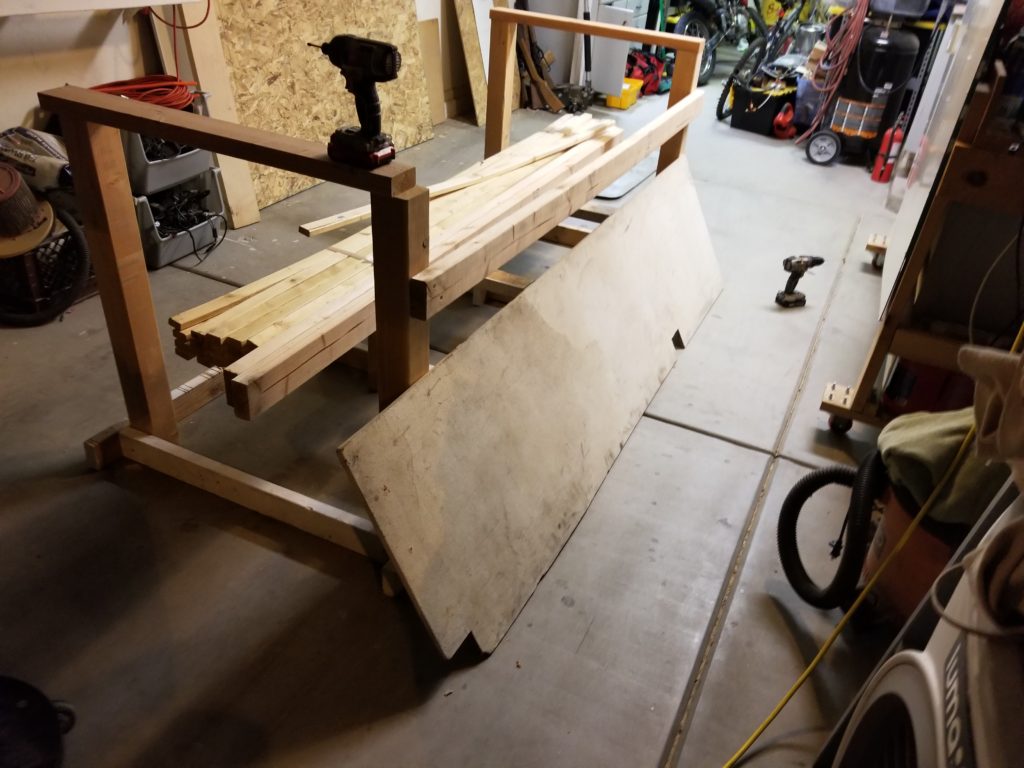
The above picture is what the back of the truck normally looked like. The main things that were always there were the miter saw and 1 or 2 stacks of 1″x2″s for frames. So the main things I needed to fix were storage for 1″x2″s, a place to paint things that wasn’t the back of the truck, the garage floor, or the other 2 workbenches, a place to clamp/glue, and a place for the miter saw to go. By making the workbench the miter saw was a gimme because I just moved it over to the 2 saw horses with 3/4″ OSB sheet sitting on it (her old work space). The painting area and gluing area would just be the workbench top while the 1″x2″ storage would have to be built into the bench frame. I started by looking at the wood pieces I had on hand. I am not good at throwing things away so I had quite a bit to choose from.
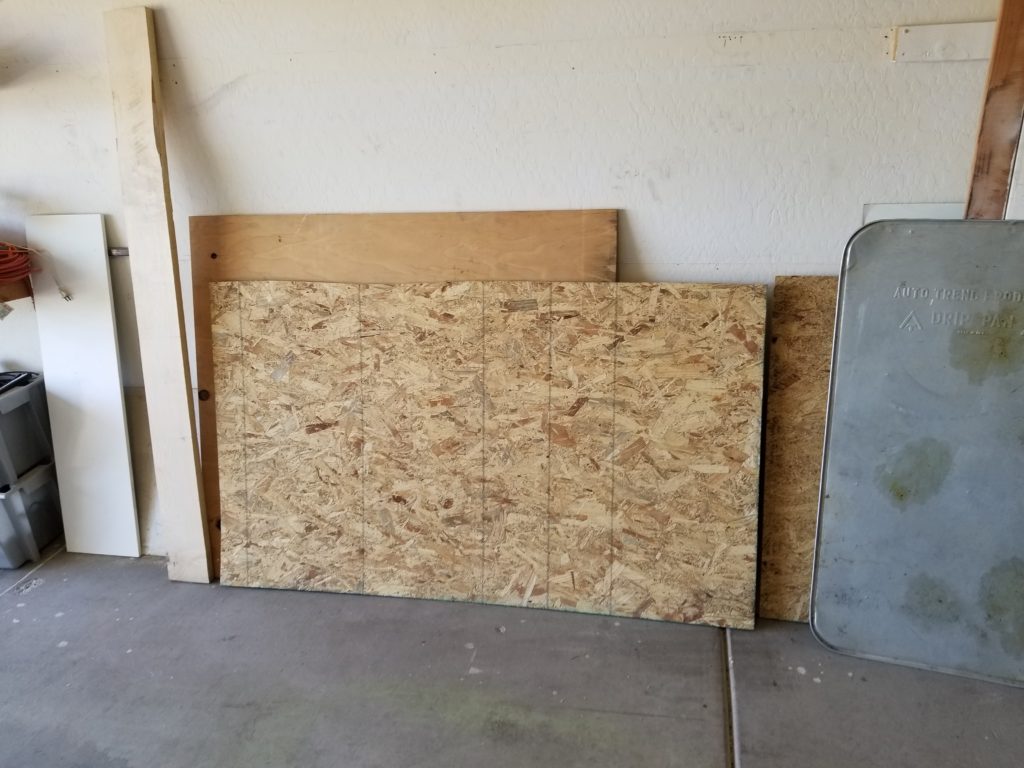
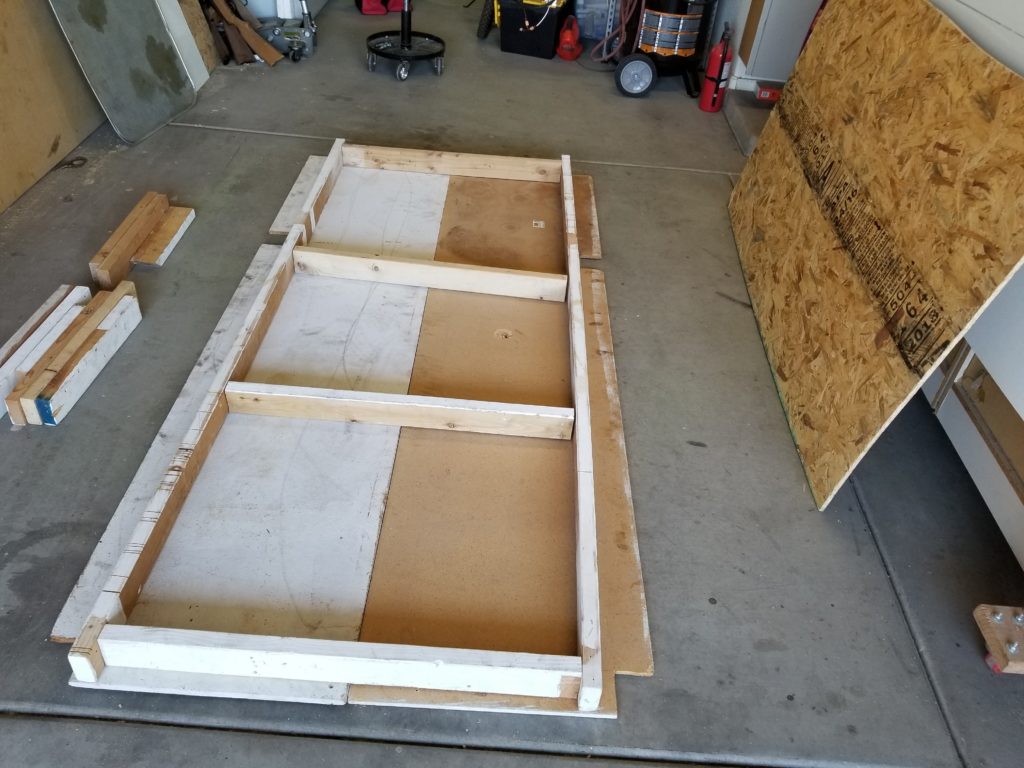
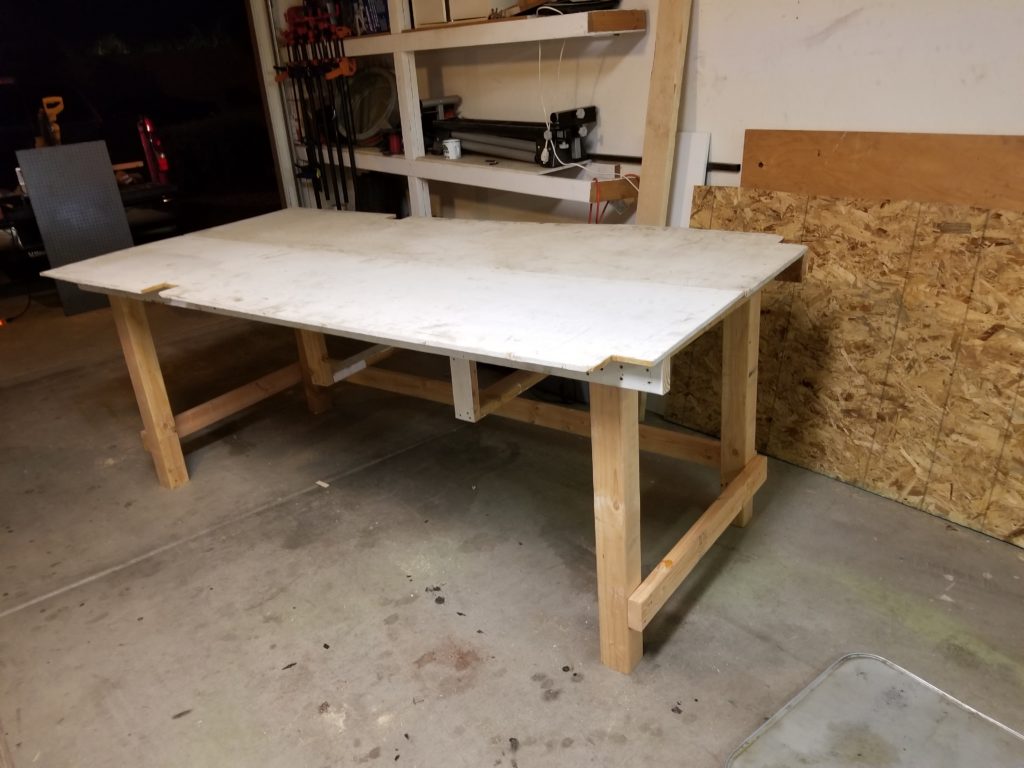
I started with the table top, I had some MDF from shelves I took down in my garage to be able to get my truck to fit. They were about 8 ft long. I also had the 2″x4″s that used to support those shelves. Along with some other 2″x4″ cutoffs from previous projects, I had the parts for a frame.

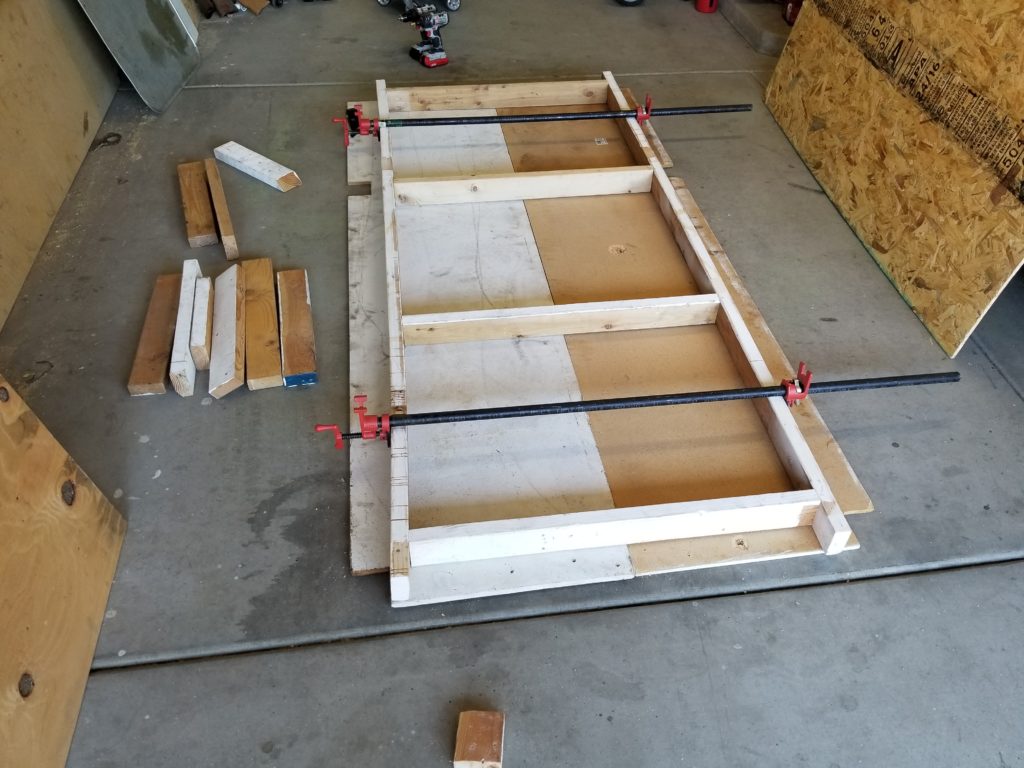
My frame width was dictated by the shortest 2″x4″ that was close to the table width. I cut the other three braces to match. I used pipe clamps to hold everything together while I drilled pilot holes and screwed the table frame together. I used two 8×3″ screws at each connection to hold things together. To get the pilot holes drilled to depth I had to drill all the holes while everything was clamped together, then remove the clamps and drill the ends of the braces because my drill bit wasn’t long enough. I marked all of the places the braces mated so that all holes would line up when reassembled before removing the clamps the first time.
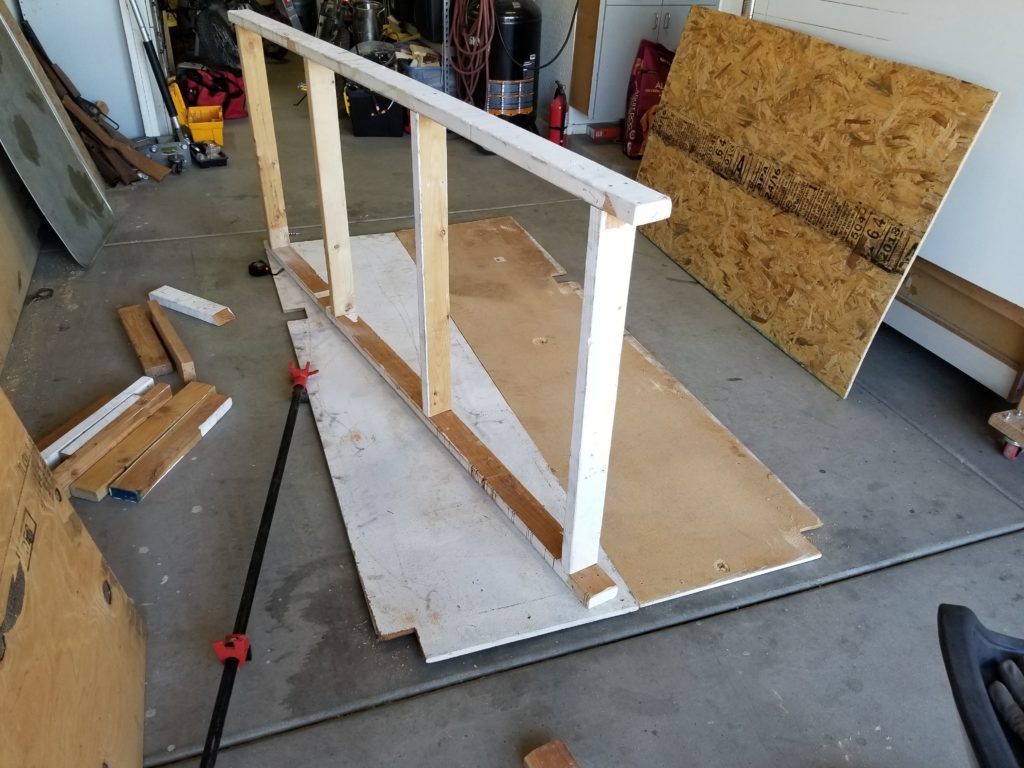
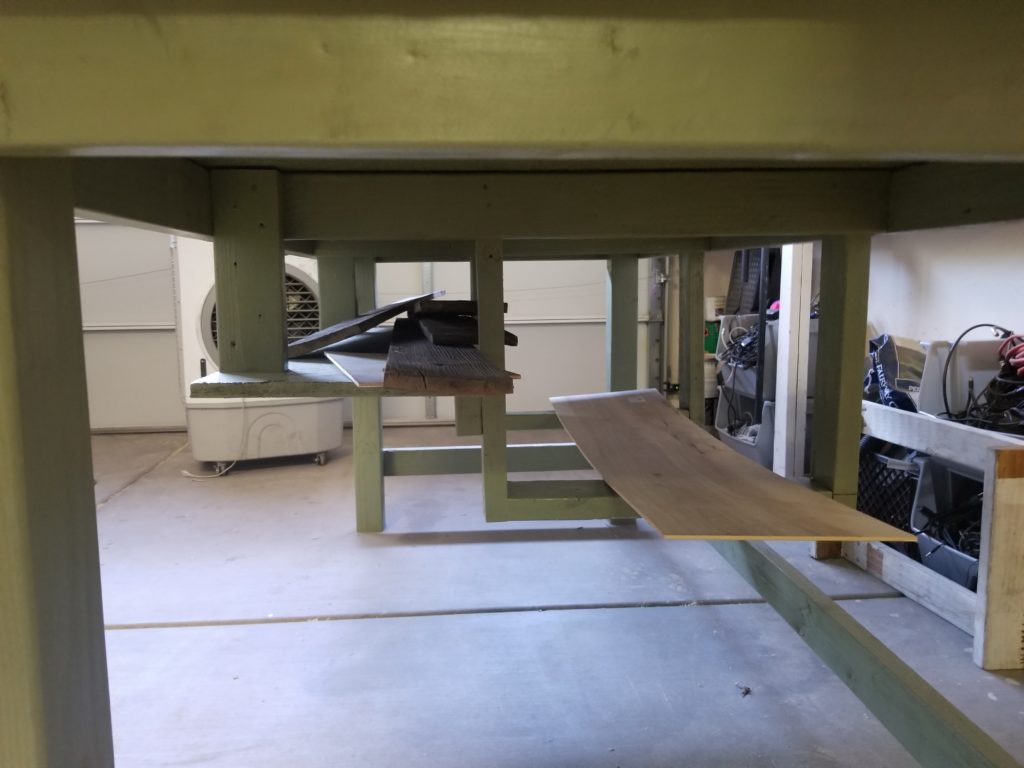
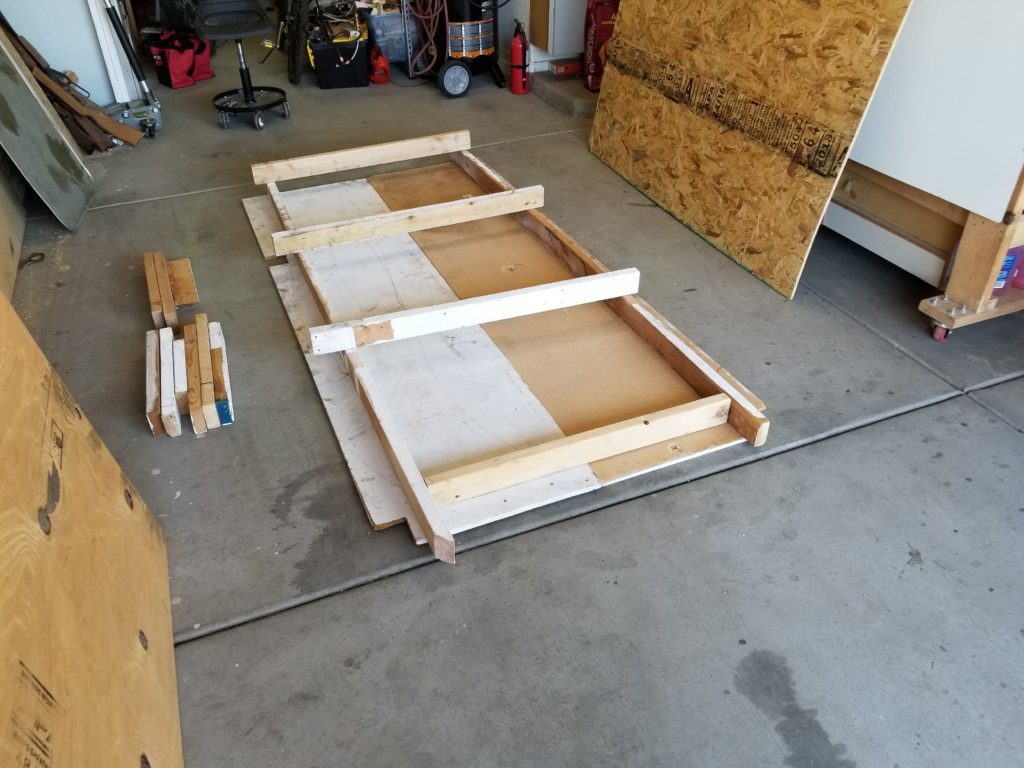
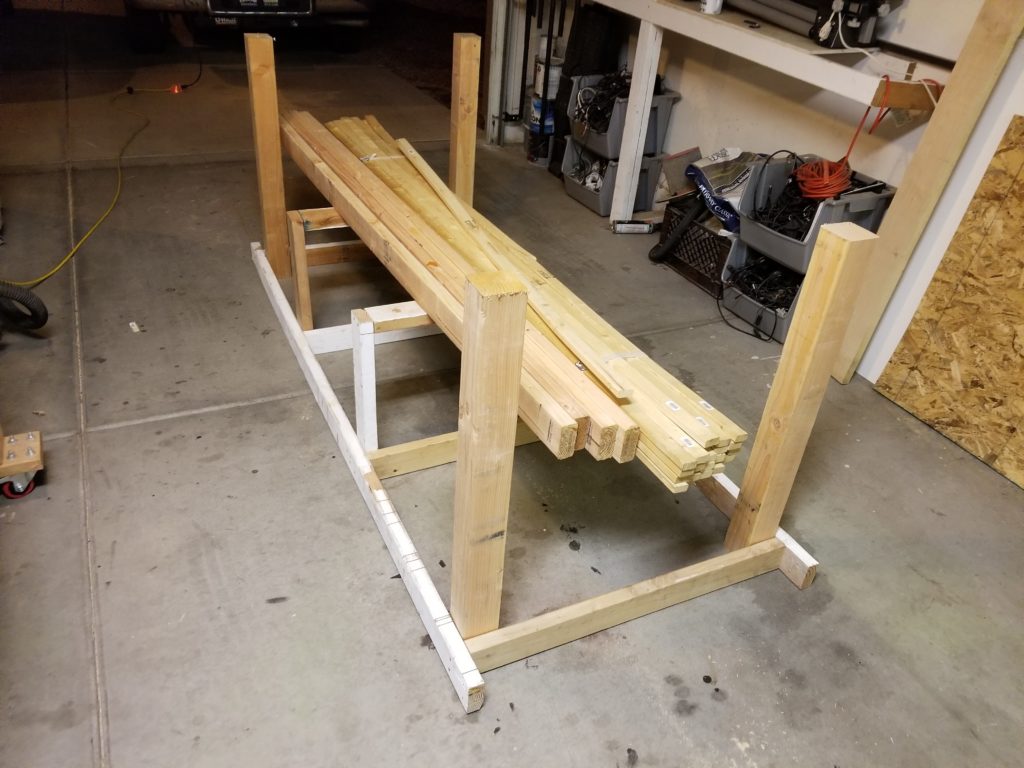
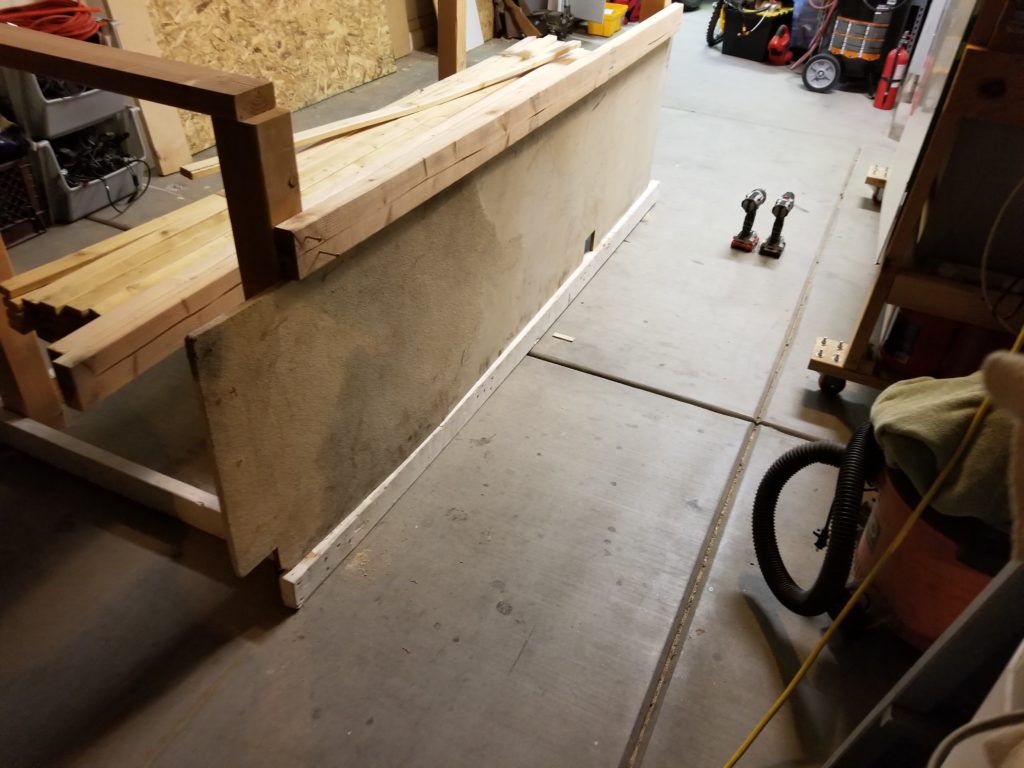
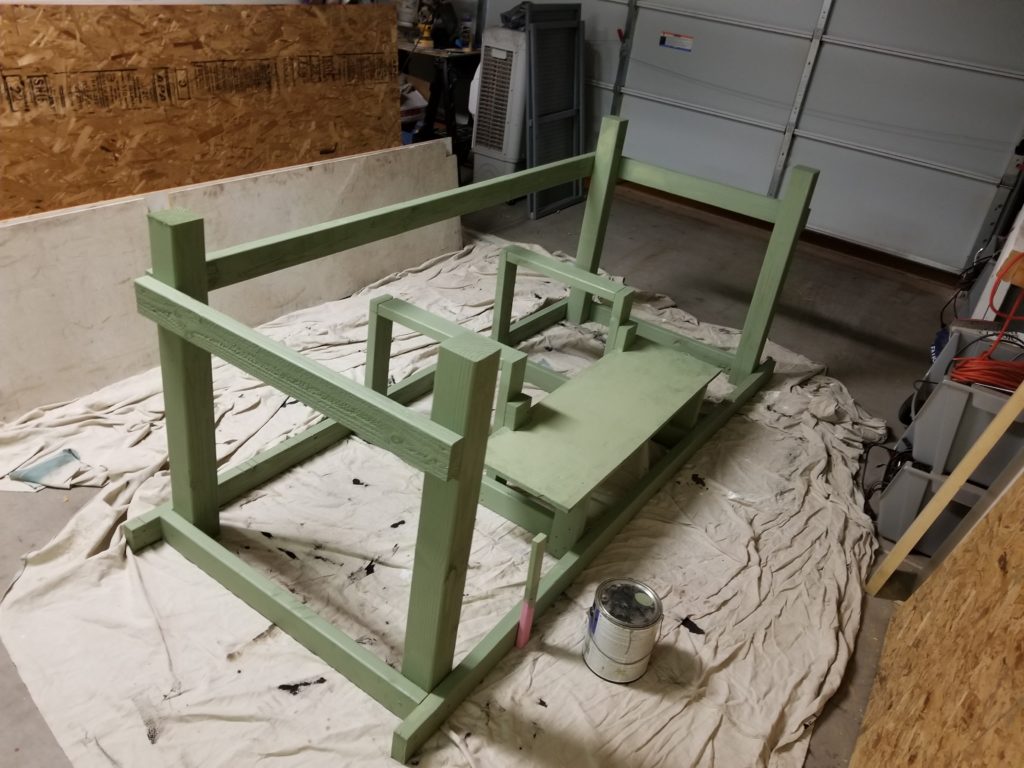
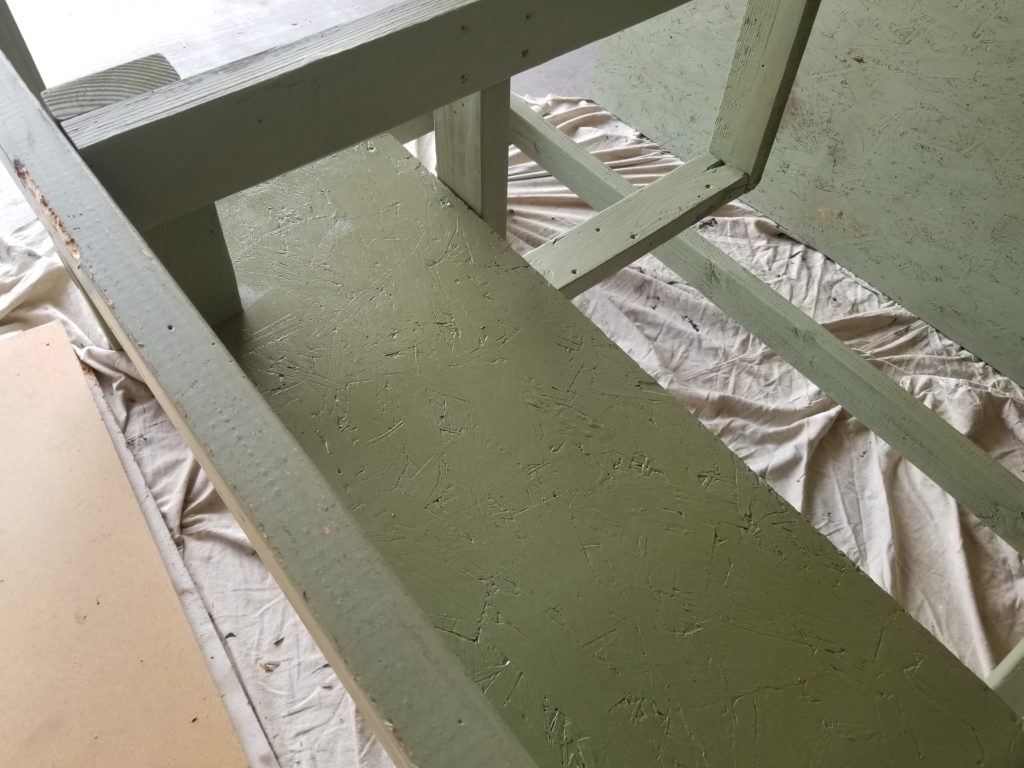
The next step was adding a rack for storing the 1″x2″s and any other long pieces of wood. I used the shorter 2″x4″ cutoffs seen in the above photos on the left side. I picked the shortest piece of wood around the length I felt was right and cut the other pieces to that length to make the rack.


I used 8×2.5″ screws for attaching the right side of the vertical pieces in the rack in the above picture and 8×3″ for the left side verticals. The horizontal pieces were attached to the verticals with 8×3″ screws. All screws had pilot holes drilled.
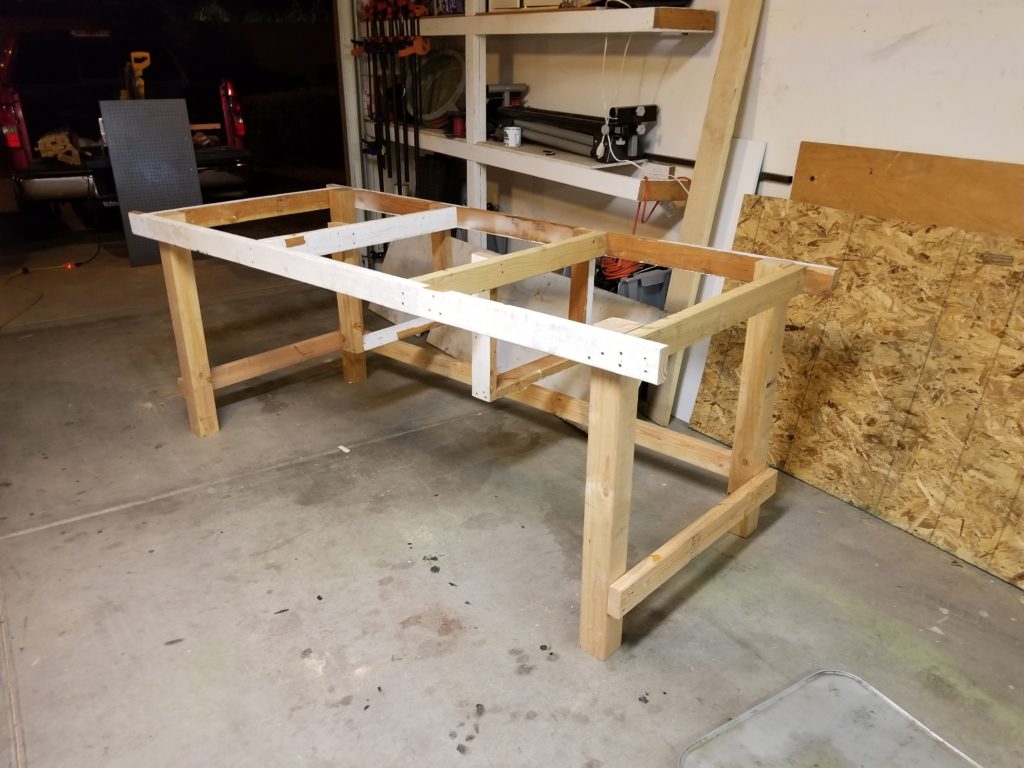
Next I needed to add legs to the table. I only had one 4″x4″ cut off available so I had to purchase another 4″x4″x10′ to complete the legs. I also purchased more 2″x4″s for bracing the legs. I cut the new 4″x4″ to match the height of the cut off I already had. The legs were attached to the frame with 8×3″ screws from two sides each.

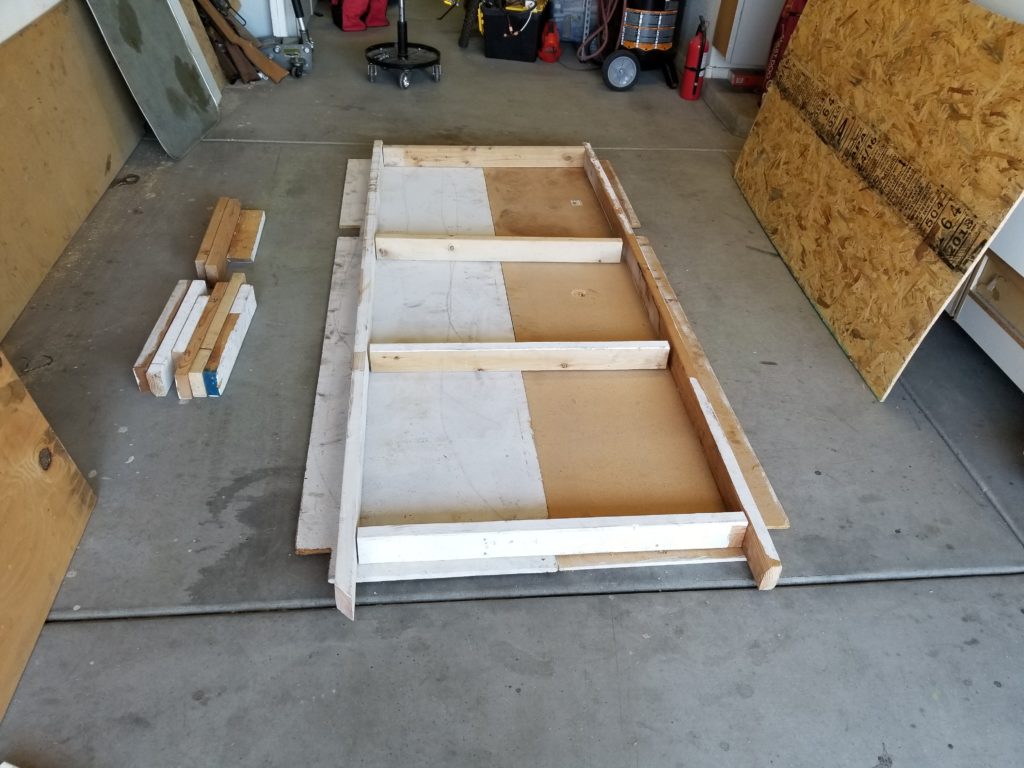
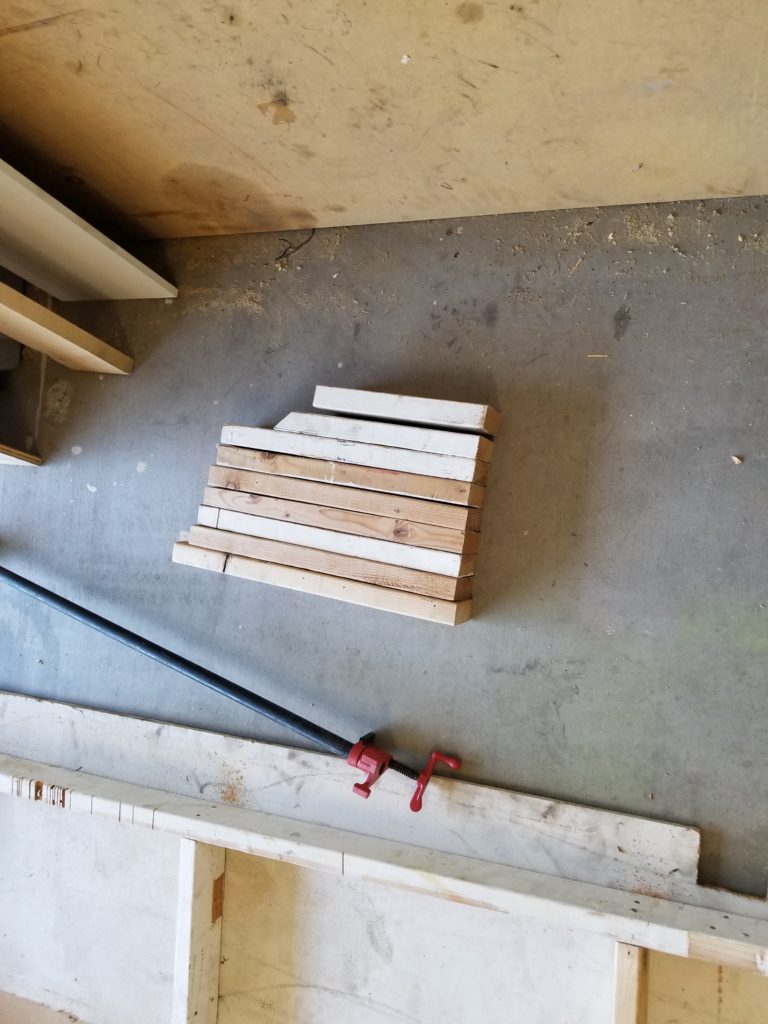
I just measured the distance between the legs to get the lengths for the bottom braces. I used one of the table top pieces as a height gauge to get the leg braces to stay at the same height before drilling and screwing them into the legs with 8×3″ screws.

Testing lengths of braces 
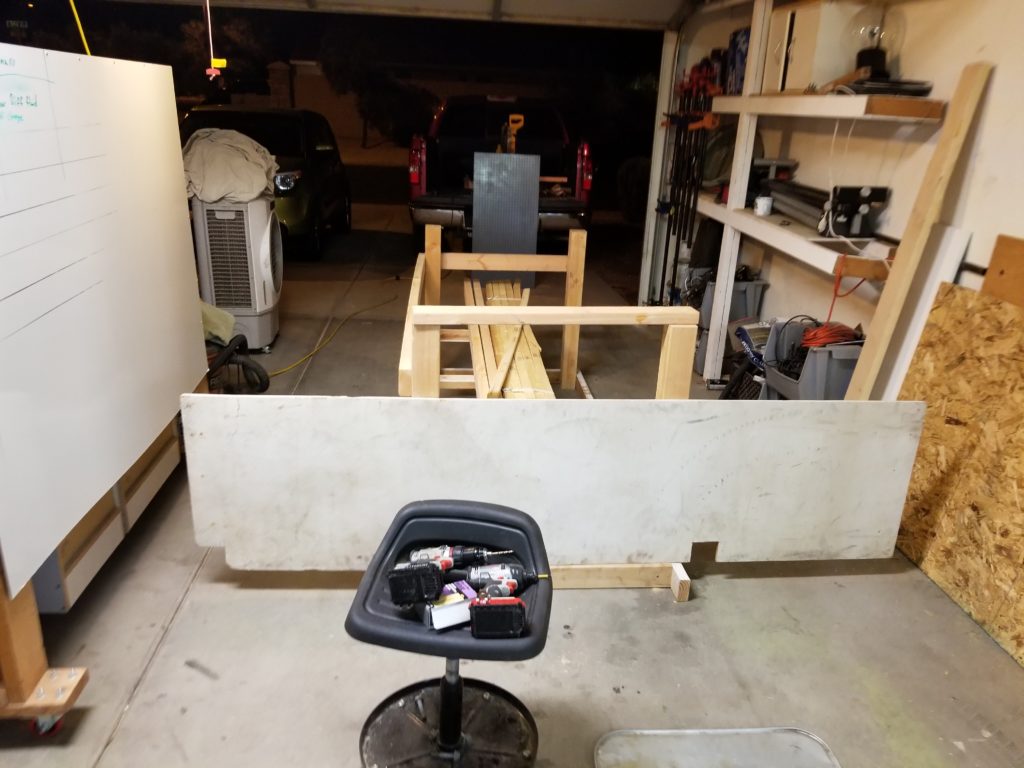
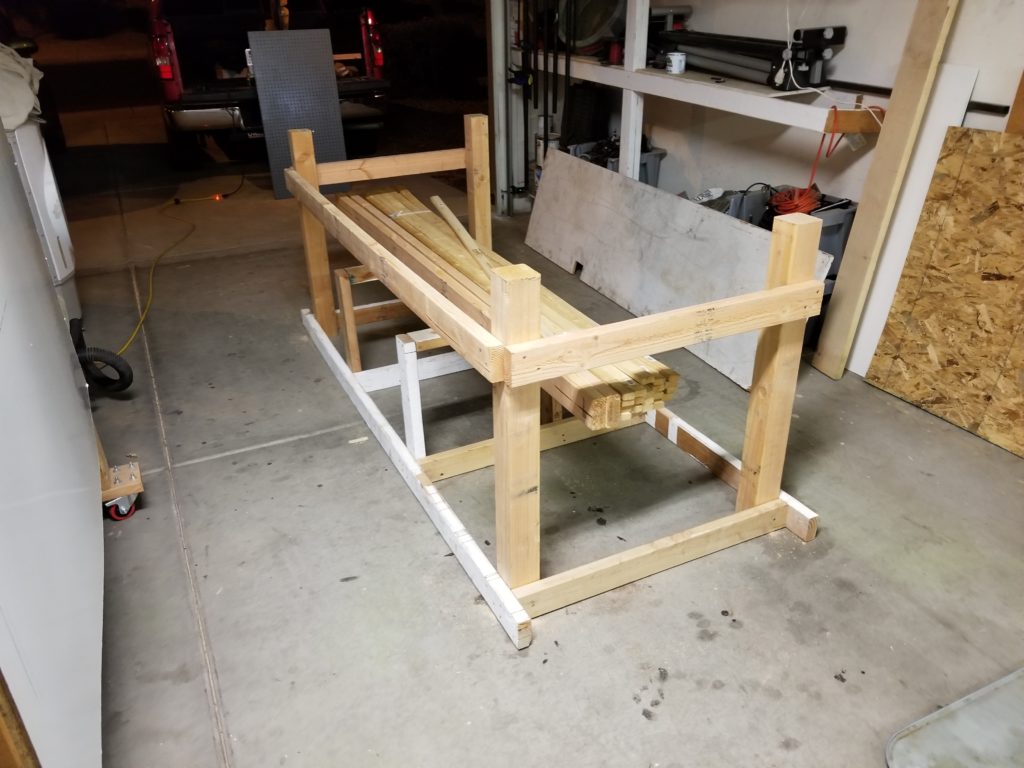
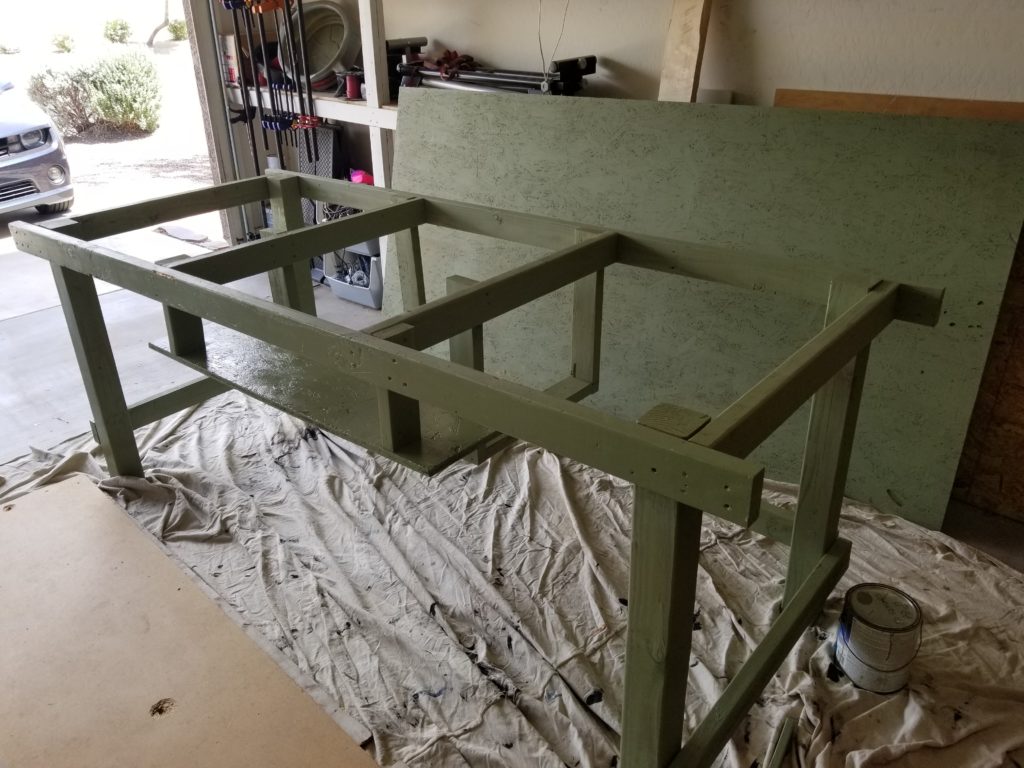
I placed the table top pieces on the frame and tested it out. I decided very quickly that the old MDF boards were not up to the task and that I would need to get a new table top. I added a shelf using 2″x4″ cutoffs and left over OSB I had laying around. I then painted the frame using some green paint I picked up a while back from the clearance section at Lowe’s. Lowe’s usually has a few incorrectly tinted gallons of paint that they sell for $5 or so, this was one of them.


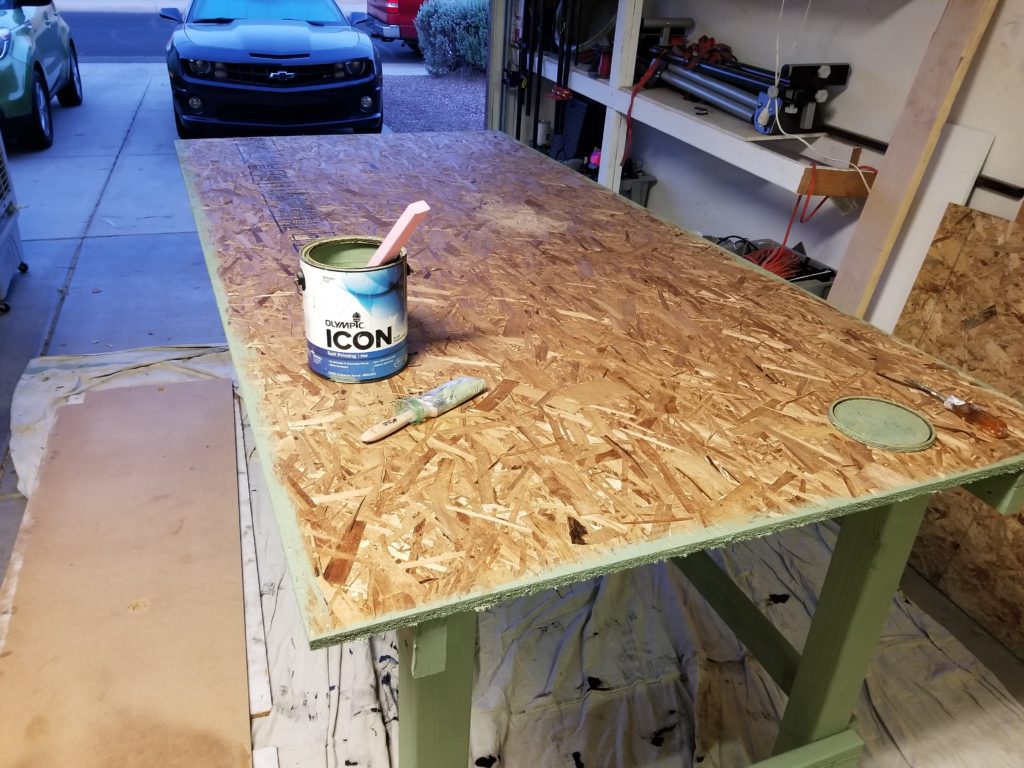
I did two coats of paint before flipping the frame right side up and painting the new 4’x8′ sheet of OSB I bought.
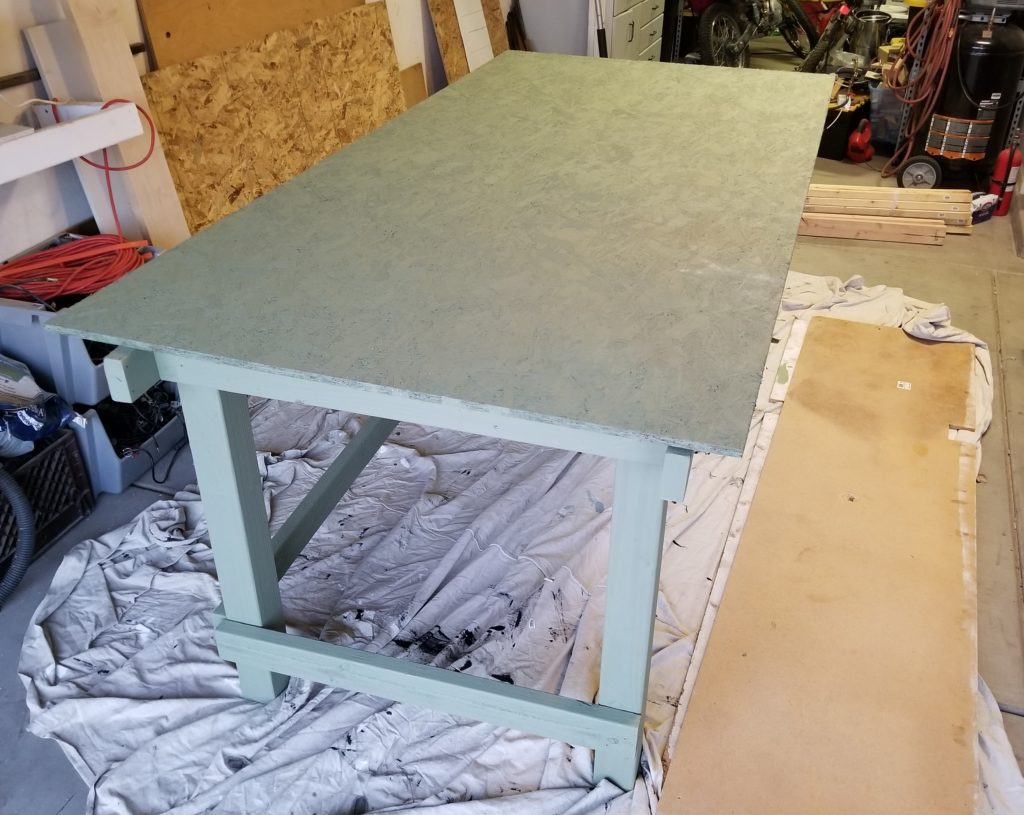
I painted two coats of paint on both sides of the table top. I then did 3 coats of polyurethane on the frame and both sides of the table top.
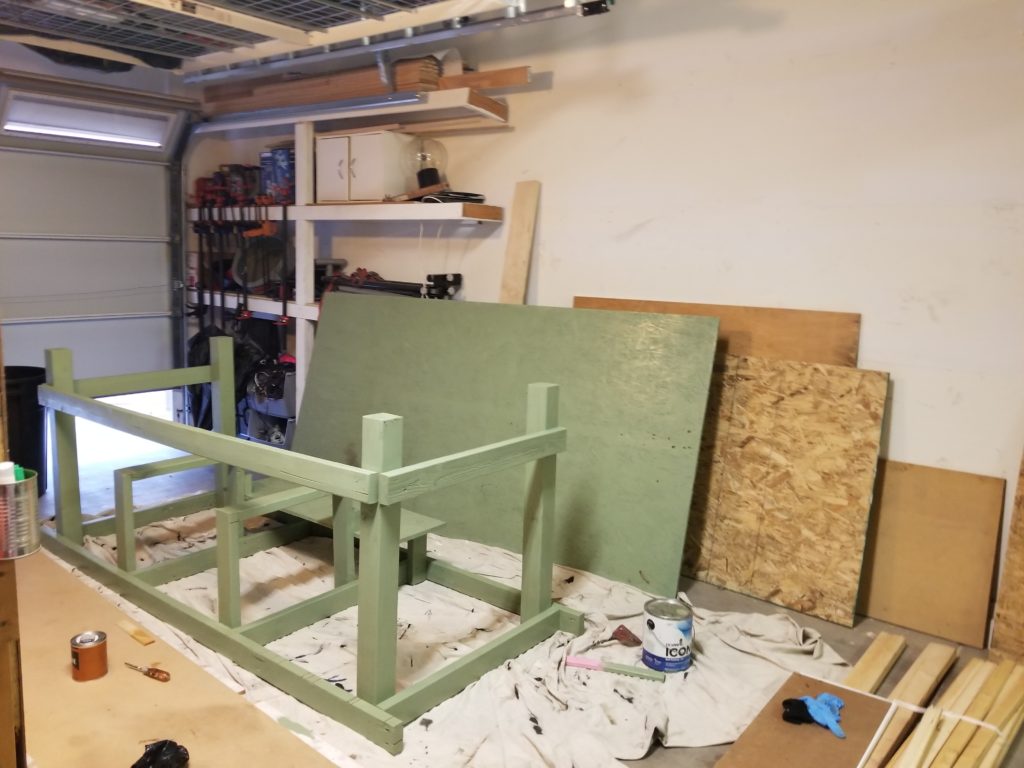
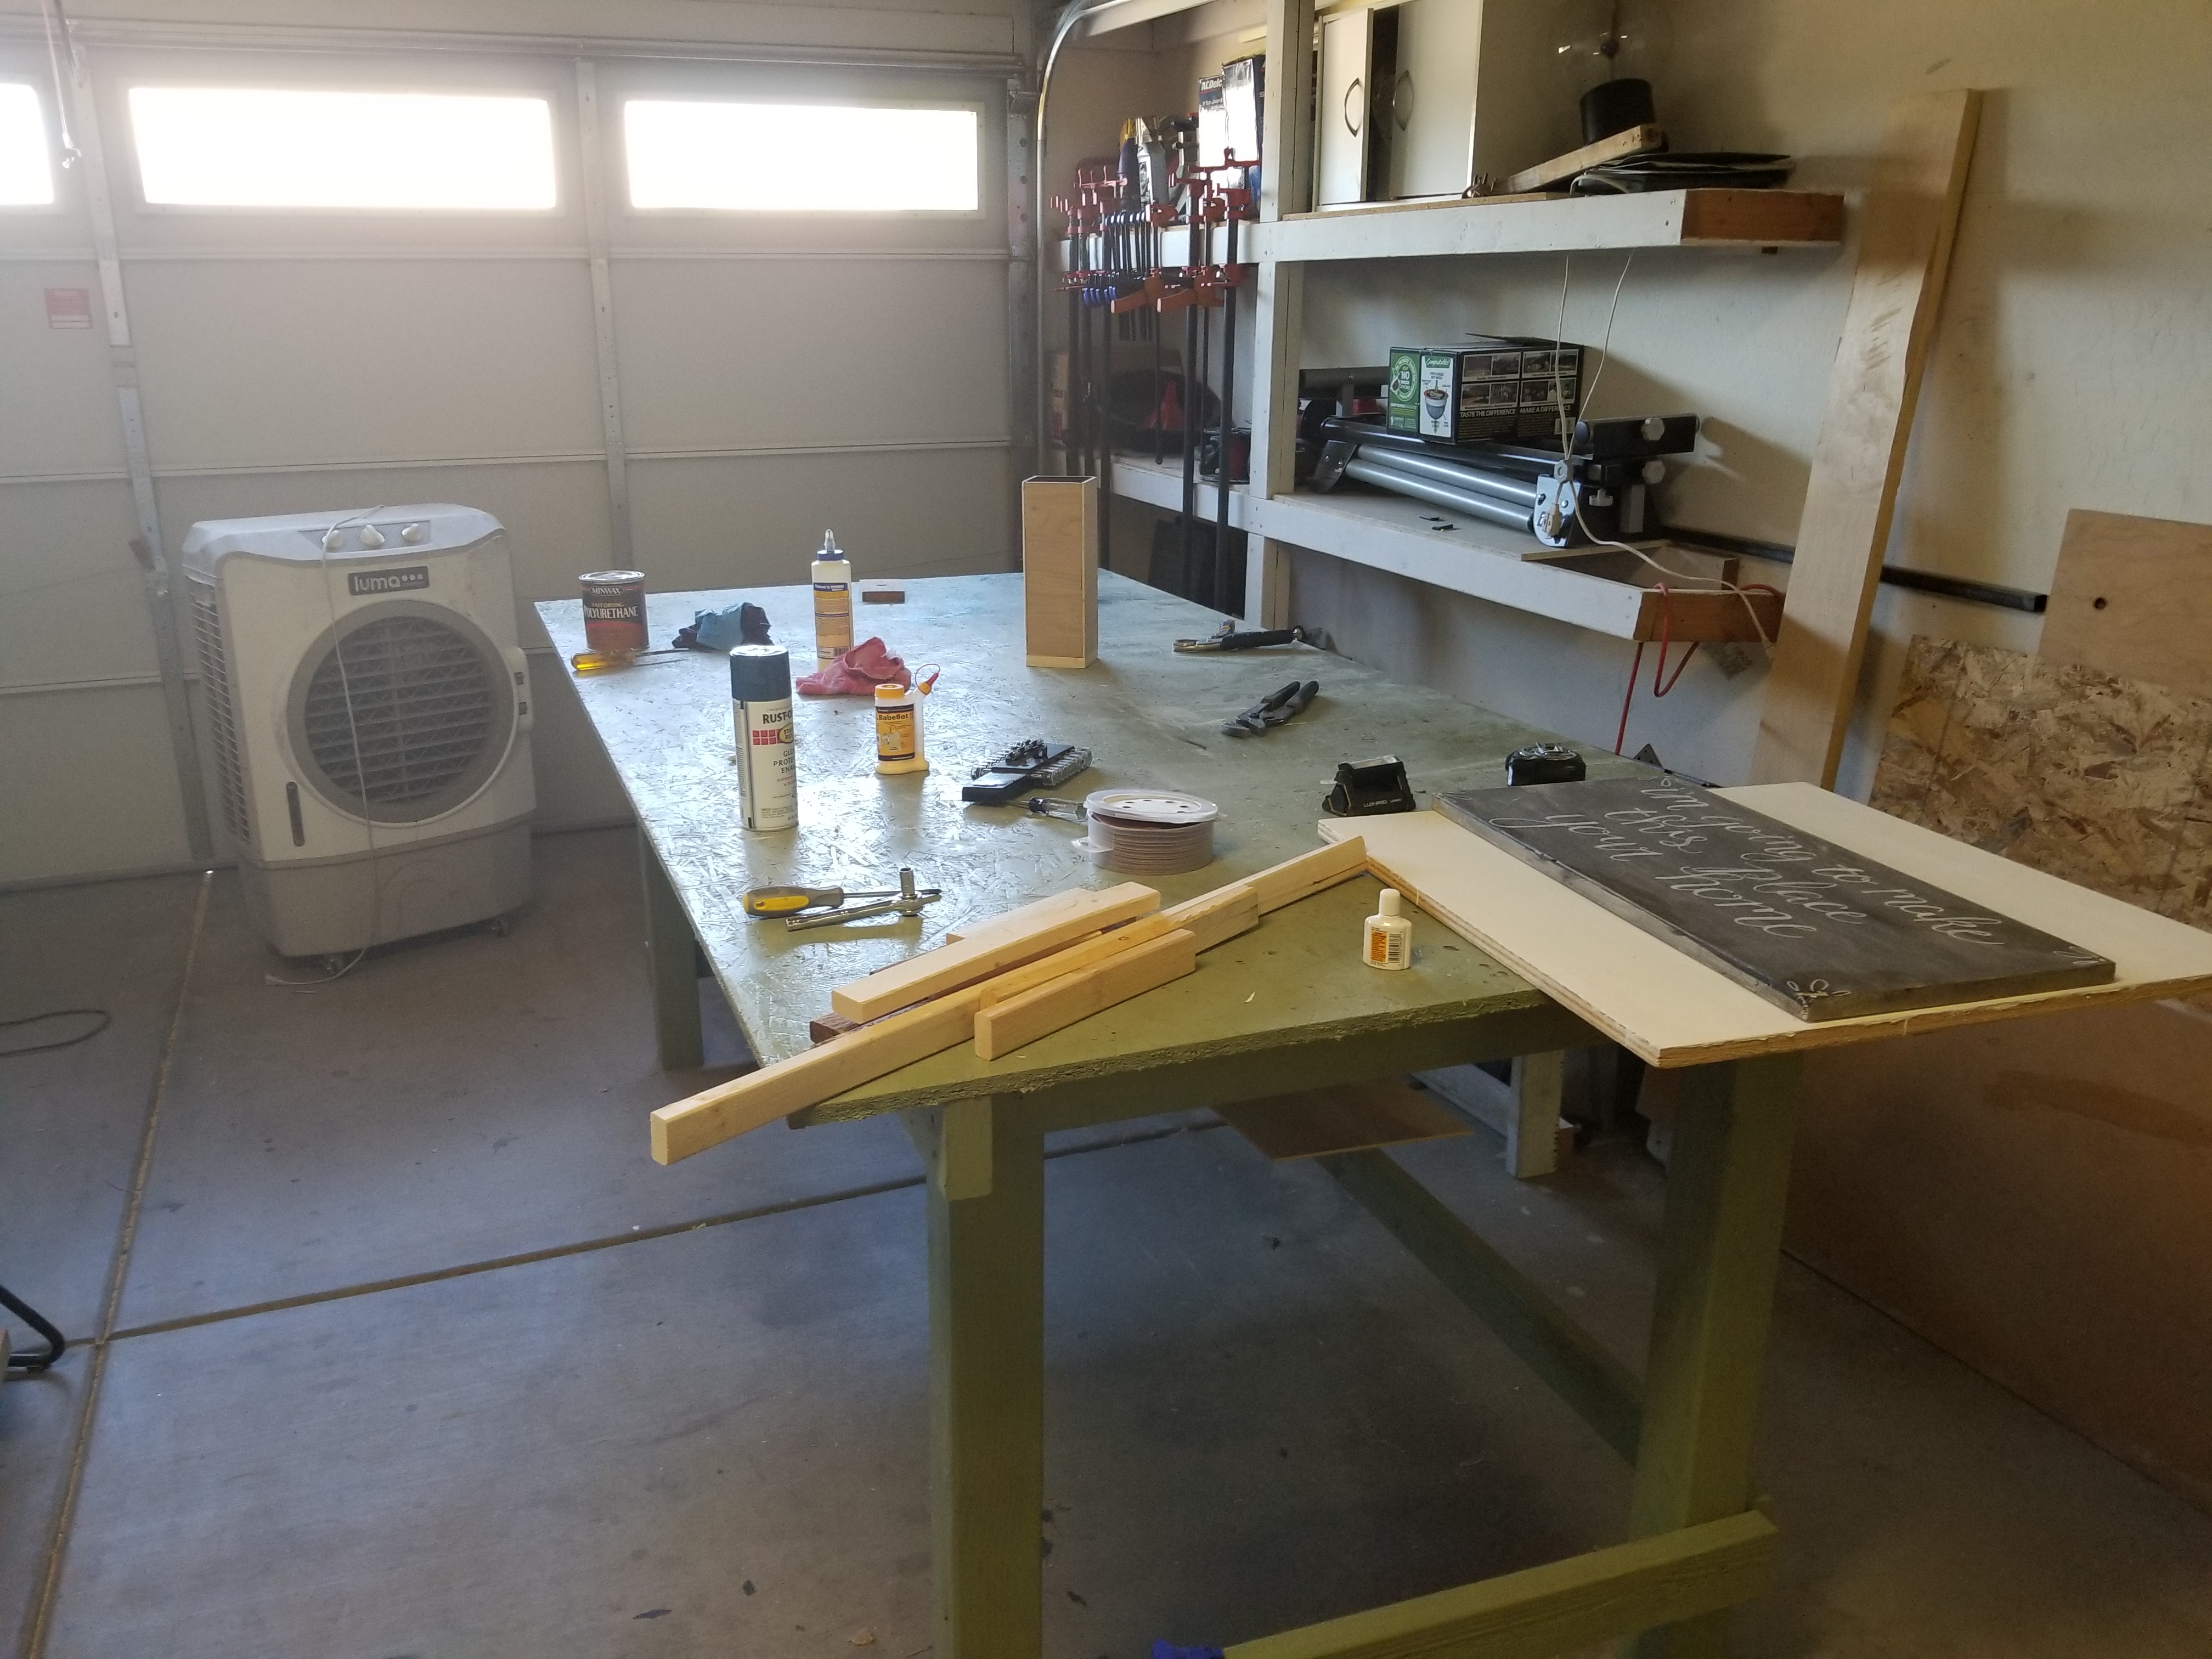
I secured the table top using four 8×2.5″ screws, one at each corner. The table then proceeded to sit in the truck’s parking space for a month while we lazily tried to figure out how to get it over then fence and in to the backyard. We have plans to try and do that tonight (6/16/2019), but I am not feeling super motivated yet. As you can see in the below pictures it has been used and appreciated by the wife during this month. Many signs have been made on it, a wooden chair was refurbished on it, and many wooden boxes to hold flowers as table center pieces have been put together on it.